Uncategorized

Cardboard Play Day at Kujira Yama (#6)

[slideshow_deploy id='4591']  

Cardboard Kryptonite! We had light rain just after our event was set up for The Global Cardboard Challenge on Friday.  Sadly, most of the kids we anticipated didn't show up. We didn't lose heart though, and a few brave souls trickled in after the weather cleared to inhabit the cardboard dwellings that were created. As always, it was great fun and I couldn't have done it without my husband's help, or the wonderful folks that run the play park adventure playground.

I had such a great time this year getting to know the folks at The Imagination Foundation, as well as other Cardboard Challenge organizers from around the world. This year there were more than 43 countries represented and 100,000 kids at the Global Cardboard Play Day. If you've ever thought about planning an event for your community next year, be sure to visit Caine's Arcade to find out more. You can be part of this amazing and inspiring cardboard movement!

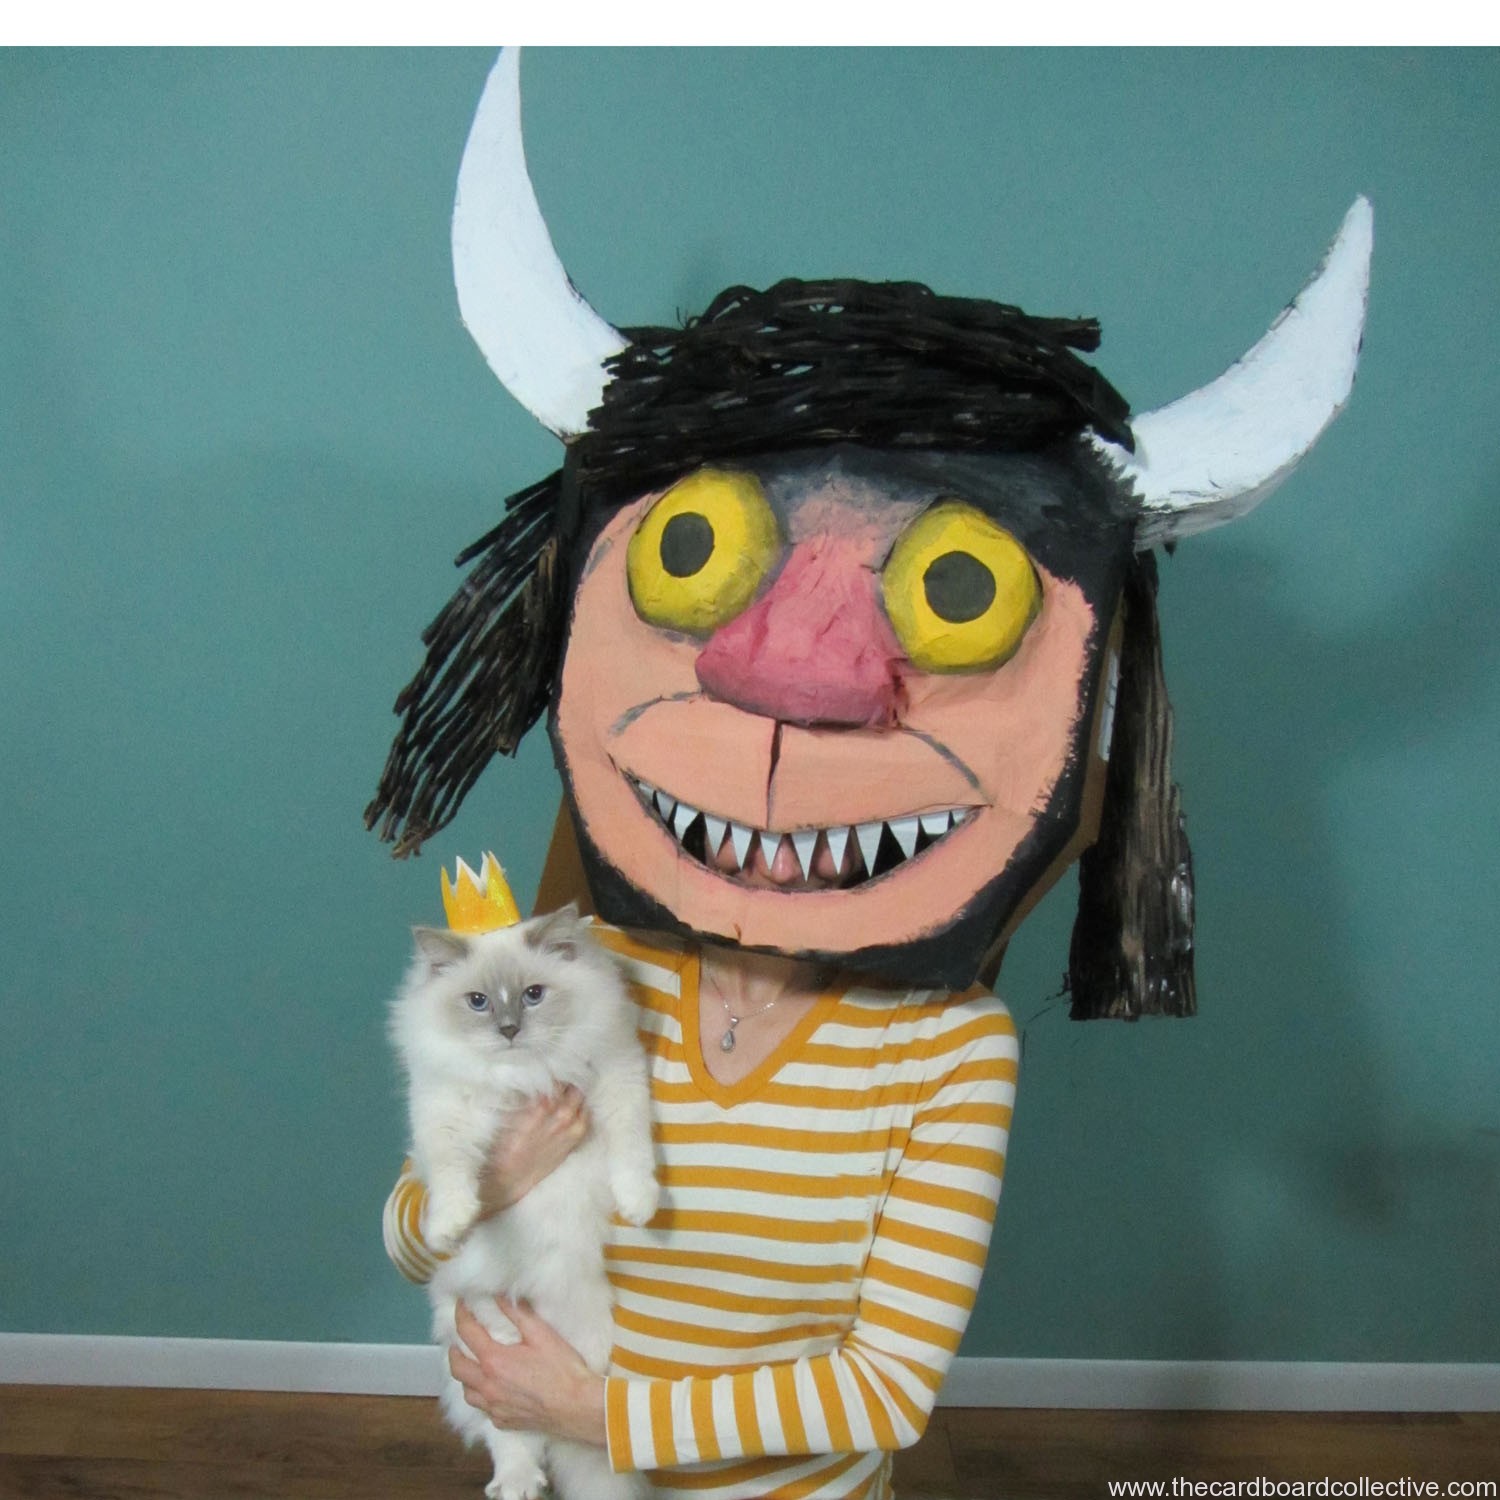
Cardboard Heads

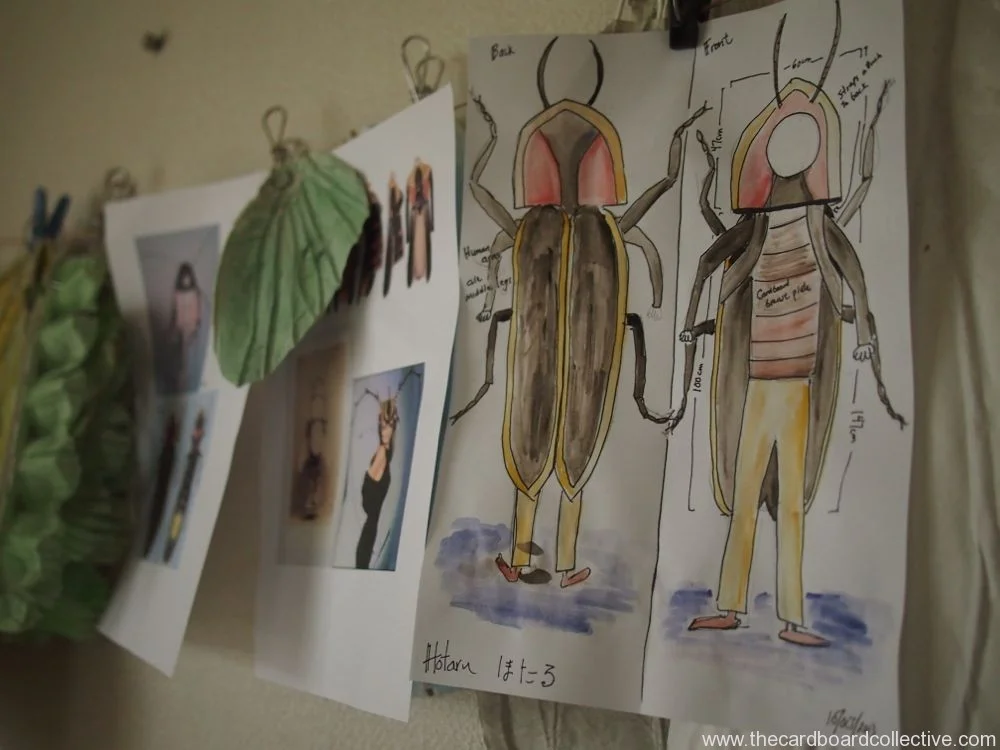
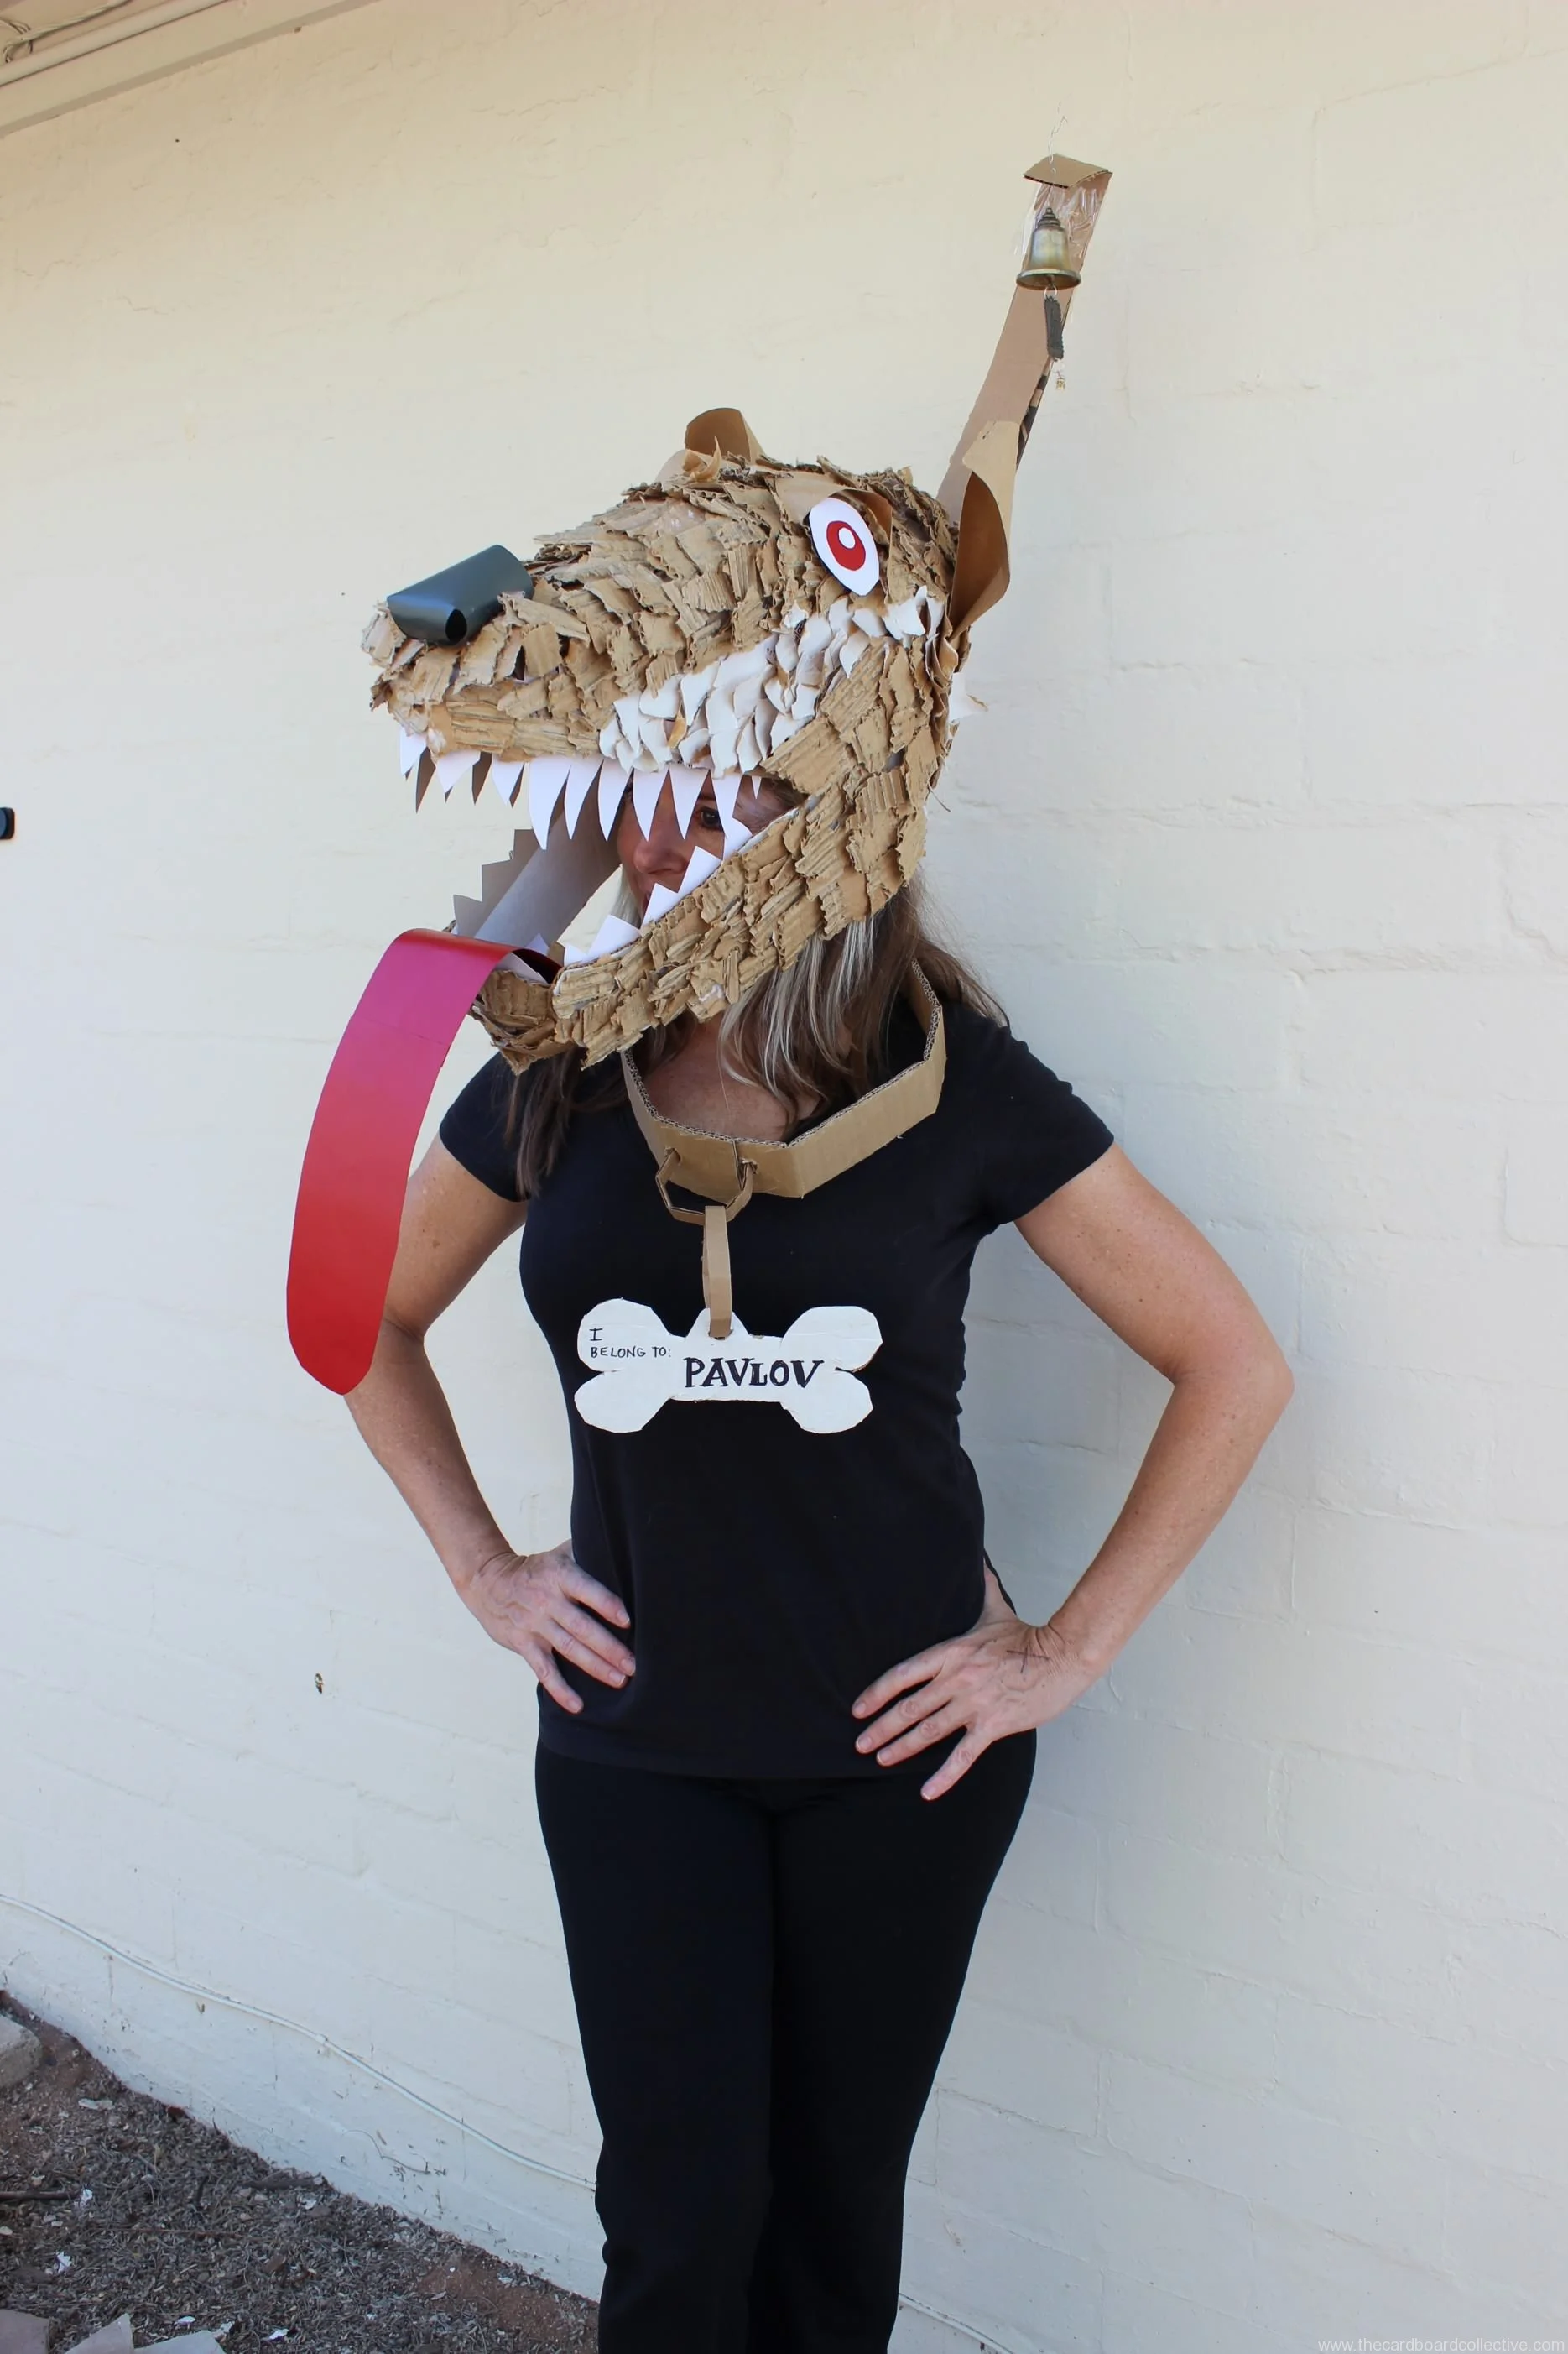
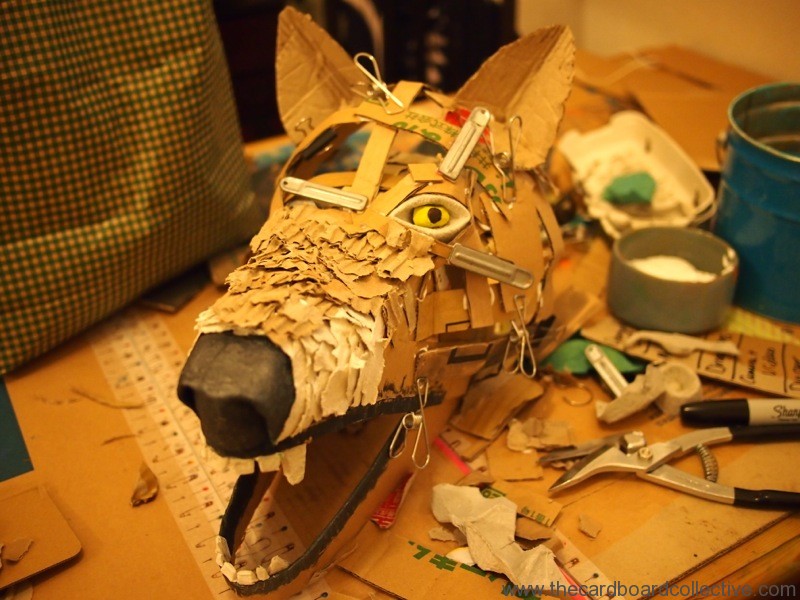
If you're thinking about making a cardboard headpiece for your Halloween costume, this weekend is the time to get started! Last Year we created 2 different kinds of cardboard heads, using two different methods.

The first head was for a chameleon costume, and utilized the hood pattern for sewing a kid's jacket. To read the post about adapting a sewing pattern for use with cardboard, click HERE

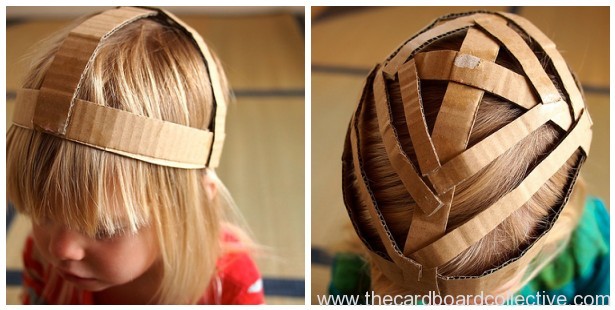
The second head was built by making a cardboard skeleton and then gluing down layers of  ripped cardboard. You can see more pictures of the development HERE.

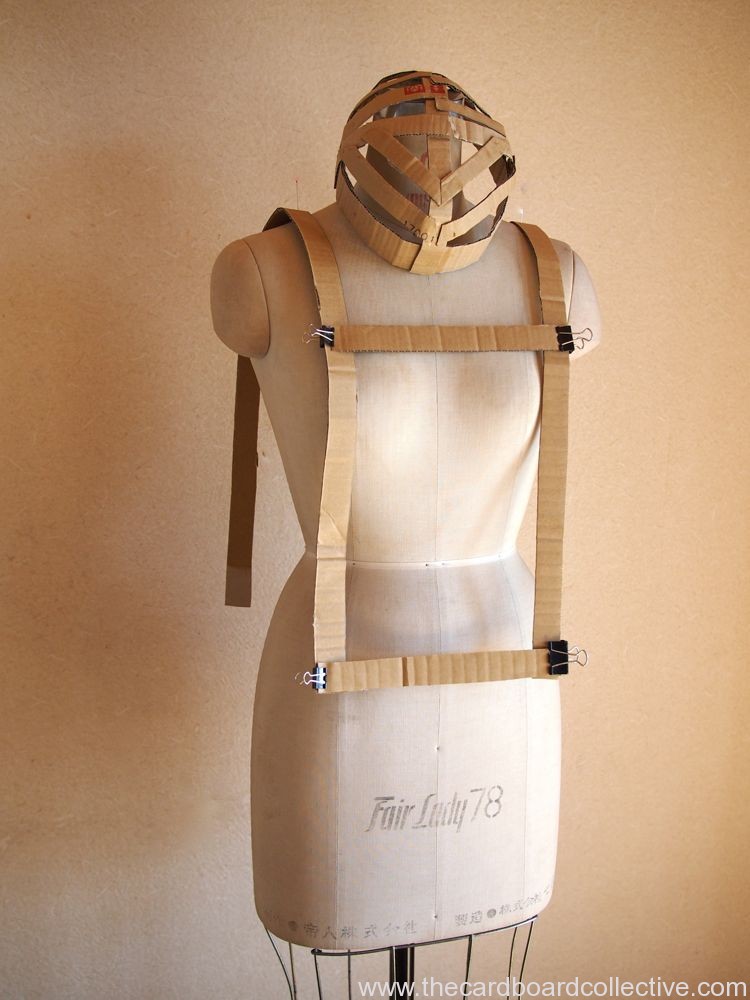
Because every cardboard head is a little different, I'll lay out the most basic steps so you can get started. Have fun and experiment, the point is to develop you're own style...

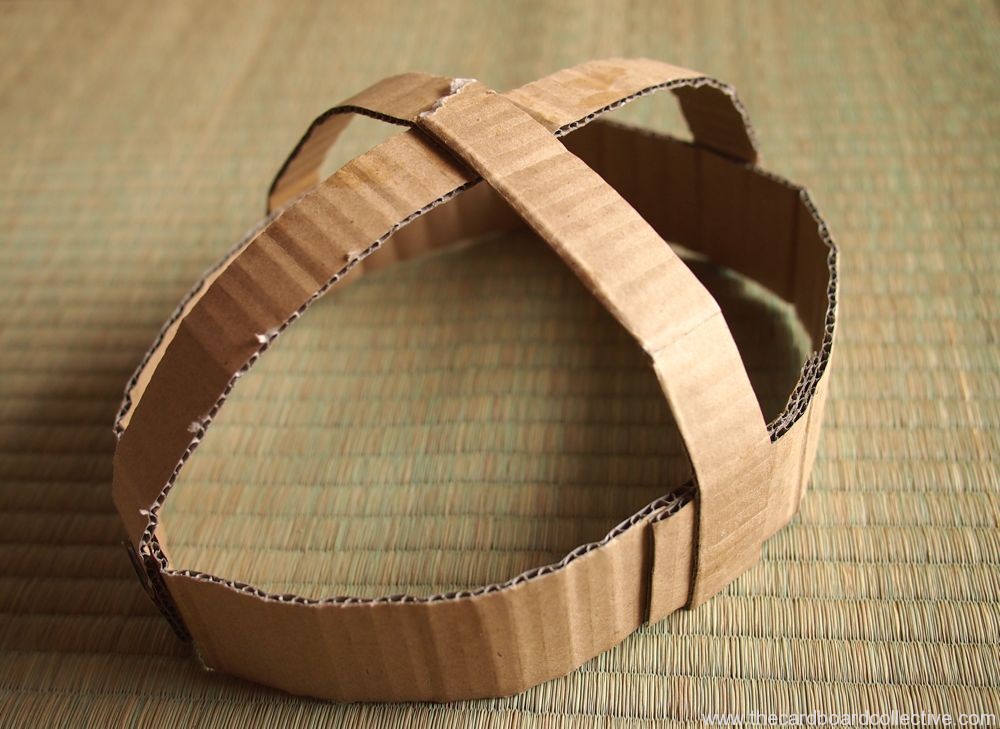
  1. Make a cardboard band that fits snugly around your head.

  2. Create cardboard side pieces that are similar in shape to the skull of the creature if you look at it sideways.

  3. Glue or staple the pieces to the cardboard band.

  4. Use cardboard strips to connect the side pieces and shape the front of the creature's face.

  5. Cover your cardboard head with crumpled up and flattened out copy paper, fringed newspaper, Kraft paper, torn pieces of egg carton or ripped pieces of corrugated cardboard. You can take a look at the Cardboard Costume Pinterest Board for more inspiration.

Here's a great video by John Gleeson Connolly (via Apartment Therapy) talking about how he made a simple cardboard dragon head for his son's Halloween costume using a similar method. http://vimeo.com/51576209

10 Tips for Cardboard Play Day

The Global Cardboard Challenge is here again! Will you be joining THE WORLD on October 5th, 2014 to either play or host an event?

For everything Caine's Arcade and The Global Day of Play, please be sure to check out The Imagination Foundation's excellent website and resources. 

I'm also excited to be planning my own event in collaboration with a local adventure playground here in Tokyo! More information to come, but until then I want to share some of my insights from hosting 5+ events last year.......

 *10 Tips for Cardboard Play Day*

1. It's all about the cardboard!

  • Provide a wide variety of cardboard! Shoe boxes, small boxes, over-sized boxes, cardboard tubes, and whatever other reclaimed materials you've collected all add to the diversity and creativity of what kids create.

  • A rule of thumb that I follow is 1 square meter of cardboard for every 20-30 kids

2.Don't let cardboard get unruly.

  • Cardboard + kids can = chaos!

  • Keep the cardboard upright if you can (as if each piece were a book on a book shelf.) That way there is thought in selecting the cardboard and it doesn't get kicked around and stepped on.

  • It's even more helpful to organize your cardboard by size. (Think of a lumber yard.) Kids often know what size materials they need and if the cardboard is organized then kids won't have to spend time rooting around through big piles to get what they want.

3. Give them tool boxes.

  • Tool boxes allow kids to be mobile and have everything they need to build whatever, wherever, with whoever.

  • A tool box can be as simple as a shoe box, or a cardboard six pack.

  • Provide a place that is clearly marked for kids to return tool boxes when they're finished working or ready to leave the play day.

4. Provide a secure area for kids to keep their stuff (i.e. coat check).

  • Kids easily loose track of their new friendship bracelet, cell phone, hooded sweatshirt, etc.

  • Create a place (as simple as a "drop" pile), or even better an informal system like a coat check, for keeping track of kids' things so they can focus on building and collaborating with their friends, and you can alleviate the hassle of having to help them search for their lost items.

5. Keep the organizer free.

  • If you are organizing a cardboard play day, recruit enough parent volunteers to assist kids so you're free to trouble shoot any problems that might pop up.

  • Parents get excited and often want to share or ask questions. If you're responsibility is to supervise kids, you may be torn between providing adequate supervision and having a great conversation with a future cardboard enthusiast.

  • It's also helpful to have a volunteer that is solely devoted to taking photos so you have some great shots for promoting your event next year.

6. Provide a theme/give permission

  • Telling kids that they can build whatever they want is exhilarating for some and overwhelming for others.

  • Providing a theme a invites collaboration and helps kids narrow their focus....

  • We're building a village....

  • We're building igloos....

  • We're building a cardboard maze....

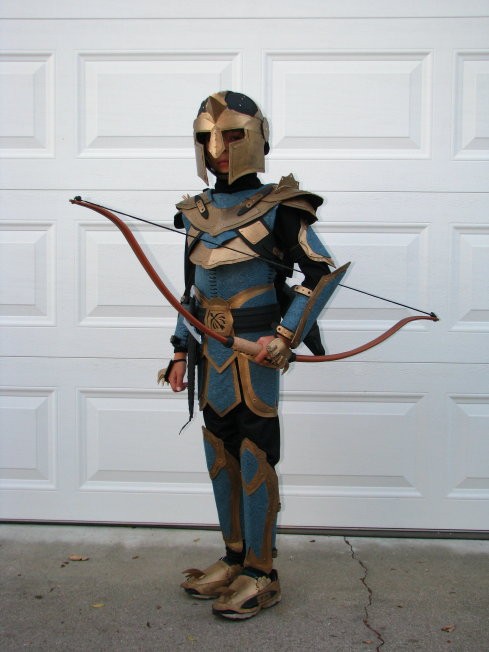
  • We're making cardboard costumes....

  • We're making an arcade....

  • It's a cardboard ocean!

  • Some kids need permission to create and many just want to be told it's OK to be creative and let loose. Indulge them! This is their time to think big and we want to encourage them in any way we can.

7. Give kids real tools.

  • It's important to gauge your audience, (parents kids and the host institution) when deciding what kind of tools you're going to make available to participants. I prefer to always give kids "real tools" as opposed to dumbed down versions that can cause frustration. In the real world, however that's not always possible.

  • If kids are only allowed to use safety scissors and plastic saws, try arming your adult volunteers with more professional tools that can help finish the job. These are the tools I've found to be most effective and in my opinion entirely kid-friendly, but they require instruction and adult supervision:

  • round tipped serrated cutting tool

  • Phillips head screw driver

  • scissors

  • cordless drill

8. Use reusable fasteners.

  • To build really cool, big stuff out of cardboard you need some kind of fastener to hold everything together. (tape and hot glue just don't cut it!) There are 3 that stand out in my opinion, based on their re-usability AND functionality.

  • MakeDo

  • re-usable zip ties

  • nuts and bolts

  • All of these fasteners have different price points and advantages and disadvantages, so I really recommend getting a few of each and test driving them at home before your event.

  • It's really helpful to show participants how the fastener you're using works when kids arrive, so keep some supplies in your pocket to quickly demonstrate as you greet new arrivals.

9. Have an exit strategy.

  • Sometimes kids are so excited at cardboard play day, they can't stop building! Givie kids a heads-up starting 30 minutes before cleanup, so they can get focused on completion and get ready to say goodbye to their creations.

  • Make sure you have a plan for recycling your cardboard. I was once left in a terrible position at a play day, when the organization that donated the cardboard said they could no longer take it back! I had to haul it all back to my home by bike and then put it out for recycling over a course of several weeks!

  • If you haven't prearranged volunteers for cleaning up and bundling cardboard at the end of your event, a clipboard signup is handy when participants arrive and usually provides you with enough hands to finish the job.

10. Get feedback.

  • This is something new I'm hoping to try this year; a one sentence question for kids as they're cleaning up or heading out.... you could also try a paper-pencil survey or even a simple high five?

  • What would you build next time?

  • Is it more fun to work by yourself, with your mom and dad, or with a friend?

  • What was the best part about today?

  • Have you ever made/built something like this? Why/Why not?

  • See you next year?