easy
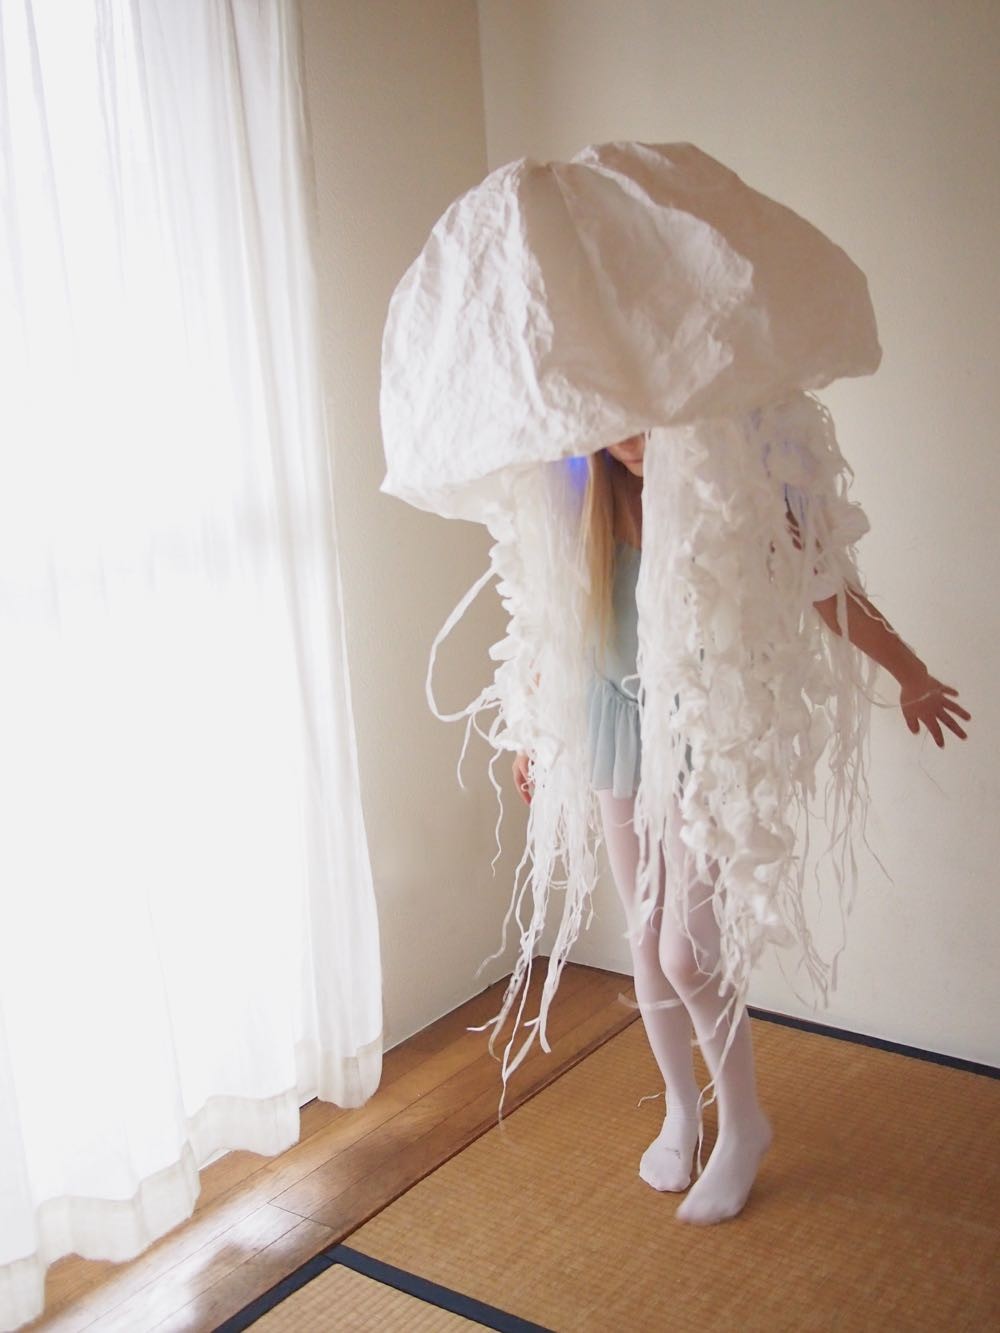
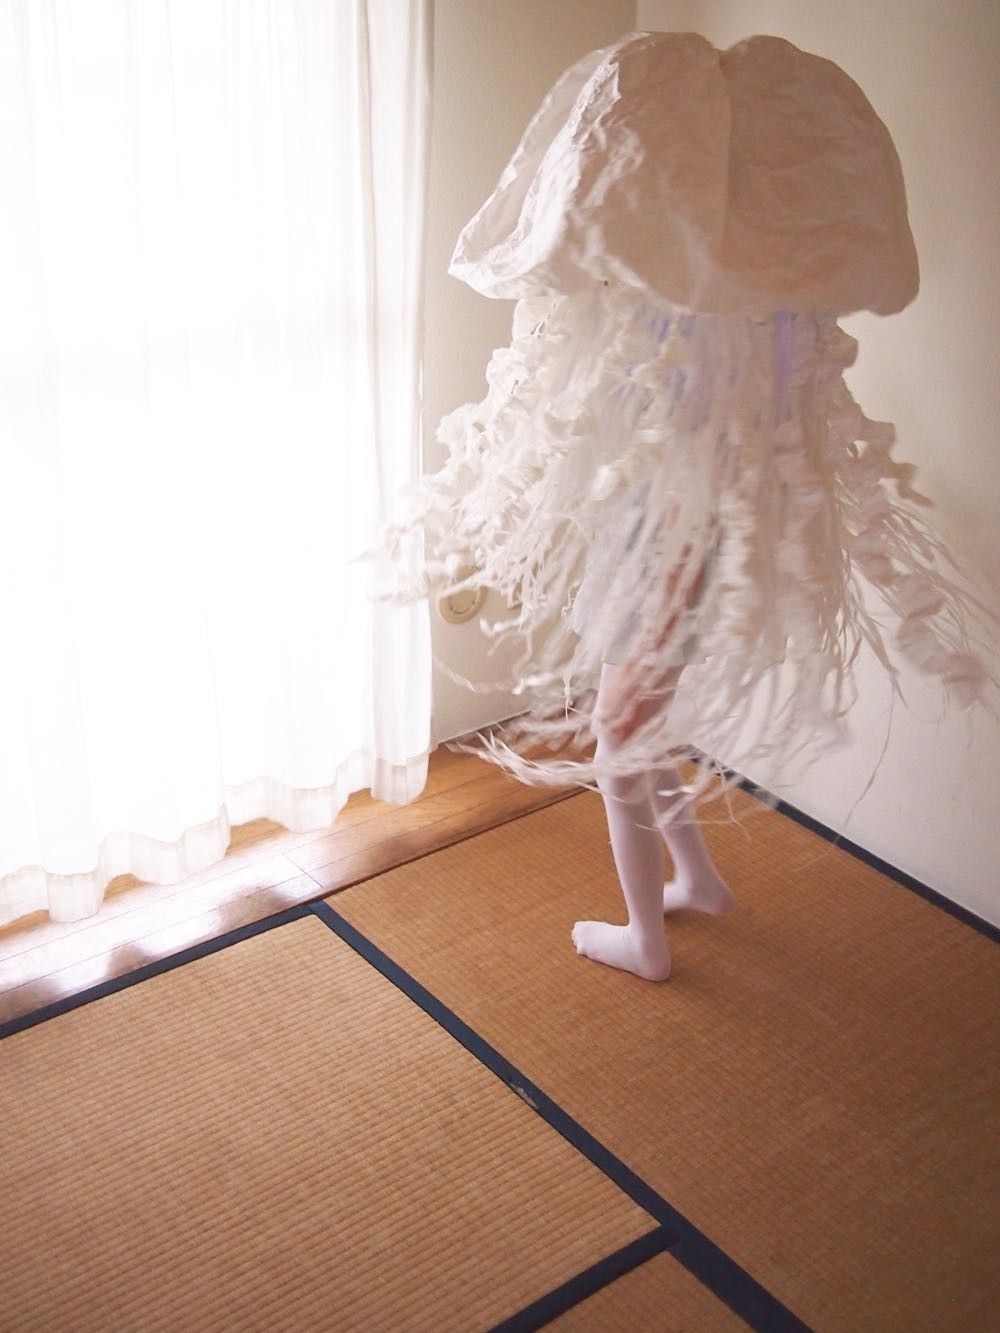
Paper Toad Costume
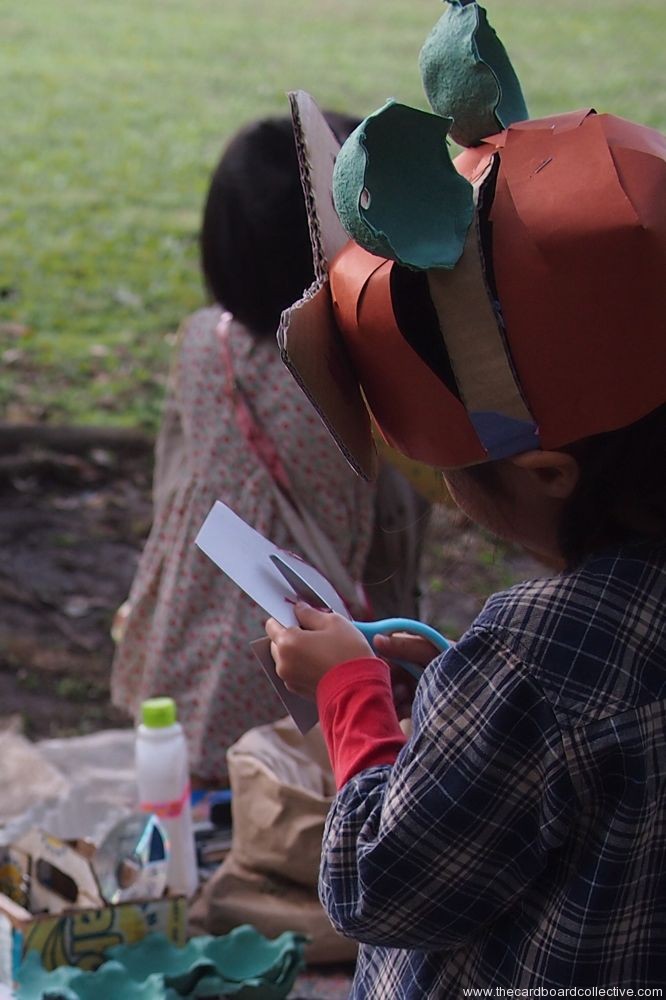
A Cardboard Mushroom
Cardboard Costumes!
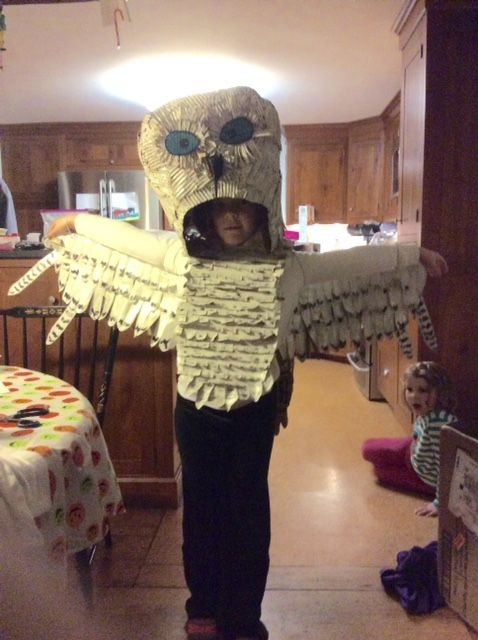
L. Towill's "Snowy Owl"
M. Doran's cardboard peg horse http://unedaliaenwestfalia.wordpress.com/
J. deGroot's cardboard stag
Wow! These are some of the incredible costumes that blog readers sent. Cardboard used in a variety of ways, and utilizing the natural tones and textures of the material. Outstanding!
A Visit from the Purple Unicorn
Mac Huynh, Writer: Unicorn, Photo by Patricia Chang for Racked
Malorie Lucich McGee, Tech Communications: Cereal Killer, Photo by Patricia Chang for Racked
Ben Chiaramonte, Brand Designer: Wolf of Wall Street, Photo by Patricia Chang for Racked
Our Cardboard Costumes Pinterest board was recently featured on The Pinterest Handmade Halloween Hub. Some Pinterest staffers even made their own costumes inspired by some on the board, including our own Cardboard and Newsprint Unicorn Costume, (top) which looks even better in purple, I think.
Workshop: Cardboard Creatures & a Pinata too!
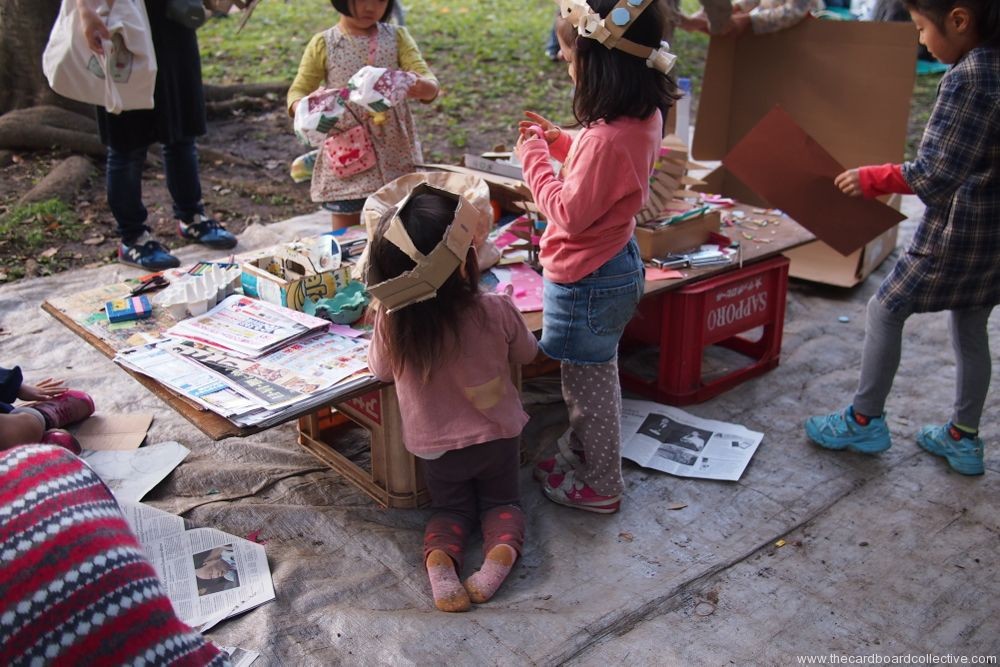
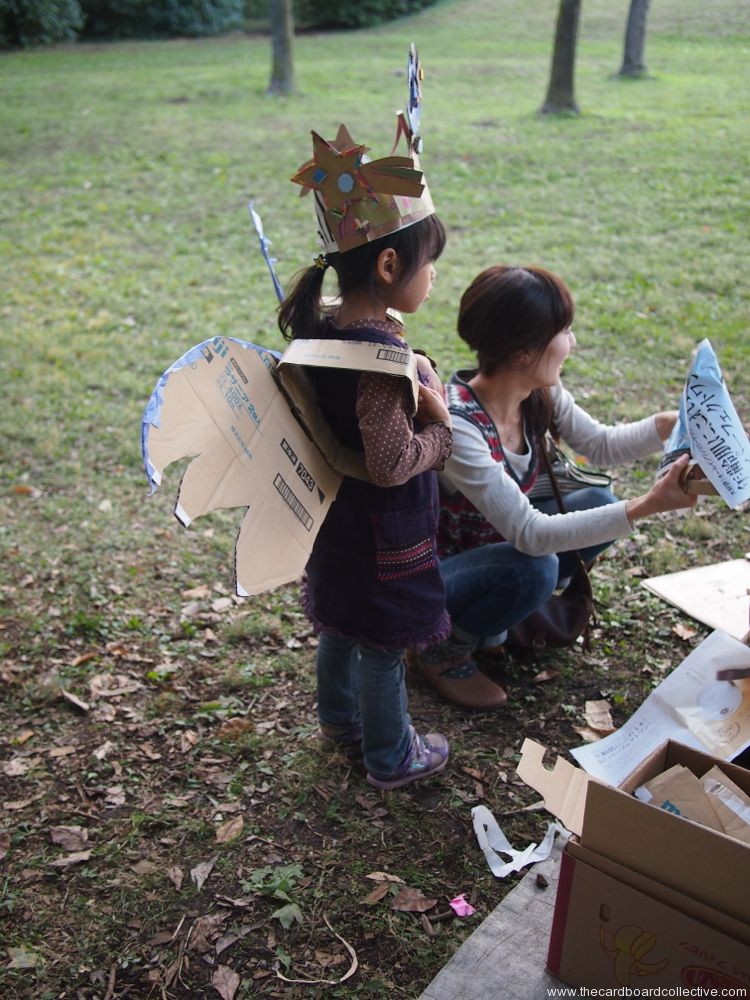
I had a great time with all the kids and parents that came to the mask-making workshop. Their creativity transformed a pile of cardboard and paper recyclables into a fun menagerie of hats, masks, wigs and mythical creatures. I also loved sharing my family's long time tradition of making pinatas (this time in cardboard) with so many families who had no idea what pinatas were.
Thanks to everyone who helped with clean-up, spreading the word through email, my very kind friends who translated for me, and to everyone who came out on such a beautiful day to enjoy the fun of making and celebrating together.
Mask-Making Workshop
In cooperation with Play Park Kujira Yama ( a weekly pop-up adventure playground in Tokyo) I'll be leading a Halloween mask-making workshop culminating with a cardboard pinata we'll decorate the day of the event. Oide!
Who: preschool and elementary aged children and their parents
What: recyclable Halloween hat and mask making
Where: Koganei Musashino Park next to Kujira Yama
When: Friday, October 24th, 2014 from 2pm - 4:30pm
Please bring some light weight cardboard, a stapler and scissors (with your name on them) and okashi/snacks to fill our pinata!
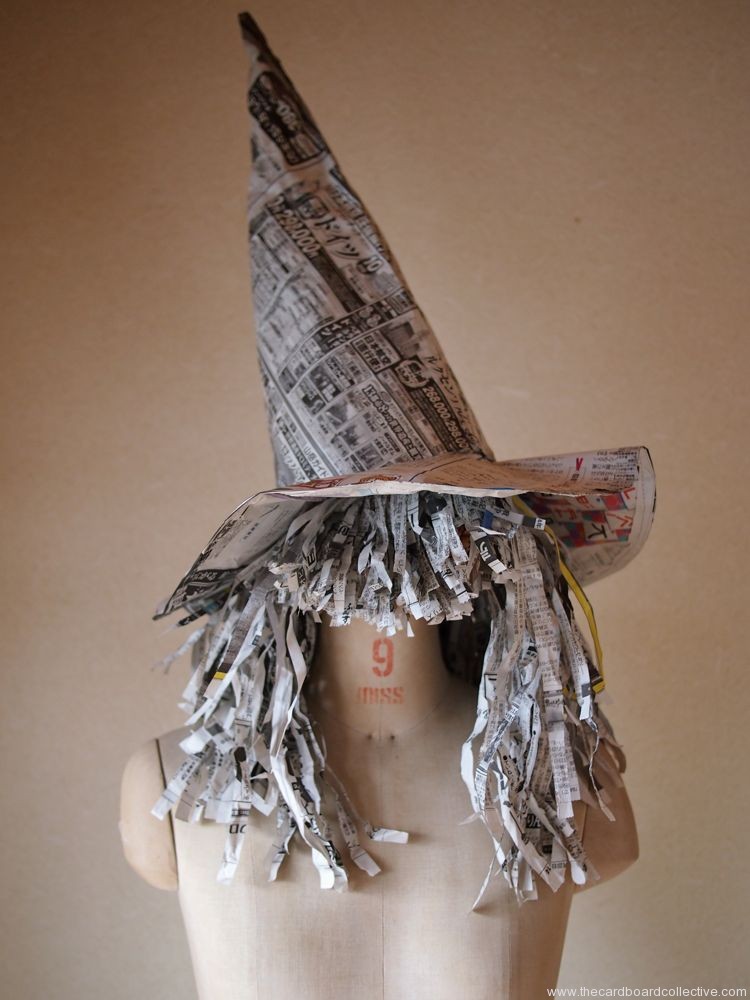
Newspaper Witch's Hat
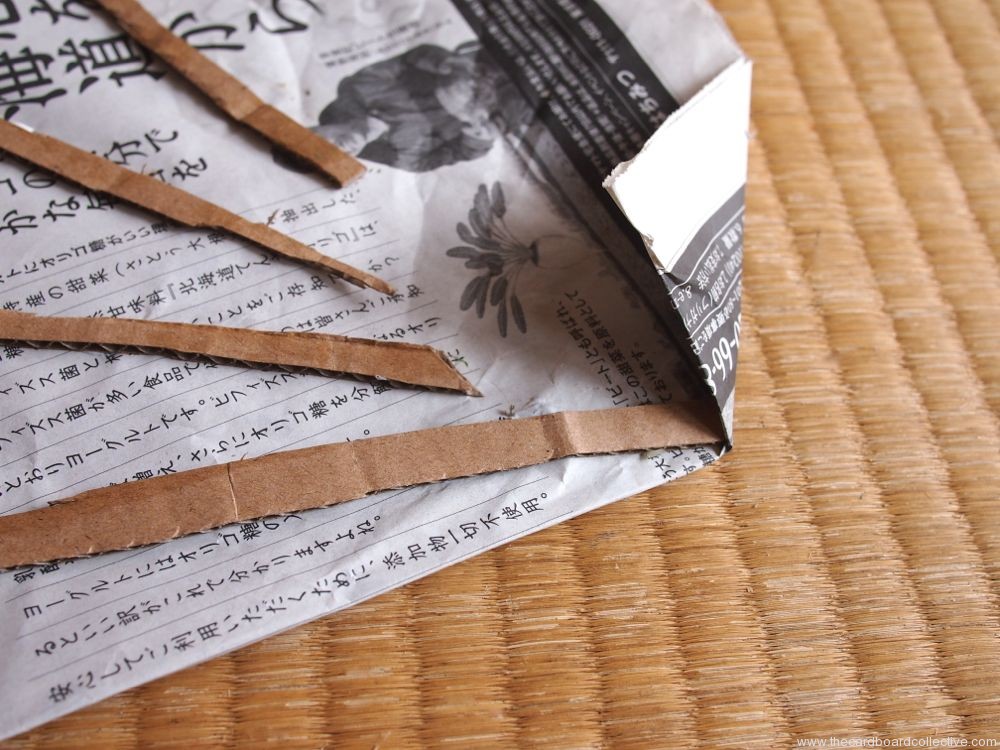
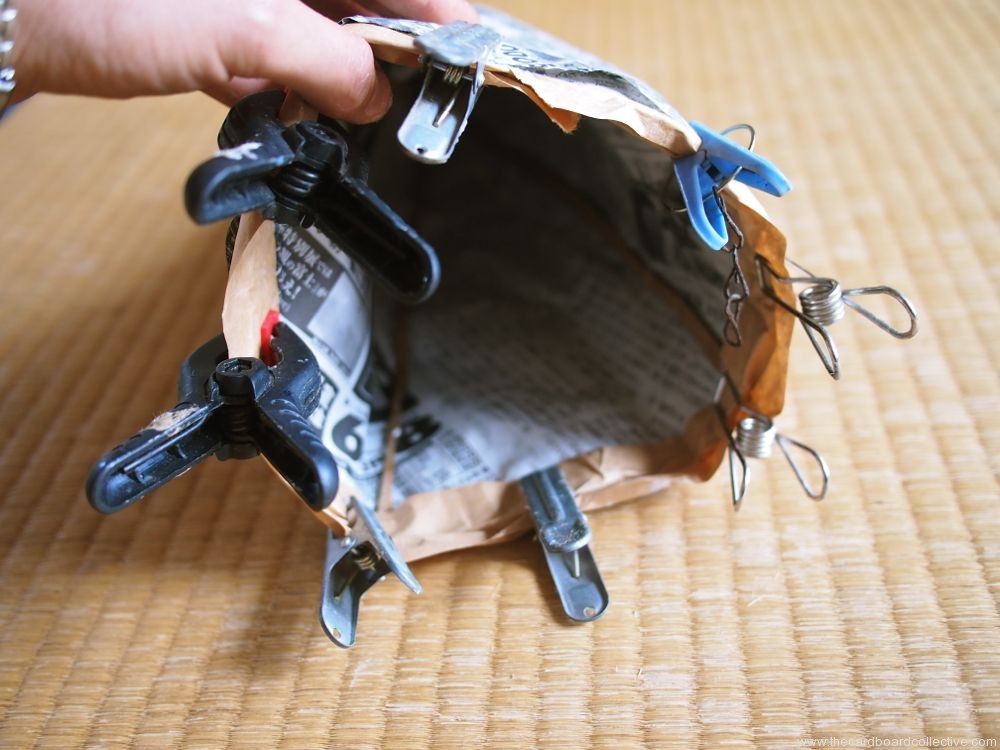
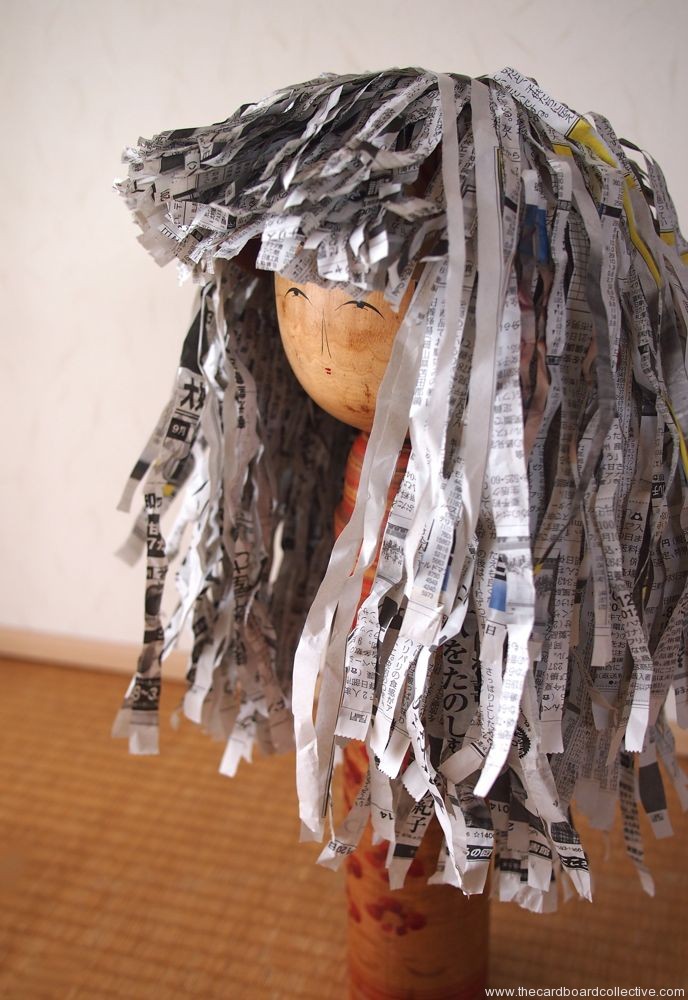
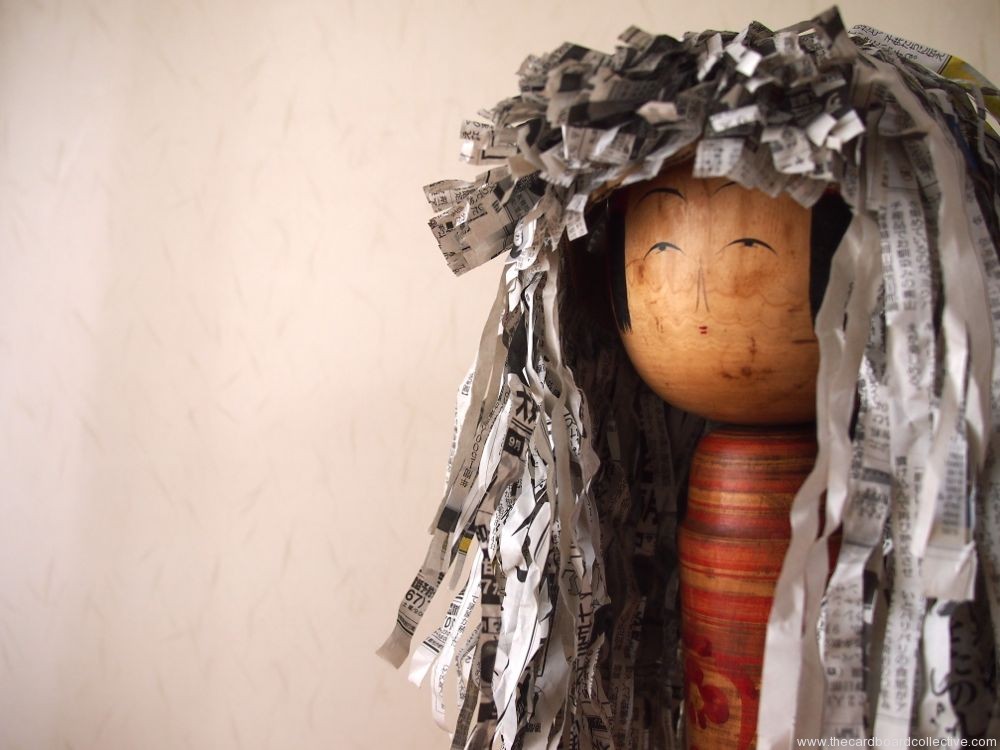
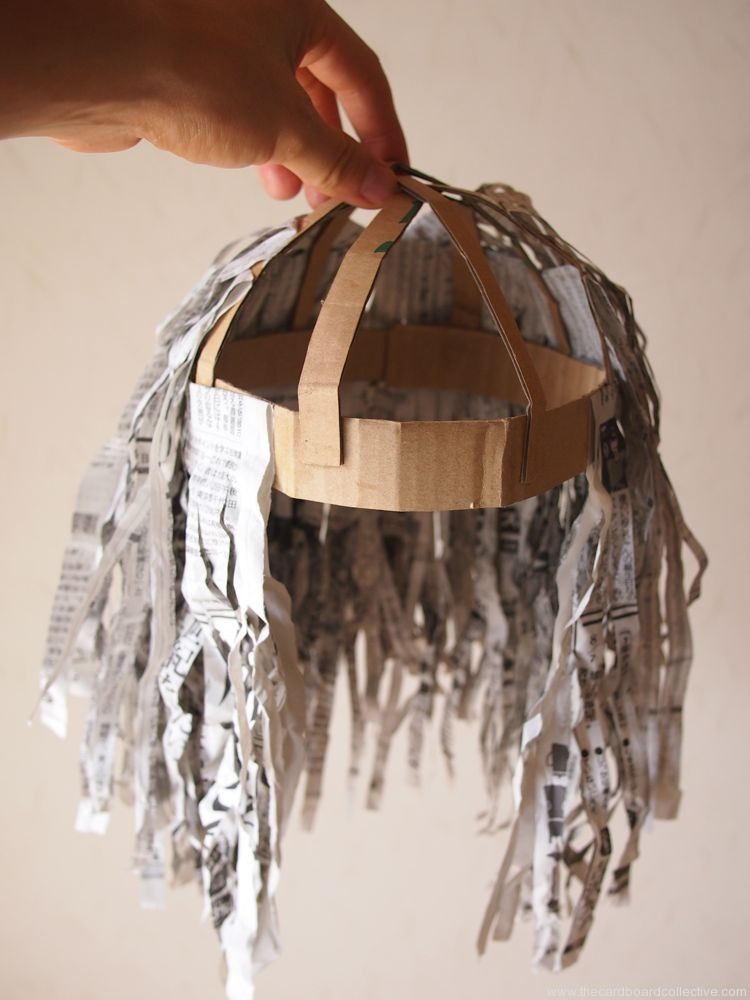
Newspaper Wigs
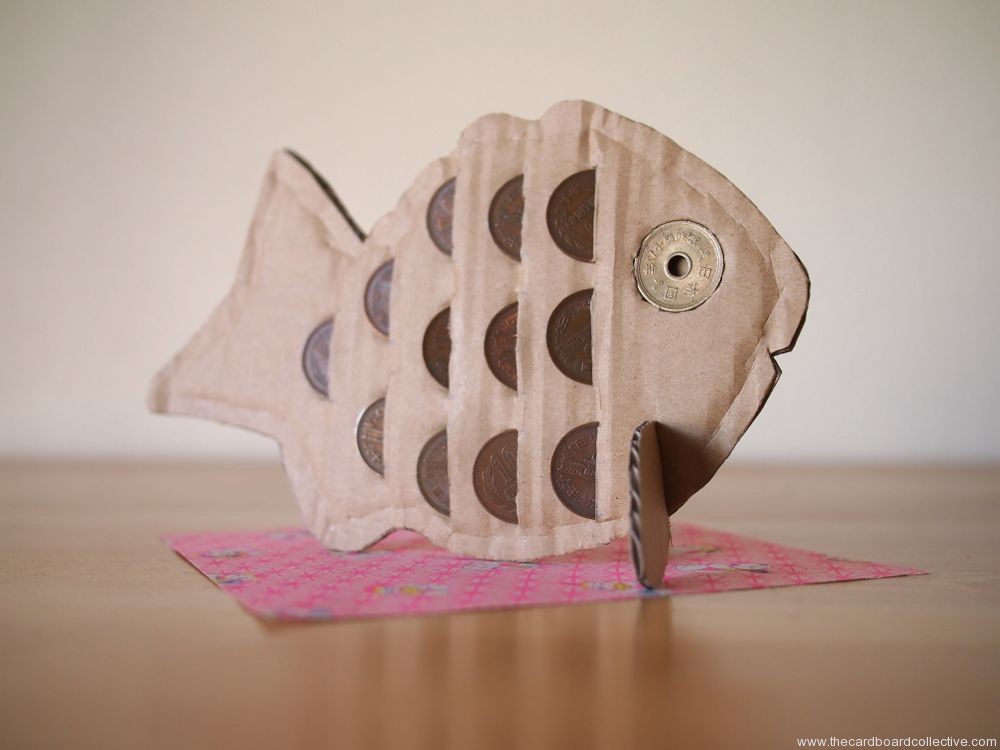
Cardboard Coin Bank
Steam-y, sweet taiyaki, is a well-loved treat here in Japan. It's a food that gives everybody a warm, happy thought just dreaming about it. If you've never tried it, or even heard of it, I would describe it as something like a stuffed waffle. Typical fillings are cream, custard or sweet bean, but I've also seen an ice cream version.
You can use this bank to collect the coins you need to buy taiyaki with 10 and five yen coins, but even if you never do try taiyaki, I hope you use the idea to make a new kind of bank of your own. Think of the possibilities!
This is also the last project for my collaboration with Eco + waza for their Tomorrow Box subscription. It has been an exciting challenge to come up with projects that can be made from product packaging, and I hope to do more of this type of work in the future!
To make taiyaki you will need the template, scissors, utility knife, glue, clips and cardboard.
Simple steps:
1. Use the template to trace and cut two fish and one set of fins from the cardboard.
2. Use a utility knife to cut the slits and hole for the eye on one of the fish.
3. Glue the two halves of the fish together, using clips to secure until dry.
4. Attach fin and insert coins.
Our favorite place to get taiyaki in Tokyo is at Takane's in Mitaka (after we dig seashells, by the seashore, Whew!) They've been making taiyaki and traditional Japanese sweets since the 50's, and they are really really delicious!
Cardboard Bear Desk Organizer
I've been playing around with making templates and shapes from things you find in the kitchen, so here's a funny little animal that was born out of that process, and was inspired by some similar wood and ceramic pieces I've seen on the internet as of late.
You'll need a cardboard tube, corrugated cardboard, scissors, white glue, a drinking glass and a spoon.
Simple Steps:
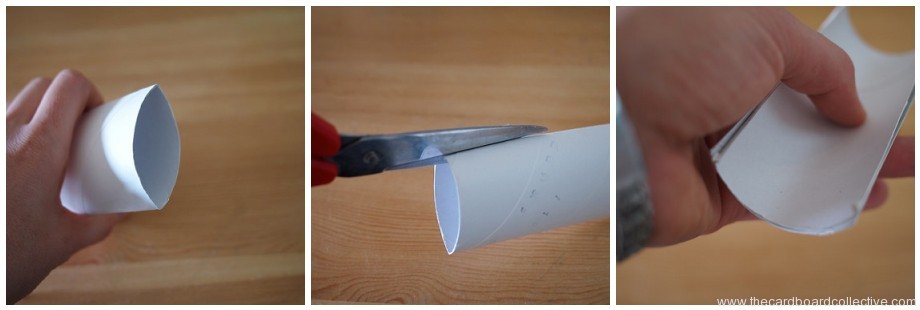
1. Flatten the toilet paper tube and cut along both creases to cut the tube in half. 2. Layer the two halves of the tube together to make the cradle for the organizer.
3. Use the mouth of the drinking glass as a form to trace the curves for the front and back of the bear's hips and shoulders. Cut.
4. Trim the tube to the desired length and assemble the organizer by gluing the tube to the hip and shoulder pieces. Secure with a rubber band while drying.
5. Use the base of the drinking glass as a form to trace the bear face, add ears, cut. Glue face to the front of the organizer.
6. To make the nose, trace the curve of a teaspoon, cut in half and glue to the cardboard face.
Spoon, glass, plate, spatula...... hmmm. What else can we make?
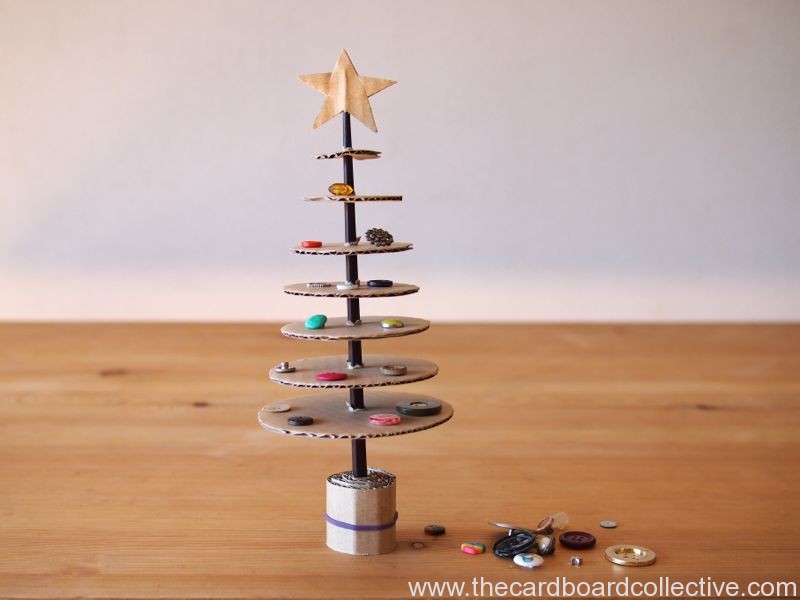
Cardboard & Button Christmas Tree
I made this little table top Christmas tree for the girls. They are really into stringing beads and buttons these days. They love the act of decorating (and redecorating) a tiny tree.
This is also the perfect little something to send to someone who doesn't decorate much for the holidays ...... you can stuff it in an envelope.
We collected some of our orphan buttons from the ground around train stations and parks we frequent here in Tokyo and some are from our old clothes.
To make the tree:
You will need a chopstick, scissors, cardboard and a rubber band.
Trace around the mouth of a drinking glass and add 1cm to the diameter to make the largest section of the tree. Cut it out.
Continue tracing and cutting out the circles, making each one about 1cm smaller than the last. I ended up with 7 layers.
Poke a hole with the chopstick through each circle and thread it onto the tree, starting with the largest. Be careful not to push the circles down too far.
Draw and cut out a star by lining up the corrugations so that you can thread it onto the top of the chopstick.
Cut a long strip of cardboard (about 2-3cm wide) and roll it up with a rubber band to make the base.
Decorate with your favorite orphan buttons or disassemble and send to a friend.
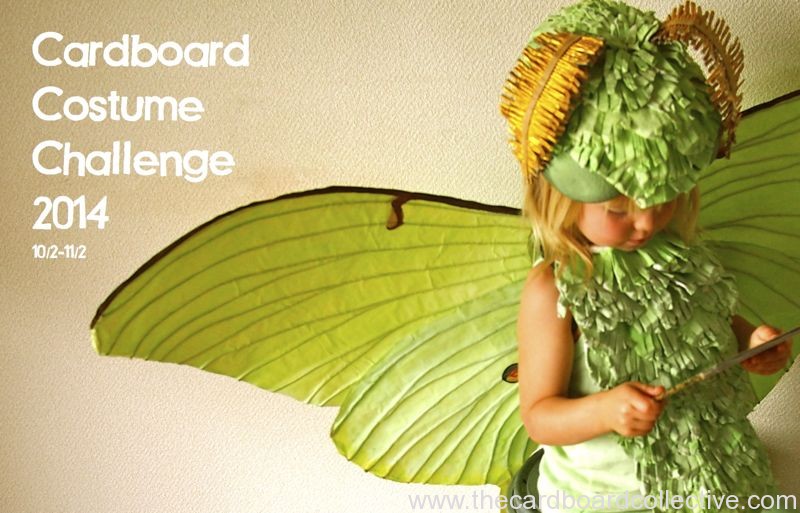
Although it's already Mid November, I just wanted to say thanks again to all of you who took the Cardboard Costume Challenge this year.
Whether you sent in pictures or just got thinking about the idea for the future, thanks for following us on this year's Halloween adventure. I had so much fun working on our insect family costumes as well as the other costume tutorials.
I hope to see you again next year, and please visit the Pinterest Board now and then as you start scheming and dreaming for 2014. (I already have a request for a Humback Whale costume from the littlest one and a year might be just enough time to figure it out!)
Cardboard Lightning Bug
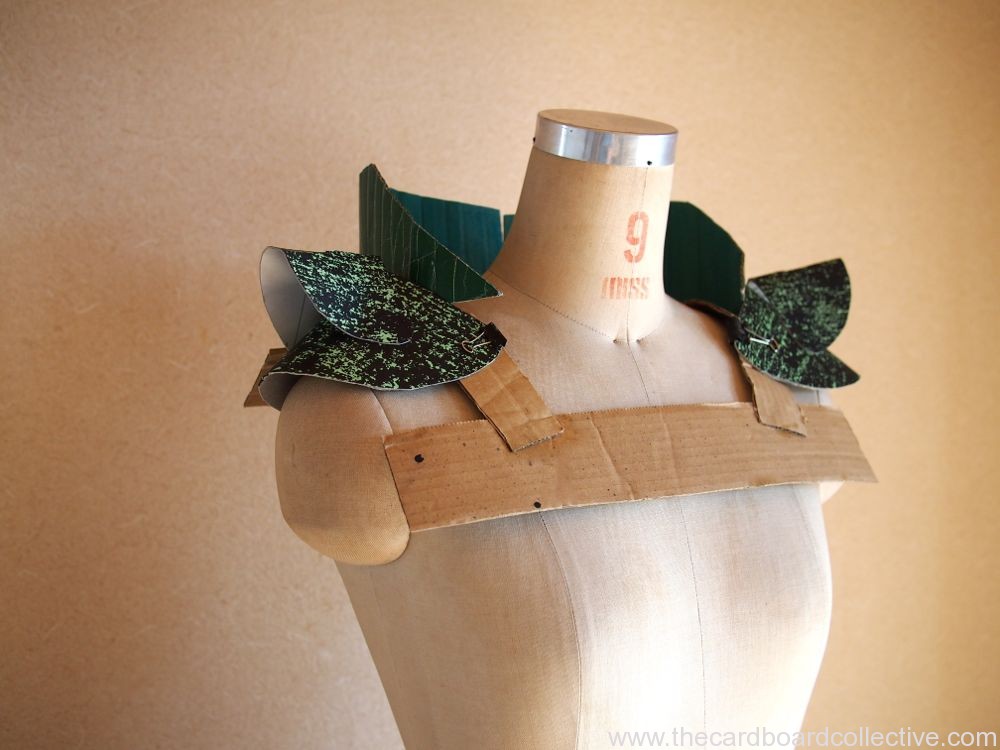
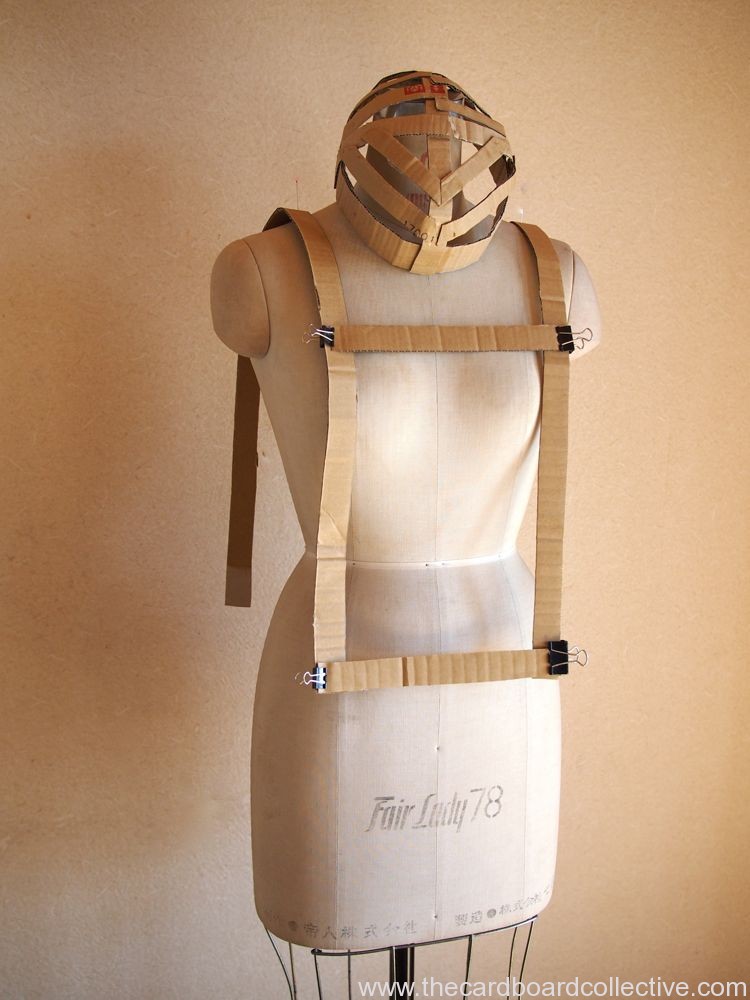
How to Start a Body Piece For a Cardboard Costume
In case you are just starting your costume, (like me) I wanted to show you that you can still get started with a cool cardboard costume and finish before Halloween (you will have to hustle). Although I'm going as a grasshopper, most elements are the same, I'll just be dealing with extra legs and antennae...
Just start with long cardboard strips, (mine are a rulers width), and drape them over the shoulders attaching horizontal strips as needed.
You can build a structure pretty quickly on which to start gluing cardboard skirt pieces and armor layers.
The rounded layers on the shoulders above are made by tracing a variety of bowls and plates, cutting them in half, then folding them and gluing them into place.
Really, it's not about the cardboard though, is it? It's about trying something new that you have never done before....it can make you sheepish. Well, I'm here to say: You can do this!
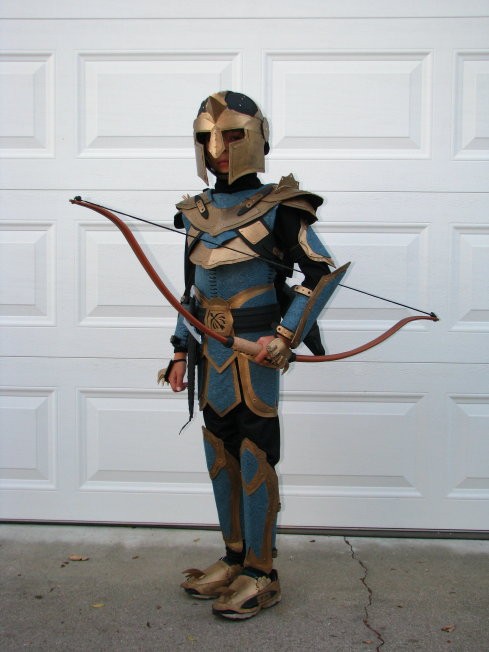
My inspiration: these incredible costumes from last year's challenge:
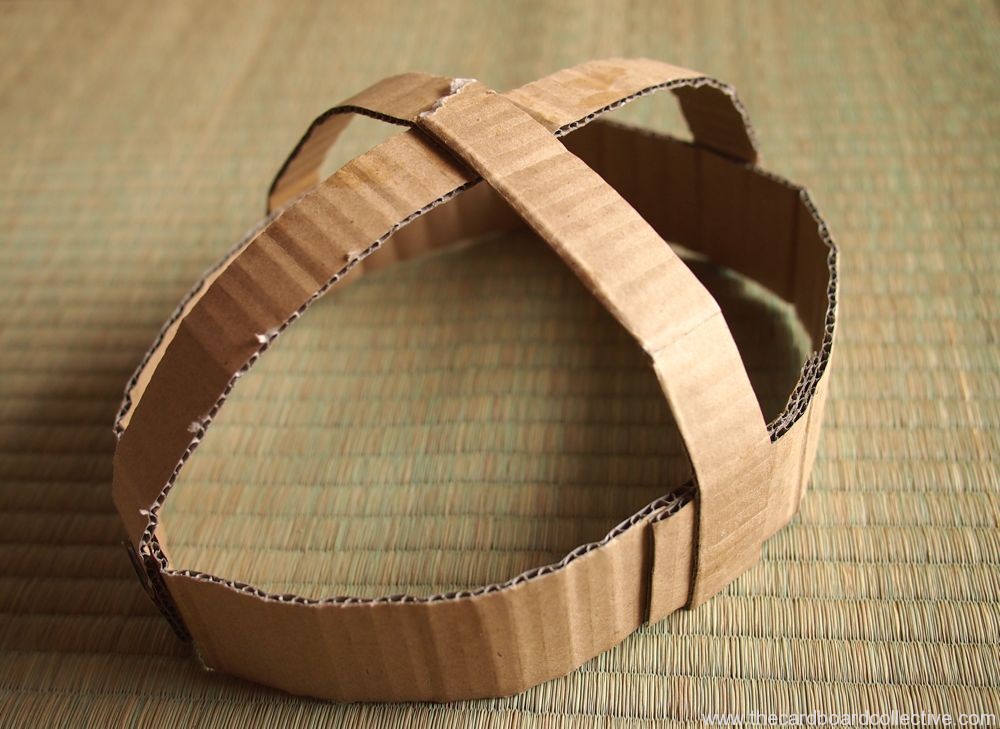
How to Start a Cardboard Head, Hat or Helmet
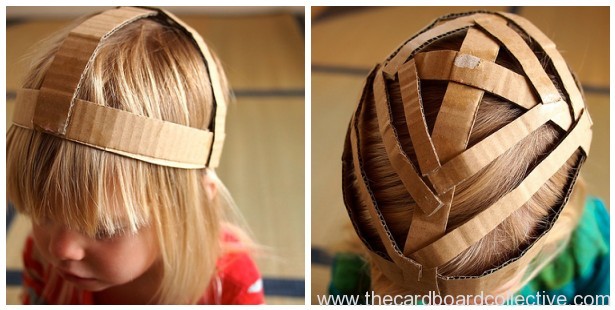
These are the beginnings of the head pieces the girls will wear for their butterfly and moth costumes. We will be attaching antennas and textured cardboard to complete them.
Simple Steps:
Cut strips of cardboard about 1.5" wide and longer than you need to wrap around your head.
Measure cut and glue a strip of cardboard together so it fits around your head.
Attach 2 more cardboard strips so that they cross over the mid point of your head.
Add additional strips as desired.
Use this base for attaching ears, horns, antennas, or a mask.
Gathering Inspiration & Making a Plan
When my daughter decided that she was going to be a butterfly this year, we thought, hey why not be a whole family of insects?
Then the real thinking began and we each had to commit to our insect of choice... My husband chose early and is following an entirely logical, and proper plan for attacking his costume, bit by bit. Although it's not typically my style ( I wish it was), I'm going to try following his approach this year too.
Here's what we've done so far:
1. Create an inspiration board. I like to use Pinterest. Here's a link to the board I'm using for my Grasshopper costume. I usually try to gather examples from the following categories to get a well rounded amount of inspiration and produce a unique and creative costume.
realistic images (many views)
inspirational costumes
images that address problems or difficult parts
images that inspire shapes or moods
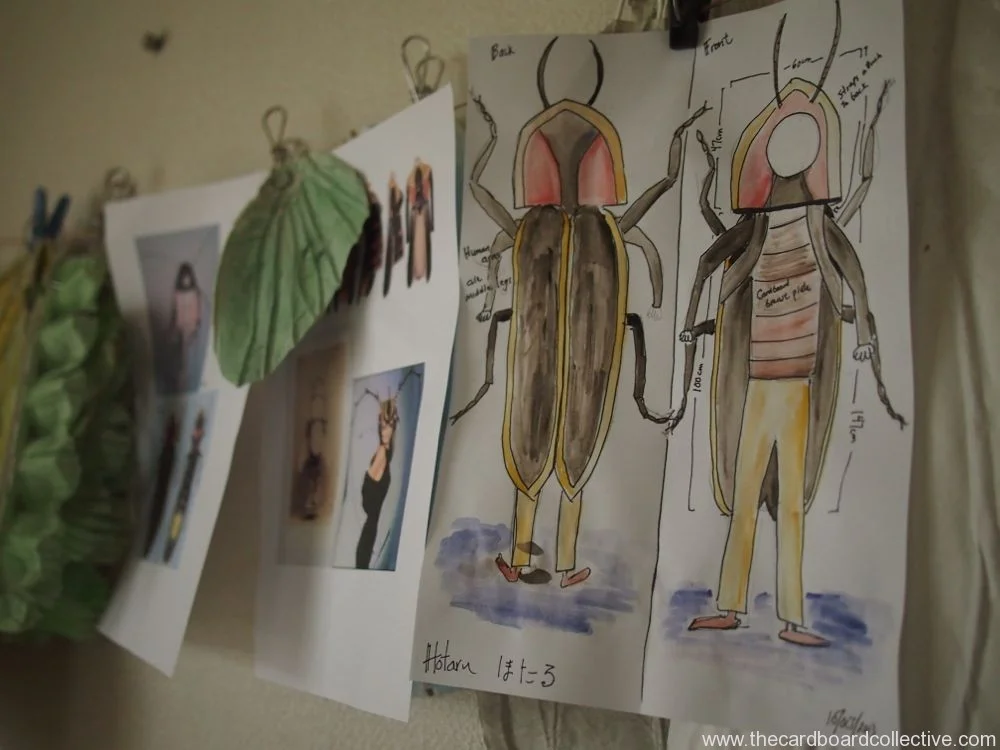
2. Create a detailed sketch of your costume. I like my husband's approach of folding a regular piece of white paper in half vertically and drawing the costume from the front and back. It keeps it simple. After drawing, he began to add measurements.
3. Collect materials and prototype. I like to try smaller versions of some costume parts first to see if my ideas will work, then I know if I have to keep trouble shooting any parts of the costume.
How about you? Are you well on your way, or just getting started?
Cardboard for Stools & Tabletops
It was a pleasant discovery to find out that old album covers can be opened up to create a large, 4 paneled piece of cardboard for the Totem Box table and stool tops.
You may or may not have noticed from my previous pictures that Stevie Wonder is gracing the surface of our Totem Box table. If my daughter does in deed learn to read from constant exposure to "Master Blaster" lyrics, I'll be the first to let you know.
The album cover cardboard is pretty durable. It can recover from a spill as long as it isn't left standing too long, but if you're after something that you can truly pass a rag over, I suggest re-purposing shiny, plasticized paper shopping bags.
The plastic is not recyclable, but I'm pretty sure that these bags are processed without a problem at most paper recyclers. We are able to put them out here in Japan, and I pick them up from other people's recycling piles for the odd project here and there.
While cardboard still rules, it's nice to have options...
DIY Cardboard Camera
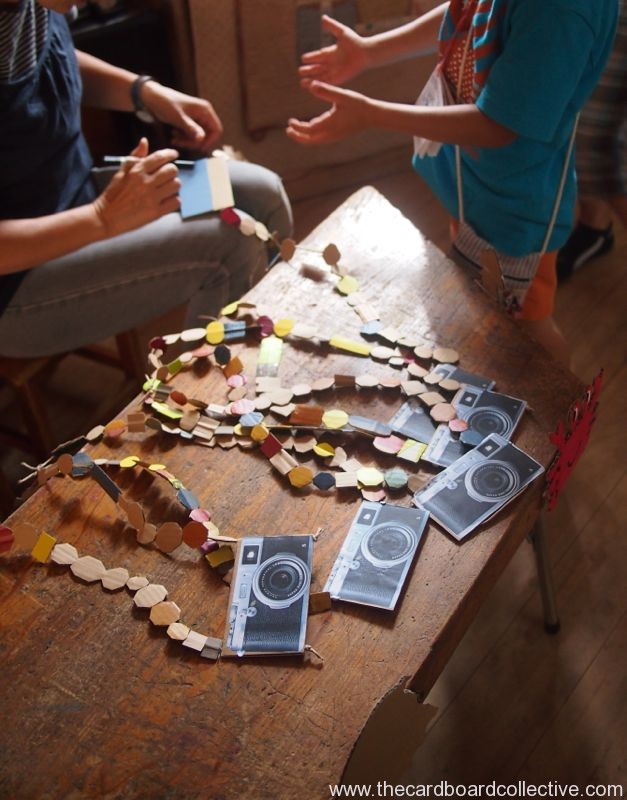
There are so many adorable ideas for cardboard cameras on the internet, but this one comes from the first post I ever published on The Cardboard Collective about cardboard beads. When I got my new camera, I had the paper camera brochure left over, and glued it to some cardboard. We strung it with some cardboard beads on paper twine to make one of the more popular items in the girl's jewelery box.
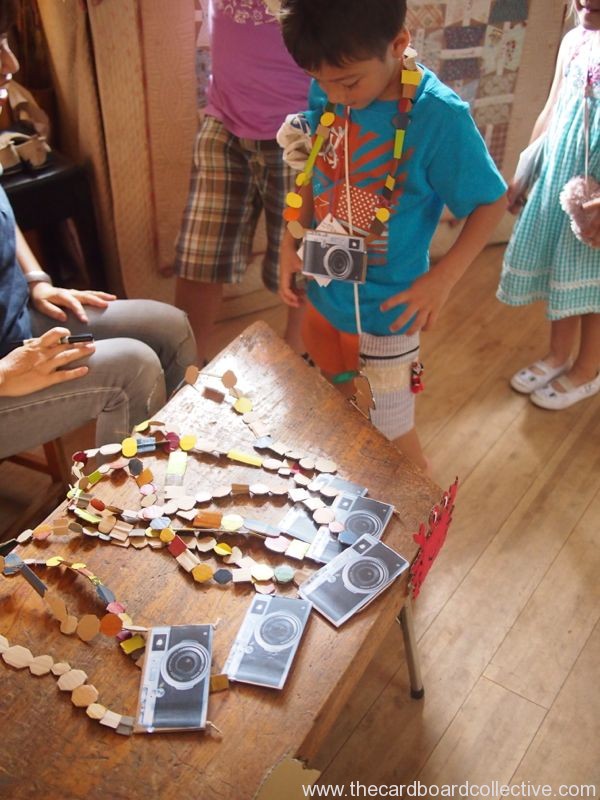
Recently I joined up with about 15 other mothers from my daughter's yochien (Japanese preschool) and we made cardboard camera necklaces for all the kids at her school. The cameras were a prize from our fishing booth at the summer festival.
It was SO fun to see the kids snapping photos of each other. Since most of the parents were also walking around with their cameras slung around their necks, there was the slight excited air of a press conference announcing the magic of summer; more kiddie pools and popsicles to come....
Some of the kids know I helped make the cardboard cameras, so it was cute when they pretended to take my picture. A sweet way of trying to communicate and be playful with me. Of course I love kids AND cardboard, so I was pretty smitten the entire day.
Say "チーズ!"
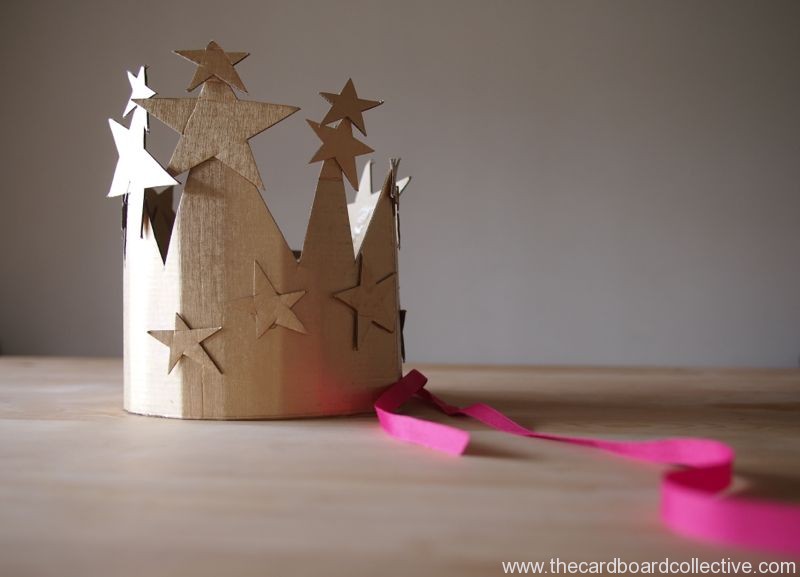
Starry Cardboard Birthday Crown
An easy beautiful birthday crown that my daughter put together on her big day. She wants to wear it again next year, and I agree it turned out beautifully. There is definitely a Glinda, Good Witch of the North quality there.
If you can't find gold cardboard, try jarred gold paint and pizza box lids........

