段ボール
Monarch Caterpillar from Cardboard
Cardboard Monarch Caterpillar Costume by Amber
Made from recycled materials and recyclable
cardboard, Japanese paper rice bags, white glue, staples, thread, steel-toothed zipper, caster wheels, acrylic paint
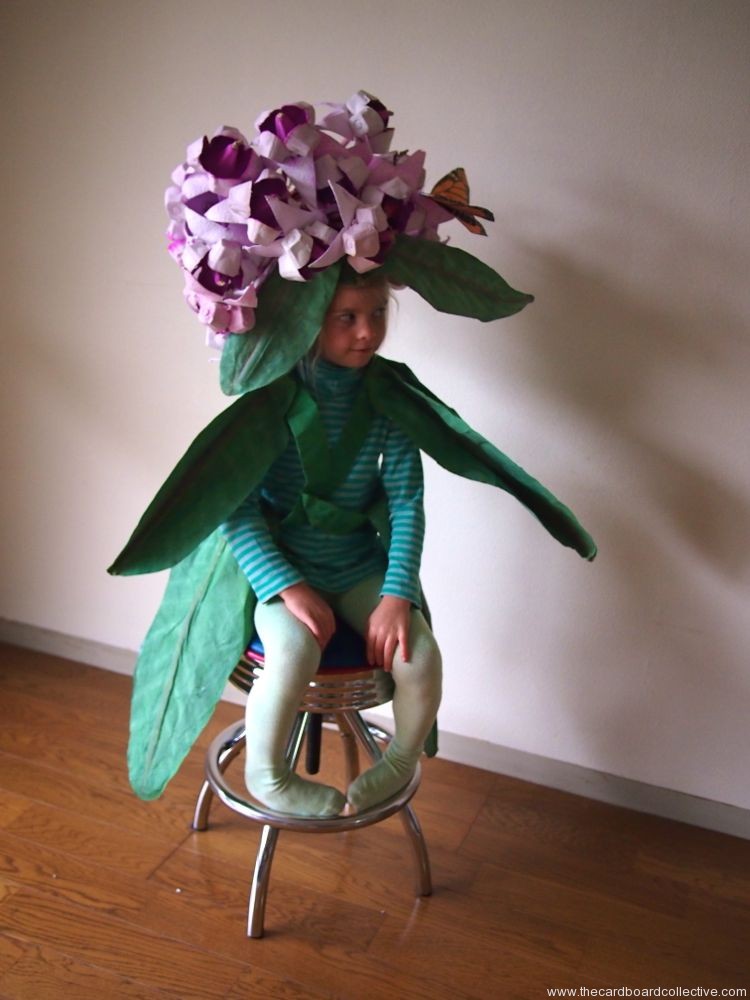
Paper Milkweed Costume
Milkweed Costume by Amber
Made from recycled materials and recyclable
Melon cartons, egg cartons, paper twine, cardboard, Japanese paper rice bags, newspaper, tempera, chalk, white glue, staples
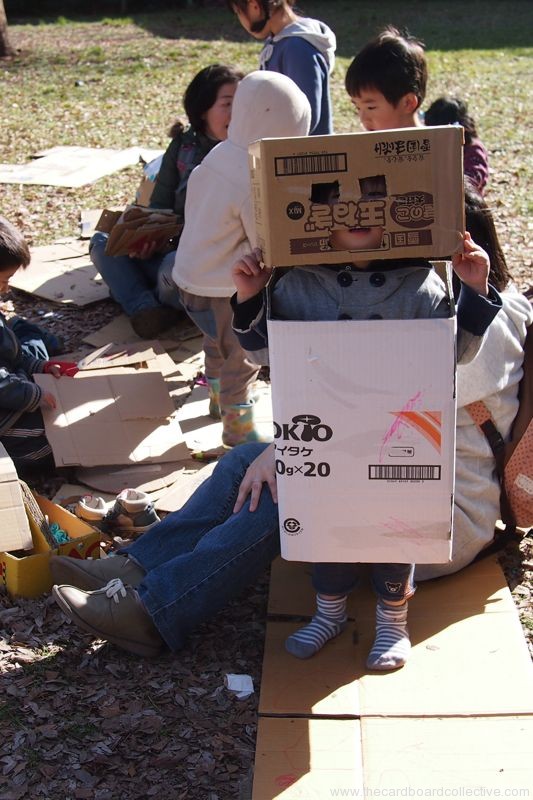
A Cardboard Mushroom
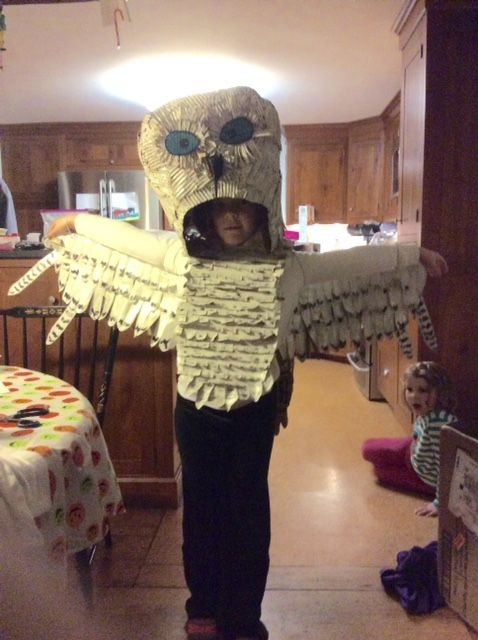
Cardboard Costumes!
L. Towill's "Snowy Owl"
M. Doran's cardboard peg horse http://unedaliaenwestfalia.wordpress.com/
J. deGroot's cardboard stag
Wow! These are some of the incredible costumes that blog readers sent. Cardboard used in a variety of ways, and utilizing the natural tones and textures of the material. Outstanding!
A Visit from the Purple Unicorn
Mac Huynh, Writer: Unicorn, Photo by Patricia Chang for Racked
Malorie Lucich McGee, Tech Communications: Cereal Killer, Photo by Patricia Chang for Racked
Ben Chiaramonte, Brand Designer: Wolf of Wall Street, Photo by Patricia Chang for Racked
Our Cardboard Costumes Pinterest board was recently featured on The Pinterest Handmade Halloween Hub. Some Pinterest staffers even made their own costumes inspired by some on the board, including our own Cardboard and Newsprint Unicorn Costume, (top) which looks even better in purple, I think.
Workshop: Cardboard Creatures & a Pinata too!
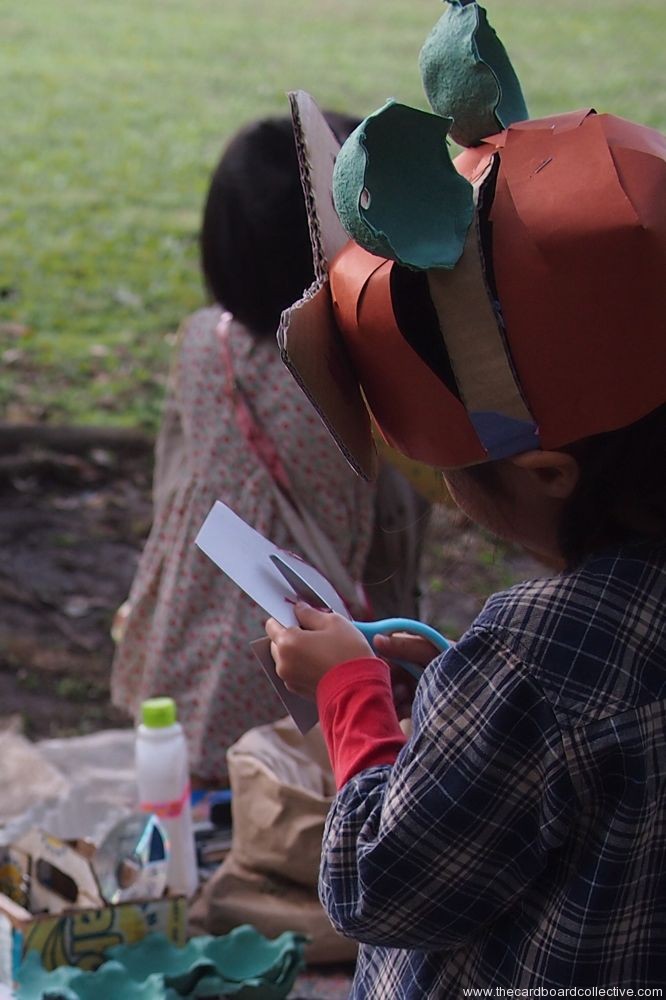
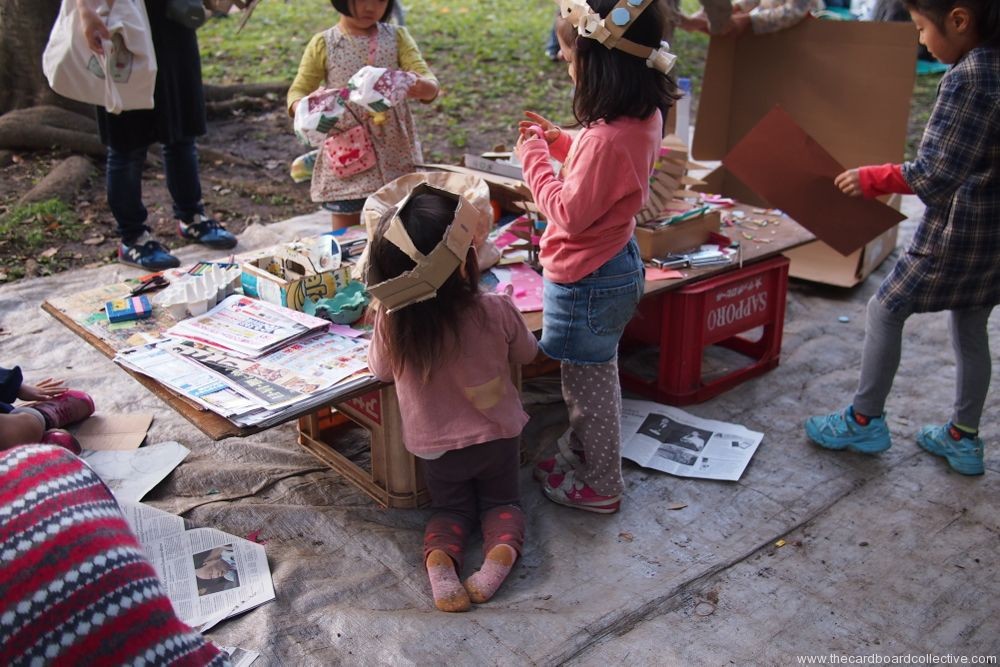
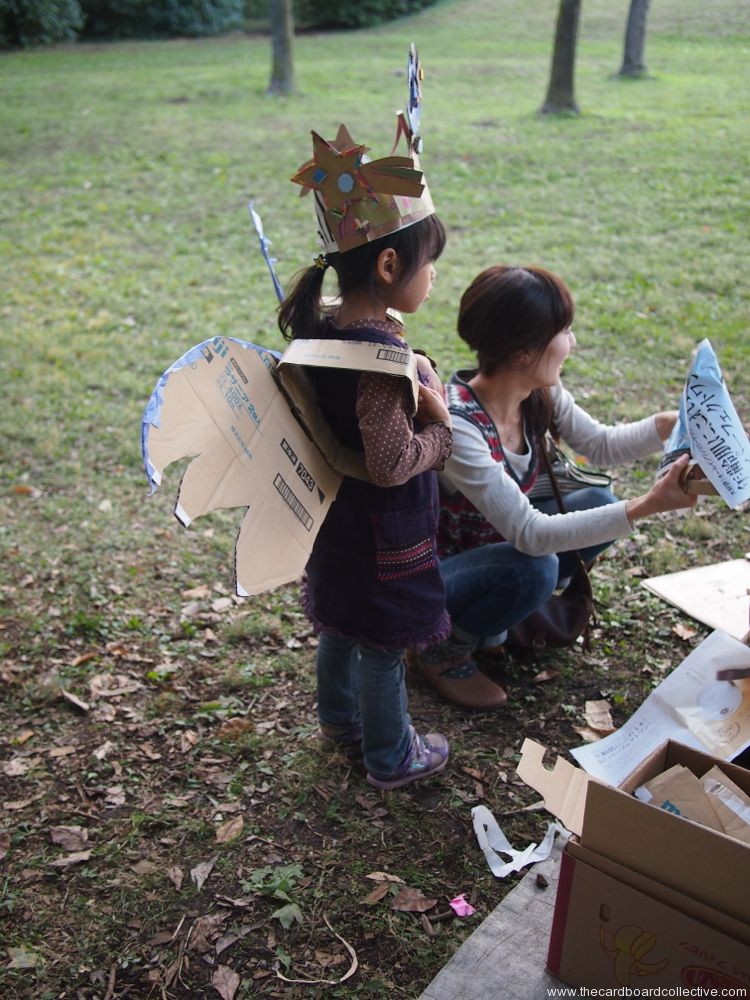
I had a great time with all the kids and parents that came to the mask-making workshop. Their creativity transformed a pile of cardboard and paper recyclables into a fun menagerie of hats, masks, wigs and mythical creatures. I also loved sharing my family's long time tradition of making pinatas (this time in cardboard) with so many families who had no idea what pinatas were.
Thanks to everyone who helped with clean-up, spreading the word through email, my very kind friends who translated for me, and to everyone who came out on such a beautiful day to enjoy the fun of making and celebrating together.
Mask-Making Workshop
In cooperation with Play Park Kujira Yama ( a weekly pop-up adventure playground in Tokyo) I'll be leading a Halloween mask-making workshop culminating with a cardboard pinata we'll decorate the day of the event. Oide!
Who: preschool and elementary aged children and their parents
What: recyclable Halloween hat and mask making
Where: Koganei Musashino Park next to Kujira Yama
When: Friday, October 24th, 2014 from 2pm - 4:30pm
Please bring some light weight cardboard, a stapler and scissors (with your name on them) and okashi/snacks to fill our pinata!
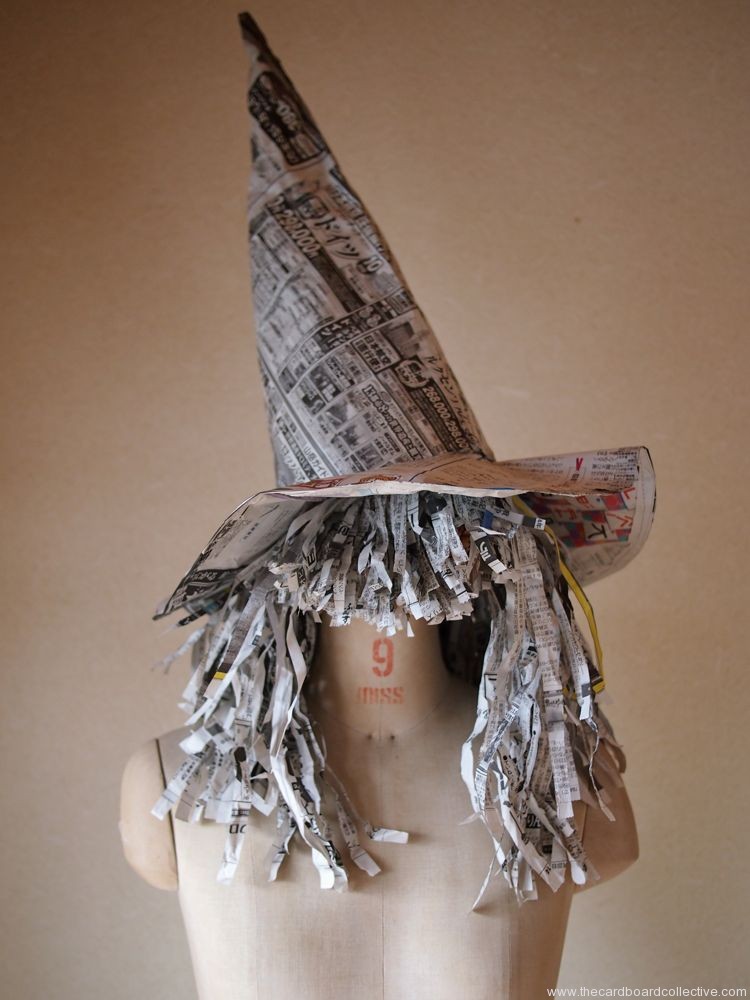
Newspaper Witch's Hat
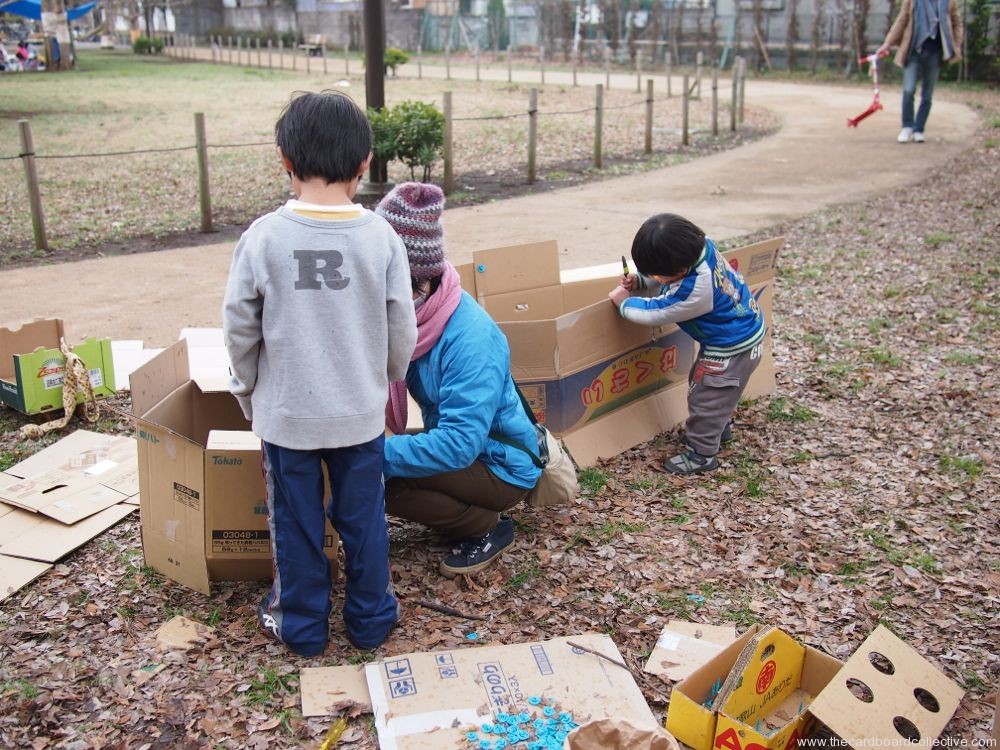
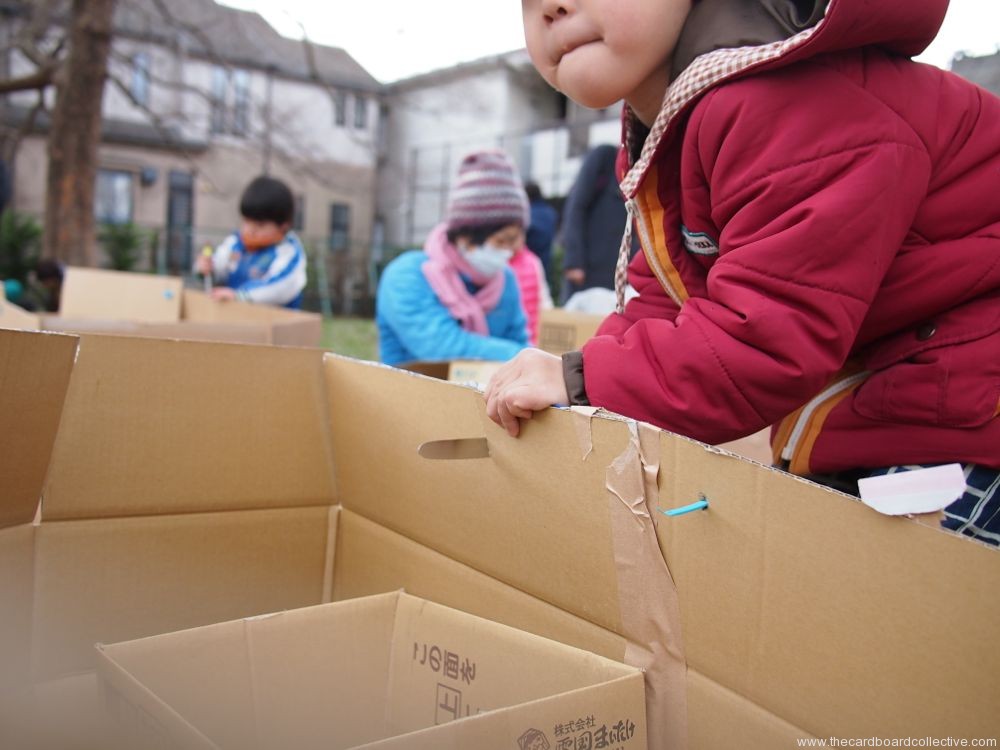
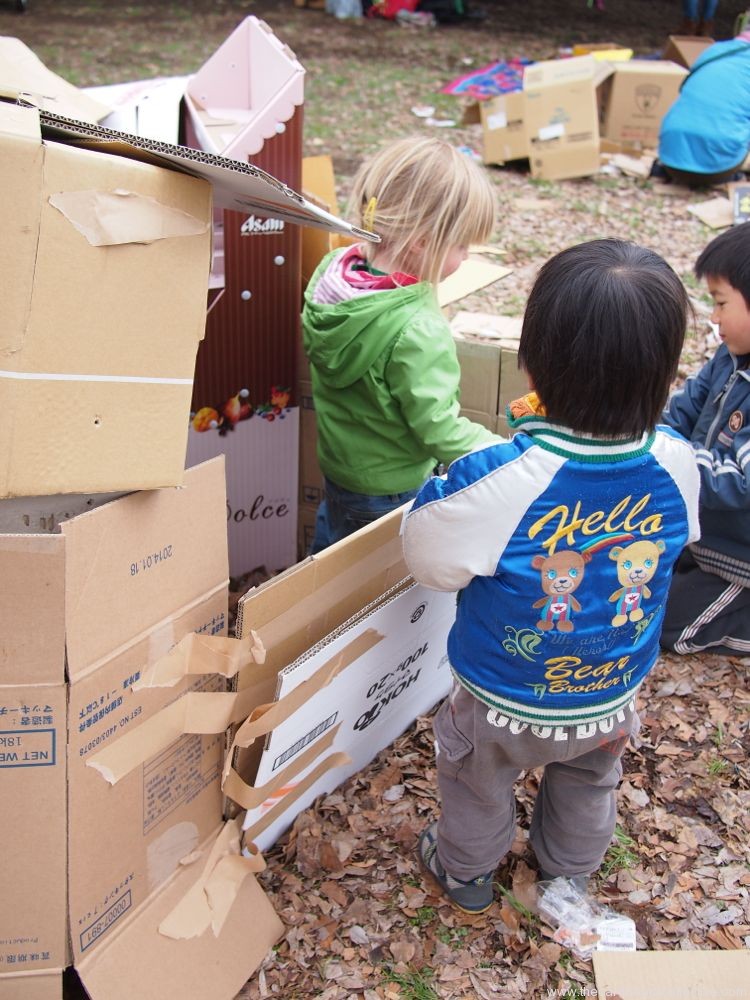
Pop-Up Cardboard Play Day #7
Another cardboard adventure out in the park!
This time I learned something important.
I love DEconstruction,
but
not destruction.
The kids that came out to play built a fun labyrinth of houses/caves and then slowly took the whole thing apart. It was really great just watching them. I saw a two year old saw cardboard for about an hour straight. In the same groove. I loved it.
Later in the week I took just the Windballs to another park to play, and a few teenage boys kicked them around a bit. It was good, I was glad to see them enjoying them, but then they just stomped on them, shattering the MakeDos to bits before running off. I didn't love it. My teacher voice came out.
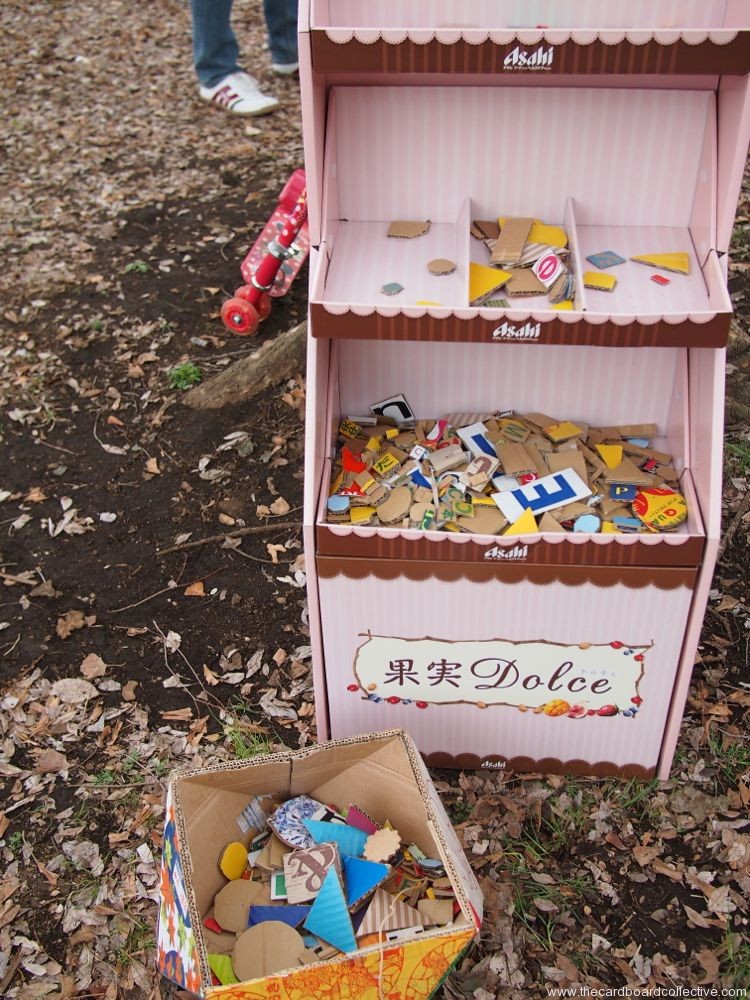
Did you see the adorable pink cardboard kitchen that I found at the grocery store where I sourced all the cardboard?
Cardboard Bear Desk Organizer
I've been playing around with making templates and shapes from things you find in the kitchen, so here's a funny little animal that was born out of that process, and was inspired by some similar wood and ceramic pieces I've seen on the internet as of late.
You'll need a cardboard tube, corrugated cardboard, scissors, white glue, a drinking glass and a spoon.
Simple Steps:
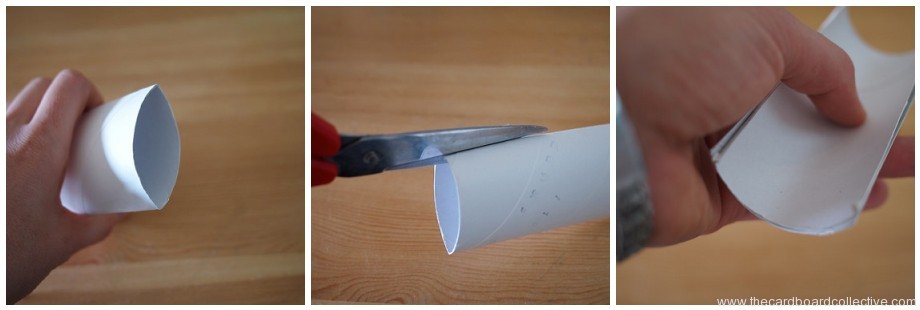
1. Flatten the toilet paper tube and cut along both creases to cut the tube in half. 2. Layer the two halves of the tube together to make the cradle for the organizer.
3. Use the mouth of the drinking glass as a form to trace the curves for the front and back of the bear's hips and shoulders. Cut.
4. Trim the tube to the desired length and assemble the organizer by gluing the tube to the hip and shoulder pieces. Secure with a rubber band while drying.
5. Use the base of the drinking glass as a form to trace the bear face, add ears, cut. Glue face to the front of the organizer.
6. To make the nose, trace the curve of a teaspoon, cut in half and glue to the cardboard face.
Spoon, glass, plate, spatula...... hmmm. What else can we make?
Album Cover Pocket Folders
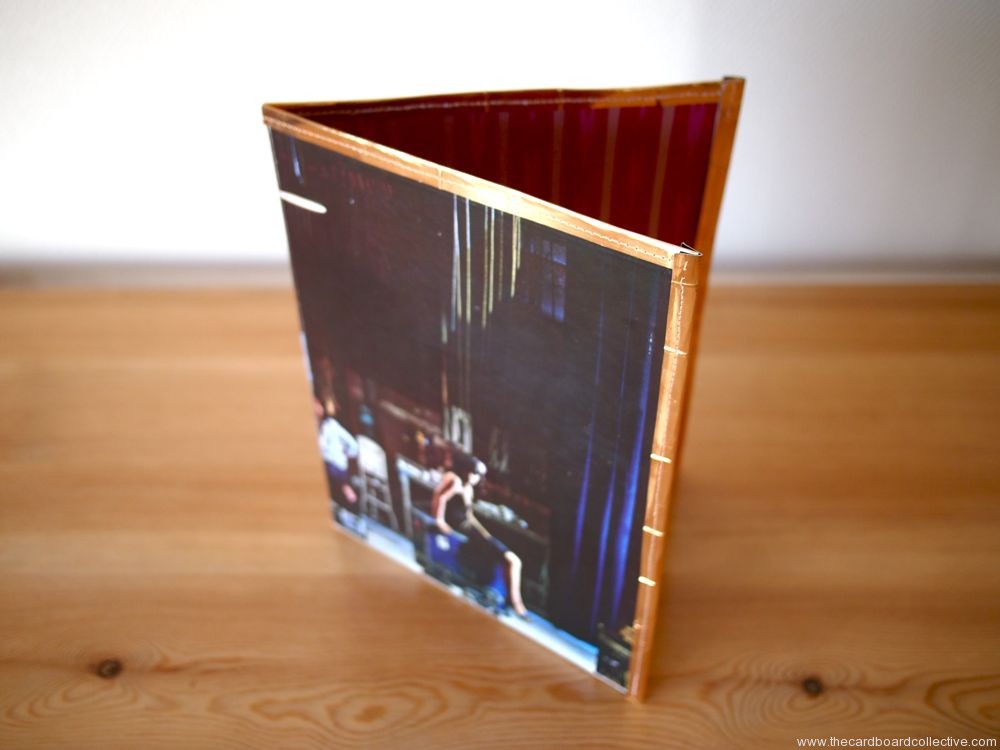
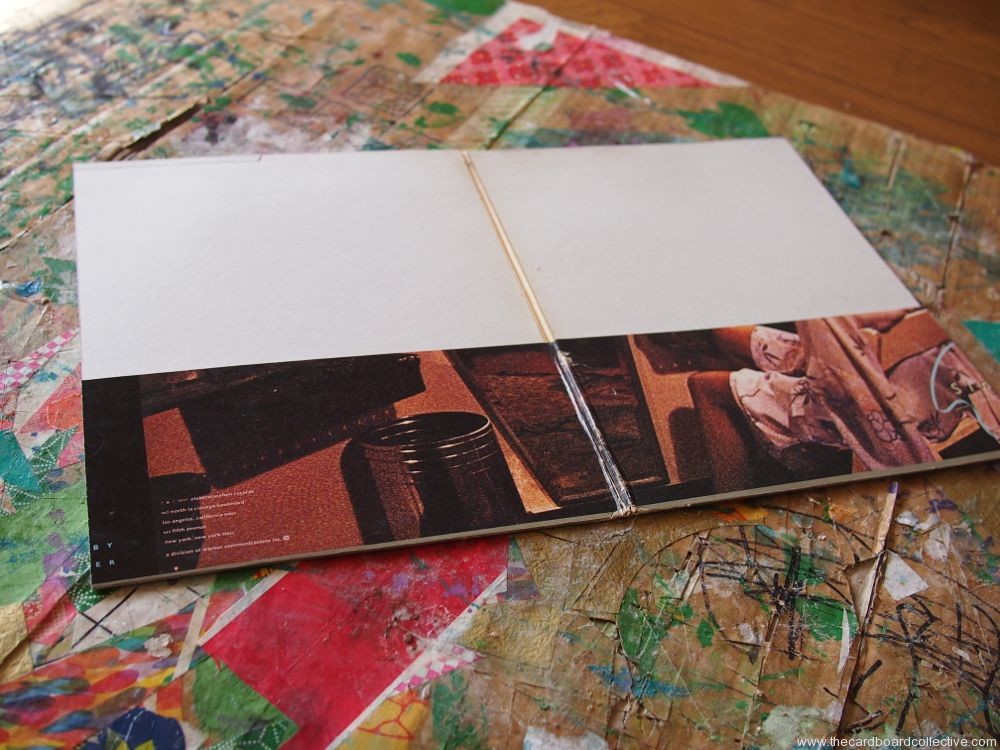
During my New Year's cleaning I unearthed a stack of album covers that I've used on many projects over the course of the last two years. As I contemplated finally recycling what was left, the photograph on the cover of this Linda Ronstadt album piqued my interest. I sat and stared at it.
I thought
.......prettiness, that's what I'm seeking right here and now in the middle of winter, that feeling.
So I brushed and cut my hair, pulled on my brightest striped sweater, and got busy making something pretty.
because of you Linda.
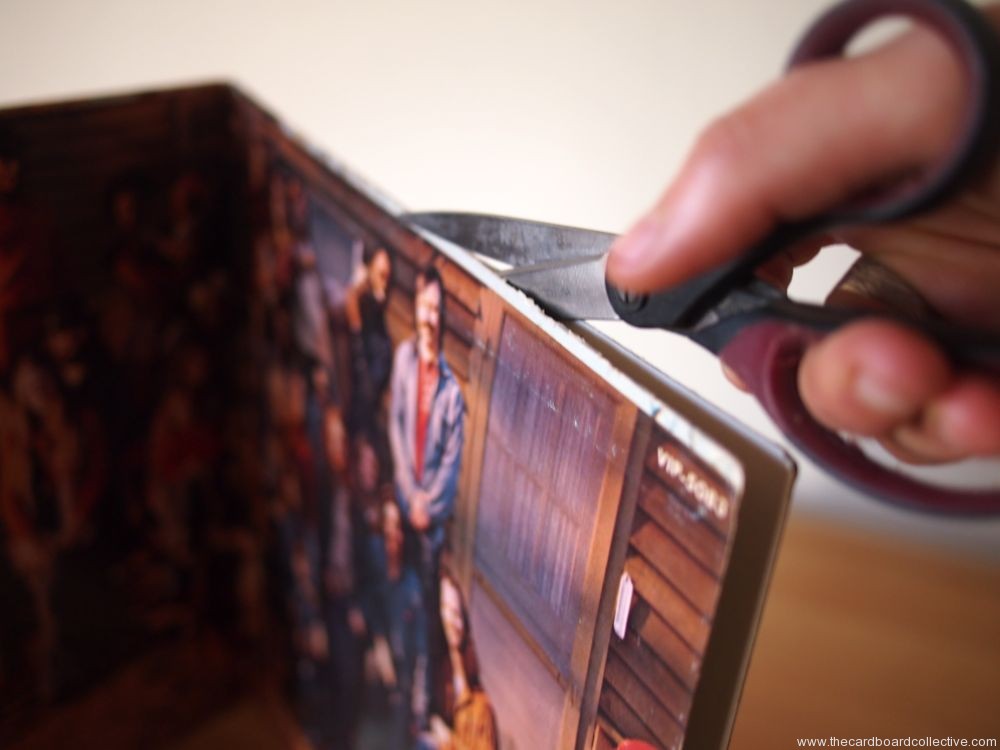
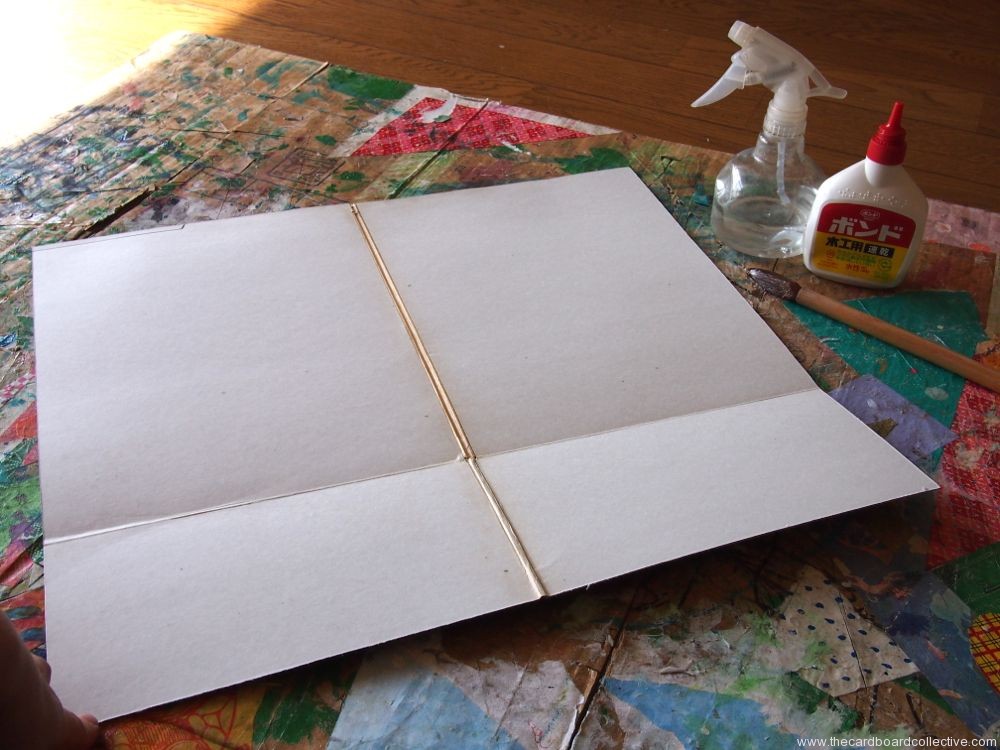
Start with a double pocket style album cover. Cut the album cover to the dimensions of 19" (48cm) x 12.5" (32cm). The height of the pocket is 4.5" (12 cm)
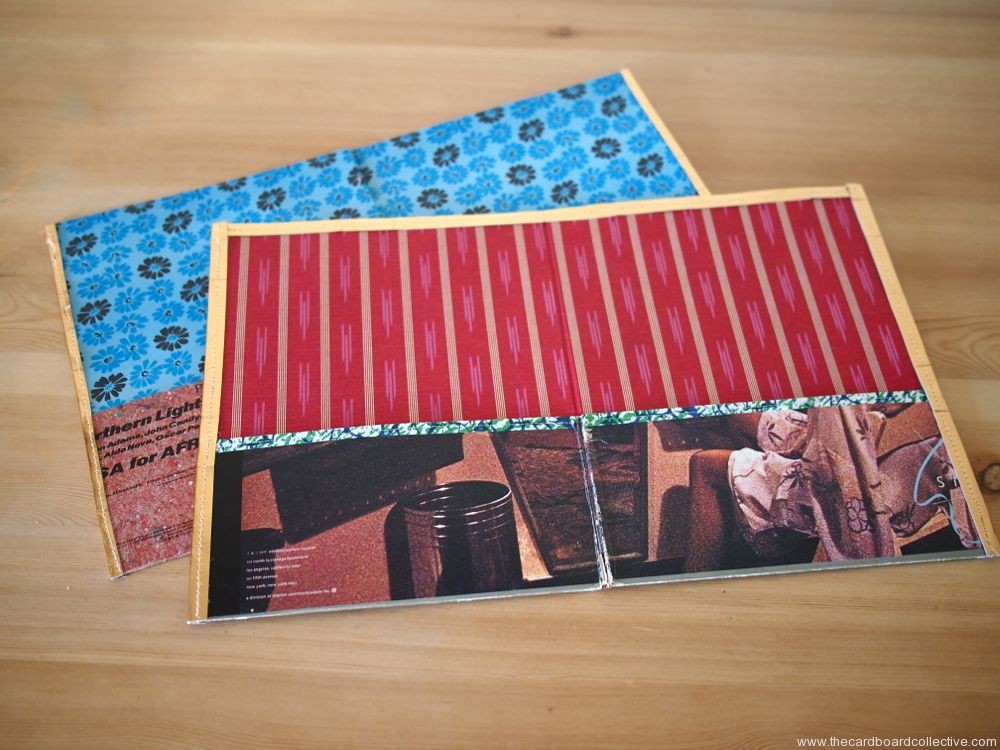
This is where you can add some pretty paper if the inside of your cover is aged.
The last and most interesting part of this project is the trim. I used strips of interesting paper and gold cardboard folded over the edges (about 0.75"/2cm wide). You can glue the trim down, but I sewed it onto the folder using a standard needle and my sewing machine. I used the hand treadle to get started and then back-stitched at the beginning and end.
Cup of cocoa anyone?
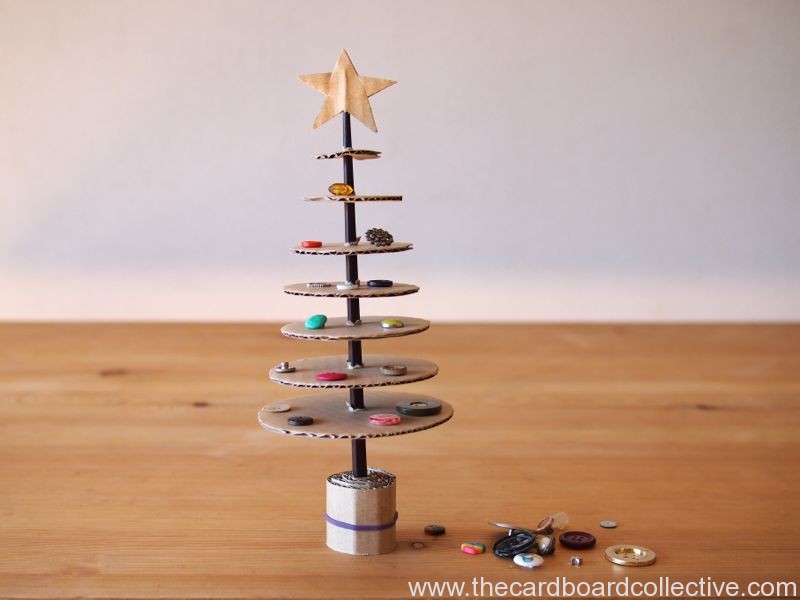
Cardboard & Button Christmas Tree
I made this little table top Christmas tree for the girls. They are really into stringing beads and buttons these days. They love the act of decorating (and redecorating) a tiny tree.
This is also the perfect little something to send to someone who doesn't decorate much for the holidays ...... you can stuff it in an envelope.
We collected some of our orphan buttons from the ground around train stations and parks we frequent here in Tokyo and some are from our old clothes.
To make the tree:
You will need a chopstick, scissors, cardboard and a rubber band.
Trace around the mouth of a drinking glass and add 1cm to the diameter to make the largest section of the tree. Cut it out.
Continue tracing and cutting out the circles, making each one about 1cm smaller than the last. I ended up with 7 layers.
Poke a hole with the chopstick through each circle and thread it onto the tree, starting with the largest. Be careful not to push the circles down too far.
Draw and cut out a star by lining up the corrugations so that you can thread it onto the top of the chopstick.
Cut a long strip of cardboard (about 2-3cm wide) and roll it up with a rubber band to make the base.
Decorate with your favorite orphan buttons or disassemble and send to a friend.
Although it's already Mid November, I just wanted to say thanks again to all of you who took the Cardboard Costume Challenge this year.
Whether you sent in pictures or just got thinking about the idea for the future, thanks for following us on this year's Halloween adventure. I had so much fun working on our insect family costumes as well as the other costume tutorials.
I hope to see you again next year, and please visit the Pinterest Board now and then as you start scheming and dreaming for 2014. (I already have a request for a Humback Whale costume from the littlest one and a year might be just enough time to figure it out!)
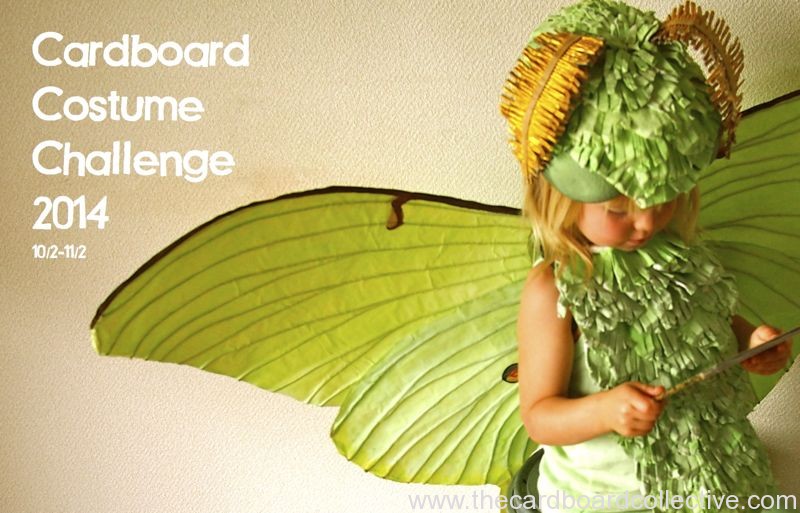
Luna Moth Costume
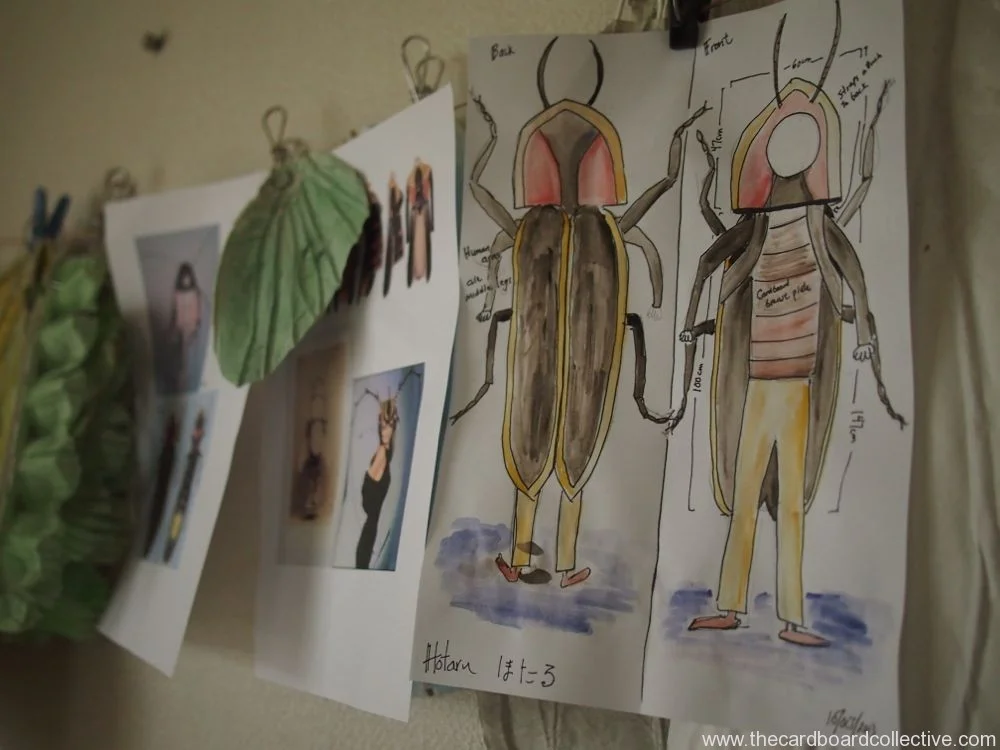
Gathering Inspiration & Making a Plan
When my daughter decided that she was going to be a butterfly this year, we thought, hey why not be a whole family of insects?
Then the real thinking began and we each had to commit to our insect of choice... My husband chose early and is following an entirely logical, and proper plan for attacking his costume, bit by bit. Although it's not typically my style ( I wish it was), I'm going to try following his approach this year too.
Here's what we've done so far:
1. Create an inspiration board. I like to use Pinterest. Here's a link to the board I'm using for my Grasshopper costume. I usually try to gather examples from the following categories to get a well rounded amount of inspiration and produce a unique and creative costume.
realistic images (many views)
inspirational costumes
images that address problems or difficult parts
images that inspire shapes or moods
2. Create a detailed sketch of your costume. I like my husband's approach of folding a regular piece of white paper in half vertically and drawing the costume from the front and back. It keeps it simple. After drawing, he began to add measurements.
3. Collect materials and prototype. I like to try smaller versions of some costume parts first to see if my ideas will work, then I know if I have to keep trouble shooting any parts of the costume.
How about you? Are you well on your way, or just getting started?
More Cardboard Heads
We've already gotten our first photos for the Cardboard Costume Challenge!
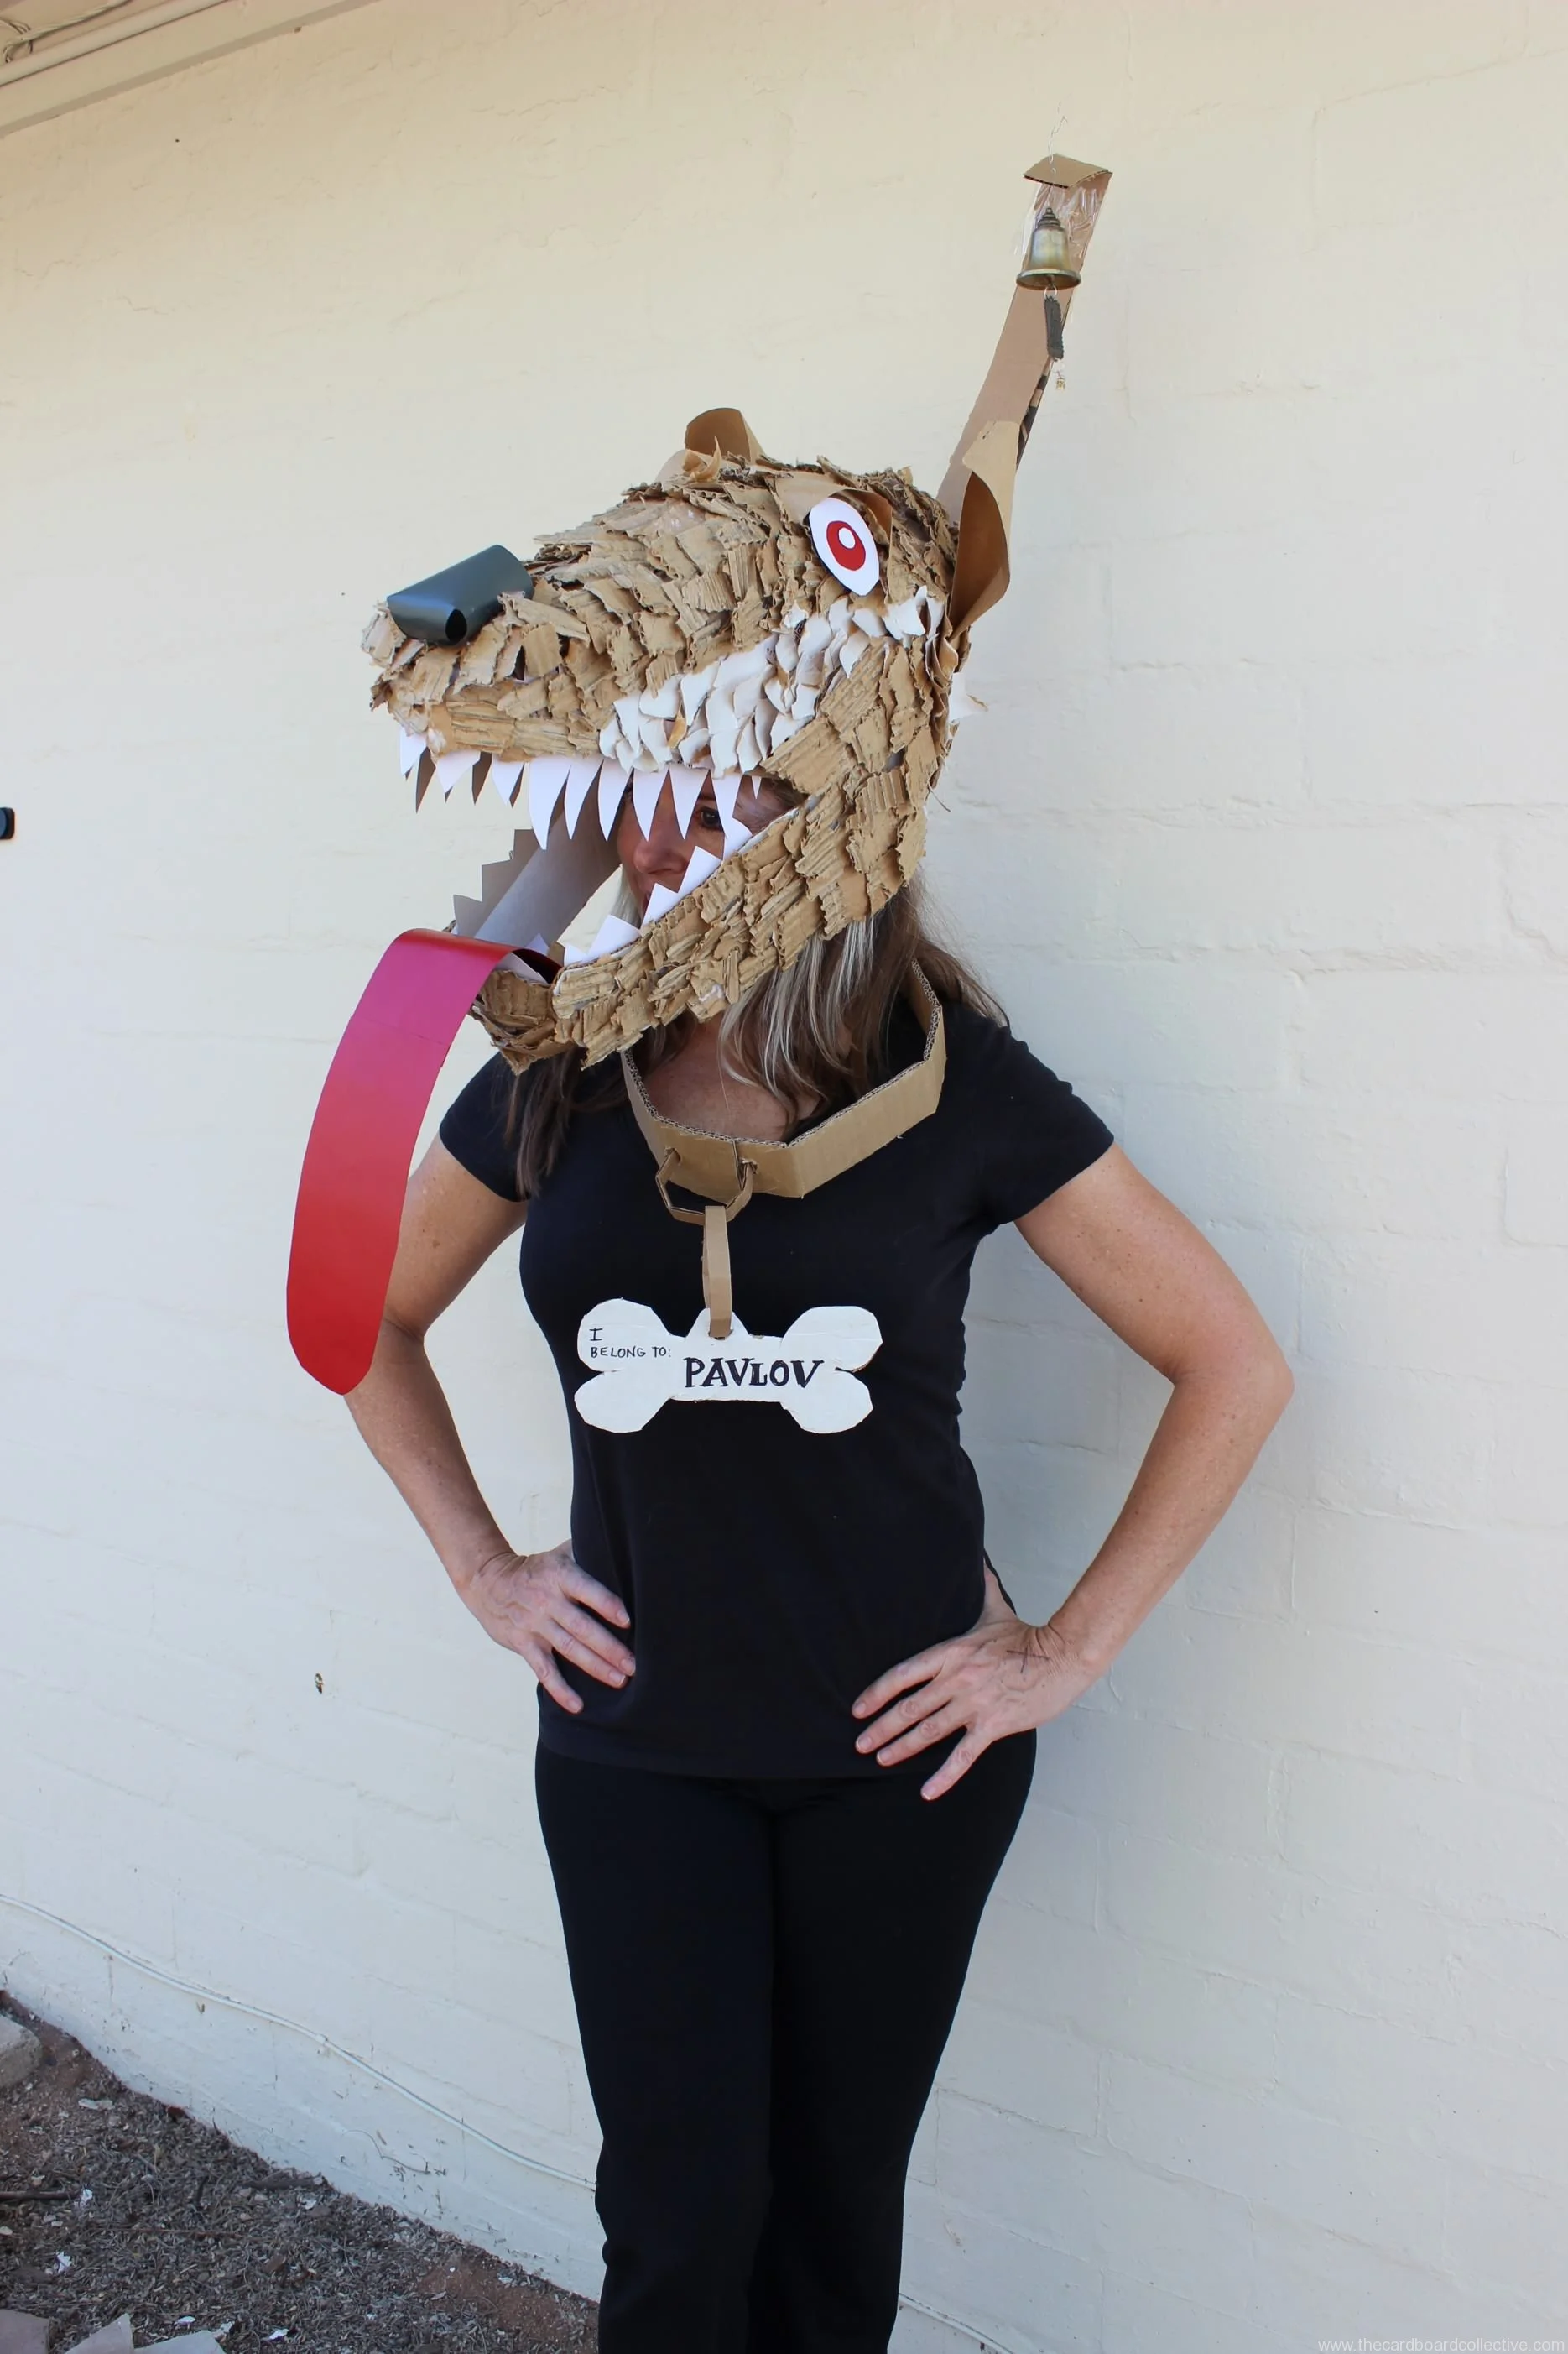
Christine Scheer made this incredible Pavlov's Dog head entirely from cardboard for a cardboard costume charity event she attended in late September.
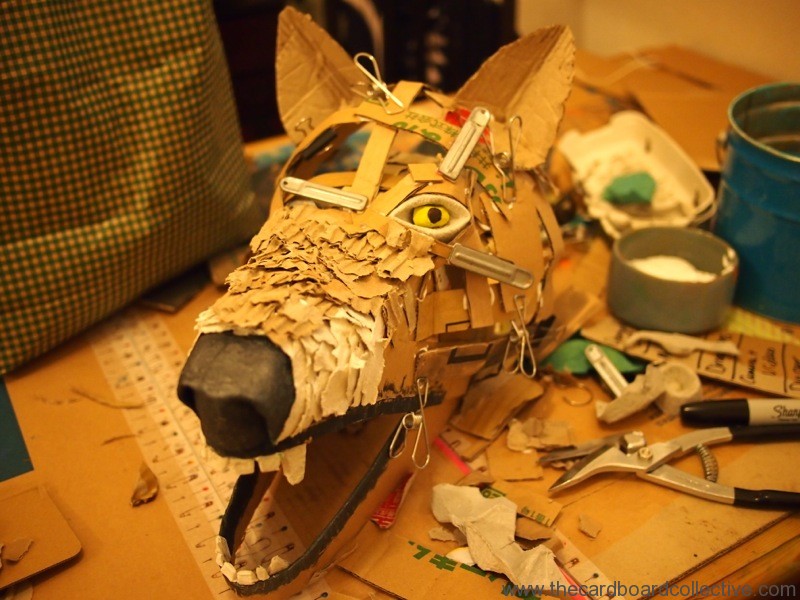
You can see how Christine started her head by making the upper and lower cardboard jawbone pieces and then used strips to connect the pieces.
This a truly original costume idea! Thanks for sending your awesome pictures Christine!
Cardboard Heads
If you're thinking about making a cardboard headpiece for your Halloween costume, this weekend is the time to get started! Last Year we created 2 different kinds of cardboard heads, using two different methods.
The first head was for a chameleon costume, and utilized the hood pattern for sewing a kid's jacket. To read the post about adapting a sewing pattern for use with cardboard, click HERE
The second head was built by making a cardboard skeleton and then gluing down layers of ripped cardboard. You can see more pictures of the development HERE.
Because every cardboard head is a little different, I'll lay out the most basic steps so you can get started. Have fun and experiment, the point is to develop you're own style...
Make a cardboard band that fits snugly around your head.
Create cardboard side pieces that are similar in shape to the skull of the creature if you look at it sideways.
Glue or staple the pieces to the cardboard band.
Use cardboard strips to connect the side pieces and shape the front of the creature's face.
Cover your cardboard head with crumpled up and flattened out copy paper, fringed newspaper, Kraft paper, torn pieces of egg carton or ripped pieces of corrugated cardboard. You can take a look at the Cardboard Costume Pinterest Board for more inspiration.
Here's a great video by John Gleeson Connolly (via Apartment Therapy) talking about how he made a simple cardboard dragon head for his son's Halloween costume using a similar method. http://vimeo.com/51576209
Cardboard Costume Challenge 2013!
YYYYEEEEEESSSSSS!!!!! Today is the Kick-off for The 2nd Annual Cardboard Costume Challenge!
The Mission? to inspire the making of awesome handmade cardboard costumes.
My secret agenda? Help parents reconnect with their kids (and themselves) through making.... and my even more secret agenda, rid the earth of flimsy, flame-retardant Halloween costumes destined for the landfill.
I decided that this year I wanted to adopt a non-commercial, non-competitive approach (less contest, more spirit tunnel) AND I wanted to make the event more kid-centered (it's such a valuable design opportunity for kids.) I also wanted to encourage adults, who maybe don't own a sewing machine, or don't think of themselves as "creative" to branch out and try dabbling in cardboard.
My own creative mother found the costumes entered last year so amazing she said she was too intimidated to attempt a cardboard costume! This year there won't be any categories, sponsors, or prizes.....just an event for sharing cardboard enthusiasm and the love of making!
So what do you think? Sound interesting? You can follow posts and tutorials throughout the month of October centered around topics like cardboard hats, masks, accessories, and other costume extras plus info about tools, tips for working with cardboard, and moving from idea to finished costume.
Upload pictures of your costume in progress (as well as completed) HERE in the Flickr community and access past tutorials HERE.
P.S.
There are a few prize related contests and opportunities out there that you should know about if you would like to enter a competition (with some pretty substantial loot.) We'll definitely be rooting for you!
Inhabitat Green Halloween Costume Contest (adults)
Inhabitot Green Halloween Costume Contest (kids)
See you soon!
A Cardboard Glue Comb & Sneak Peak
I'm in the final stages of pattern testing my first cardboard furniture pattern! While my husband sweetly refers to this step as the first pancake, I feel like I have flipped so many many pancakes already!
Last week I was on a mad search to find a glue comb (oddly a tool that is uncommon in the U.S.) to put in (yay!) my new Amazon Affiliates shop. A putty knife was the closest stand-in I could recommend. Then my brilliant pattern-testing mother told me about the piece of cardboard she cut from the handle of a box to make into a glue spreader.
Wonderful, I thought, one less product; one less thing to buy. But I was surprised at how well this solution really worked when I modified it slightly by removing a strip of paper to expose the corrugations. Identical glue stripe-ing!
If you make a second glue comb you can use the two combs to clean each other before the glue dries, otherwise just trim off the end and then cut another strip to make more corrugations.
OK, I'm in the home stretch now, hopefully I'll have the pattern up any day now (whew!), and here's a little sneak peak for all of you who follow the blog:


