box
Cardboard Costumes!
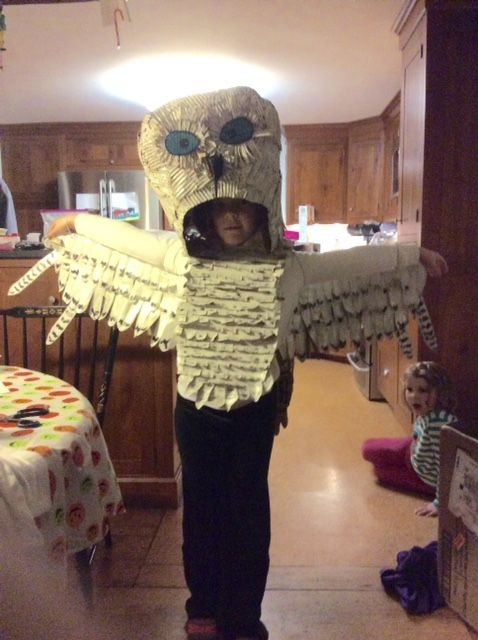
L. Towill's "Snowy Owl"
M. Doran's cardboard peg horse http://unedaliaenwestfalia.wordpress.com/
J. deGroot's cardboard stag
Wow! These are some of the incredible costumes that blog readers sent. Cardboard used in a variety of ways, and utilizing the natural tones and textures of the material. Outstanding!
A Visit from the Purple Unicorn
Mac Huynh, Writer: Unicorn, Photo by Patricia Chang for Racked
Malorie Lucich McGee, Tech Communications: Cereal Killer, Photo by Patricia Chang for Racked
Ben Chiaramonte, Brand Designer: Wolf of Wall Street, Photo by Patricia Chang for Racked
Our Cardboard Costumes Pinterest board was recently featured on The Pinterest Handmade Halloween Hub. Some Pinterest staffers even made their own costumes inspired by some on the board, including our own Cardboard and Newsprint Unicorn Costume, (top) which looks even better in purple, I think.
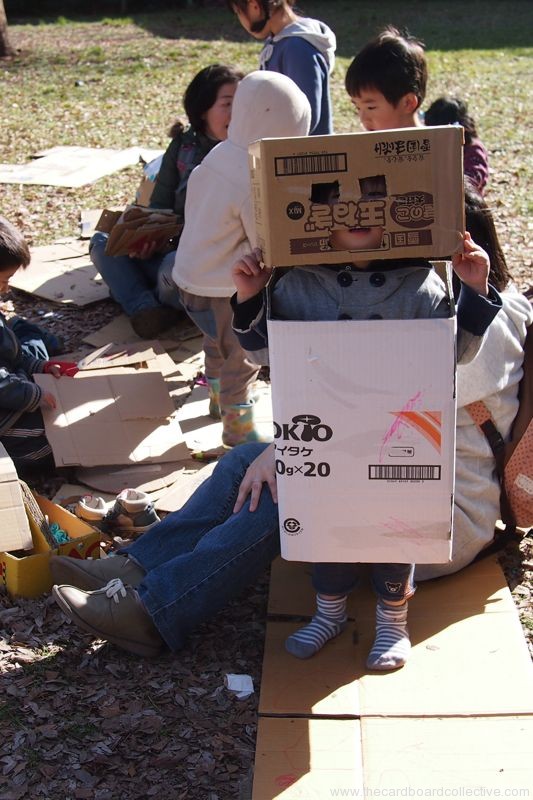
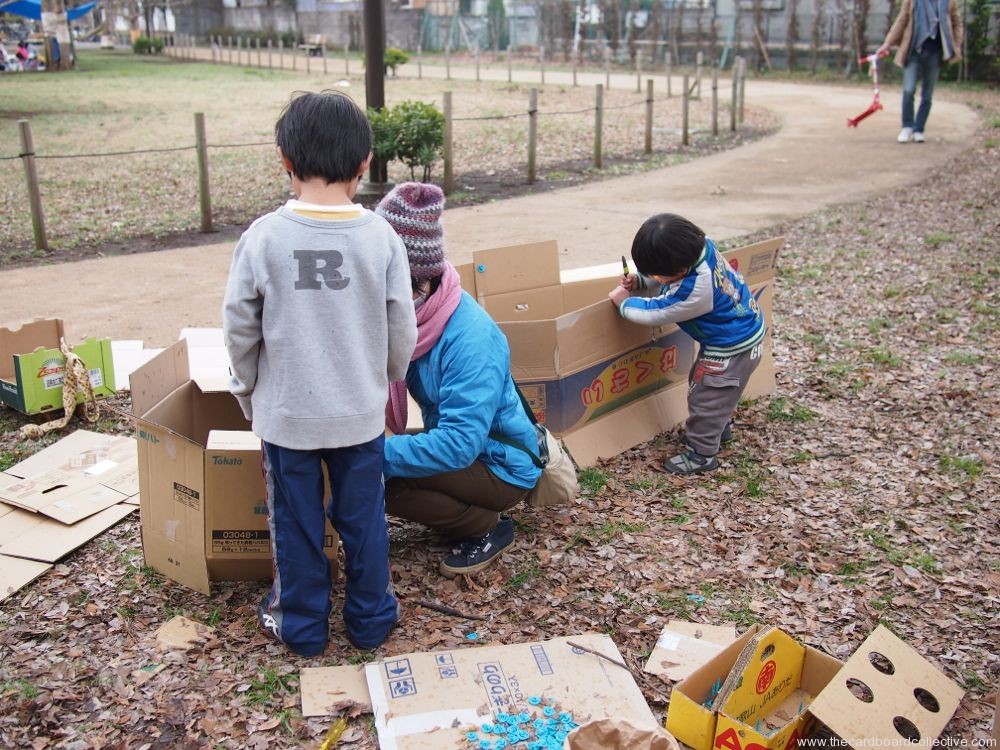
Pop-Up Cardboard Play Day #7
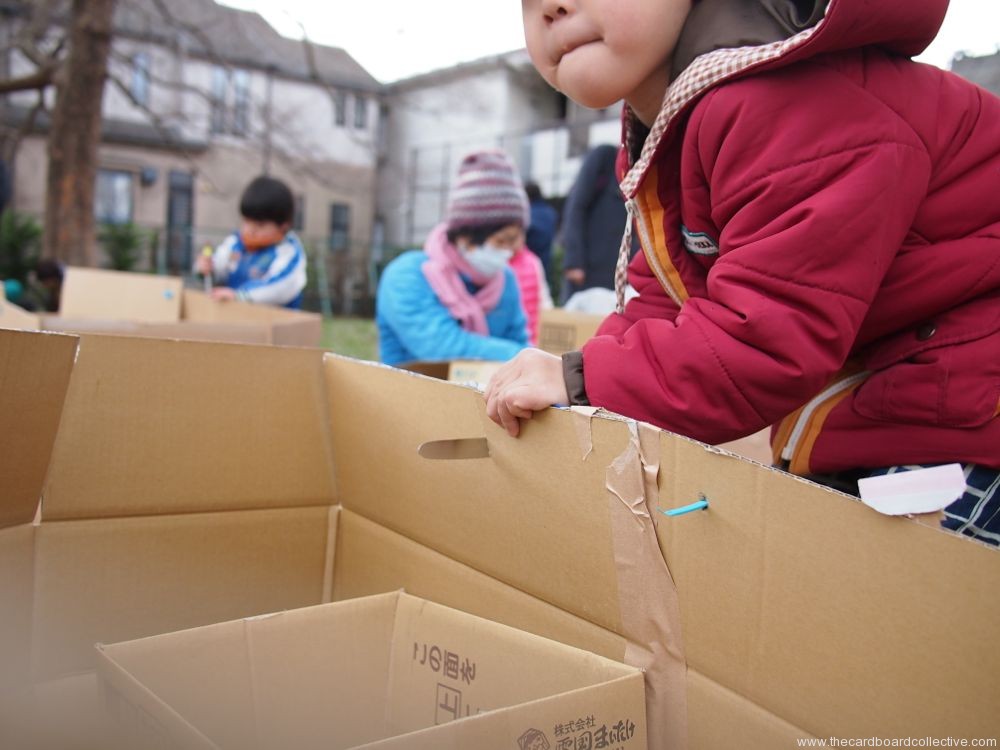
Another cardboard adventure out in the park!
This time I learned something important.
I love DEconstruction,
but
not destruction.
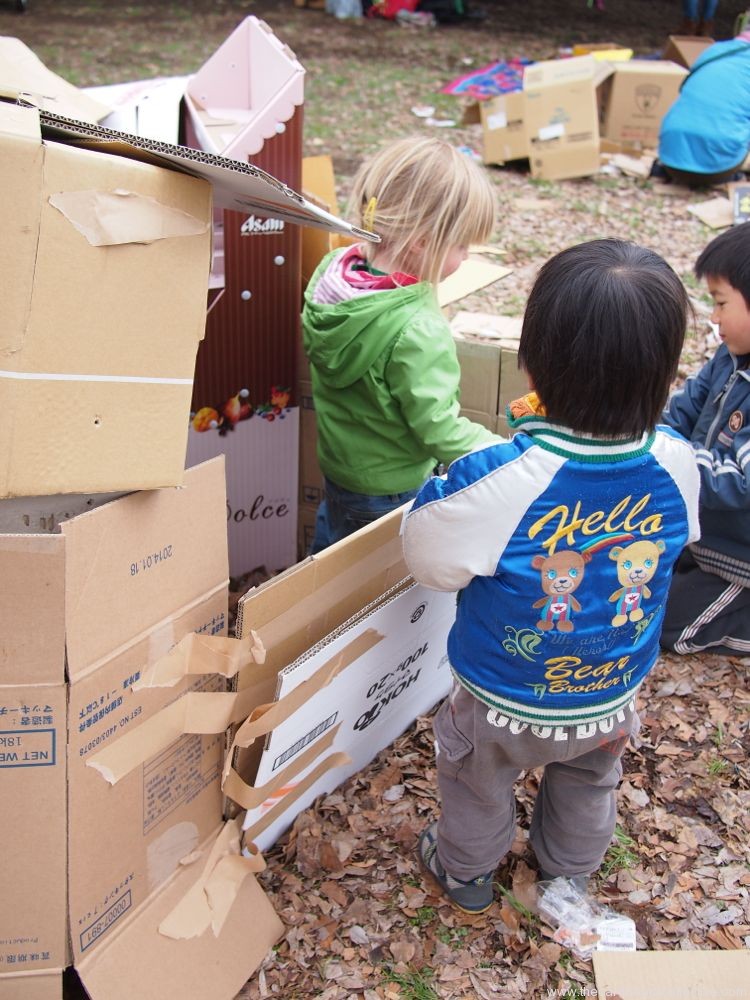
The kids that came out to play built a fun labyrinth of houses/caves and then slowly took the whole thing apart. It was really great just watching them. I saw a two year old saw cardboard for about an hour straight. In the same groove. I loved it.
Later in the week I took just the Windballs to another park to play, and a few teenage boys kicked them around a bit. It was good, I was glad to see them enjoying them, but then they just stomped on them, shattering the MakeDos to bits before running off. I didn't love it. My teacher voice came out.
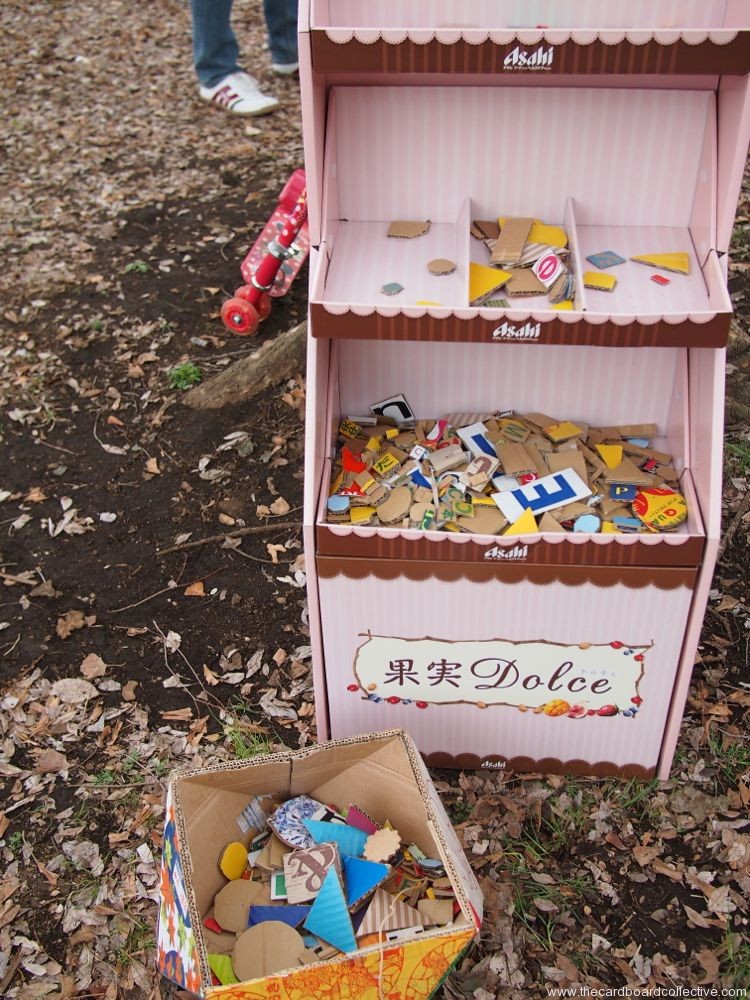
Did you see the adorable pink cardboard kitchen that I found at the grocery store where I sourced all the cardboard?
Cardboard Bear Desk Organizer
I've been playing around with making templates and shapes from things you find in the kitchen, so here's a funny little animal that was born out of that process, and was inspired by some similar wood and ceramic pieces I've seen on the internet as of late.
You'll need a cardboard tube, corrugated cardboard, scissors, white glue, a drinking glass and a spoon.
Simple Steps:
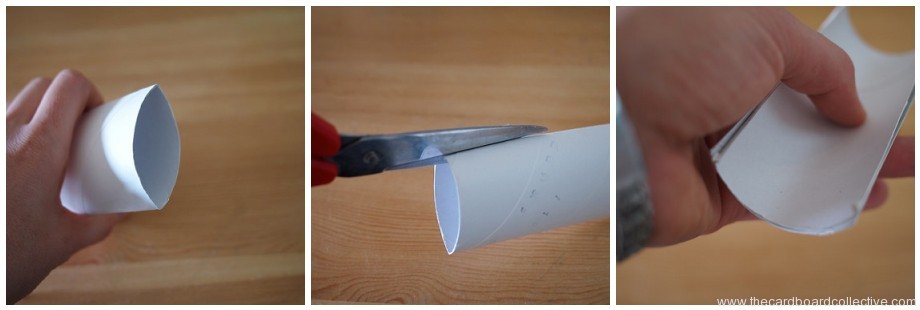
1. Flatten the toilet paper tube and cut along both creases to cut the tube in half. 2. Layer the two halves of the tube together to make the cradle for the organizer.
3. Use the mouth of the drinking glass as a form to trace the curves for the front and back of the bear's hips and shoulders. Cut.
4. Trim the tube to the desired length and assemble the organizer by gluing the tube to the hip and shoulder pieces. Secure with a rubber band while drying.
5. Use the base of the drinking glass as a form to trace the bear face, add ears, cut. Glue face to the front of the organizer.
6. To make the nose, trace the curve of a teaspoon, cut in half and glue to the cardboard face.
Spoon, glass, plate, spatula...... hmmm. What else can we make?
Costume Inspiration: Fraidy Zoo
This morning I got an email that made my heart leap into my green tea......The above pictures attached to an email from newly hatched author illustrator Thyra Heder.
Thyra's written a new book called, "Fraidy Zoo." It's about a family that makes a series of animal costumes (one for each letter of the alphabet) out of cardboard and other household objects in the attempt to find out which animal is scaring the littlest member of the family from going on a trip to the zoo. I was totally inspired by the illustrations and instantly charmed by the creative spirit of the family in the book and had to share it with you!
Just as excitingly, Thyra's in the process of building the cardboard rhinoceros from the book right now, but you really should visit her blog to see some of the photos she's posted showcasing some of the other cardboard creations she and her friends have made in celebration of the upcoming launch of the book.
Fraidy Zoo is coming out November 5th and you can find more info here: at Indibound or pre-order it via Amazon.
More Cardboard Heads
We've already gotten our first photos for the Cardboard Costume Challenge!
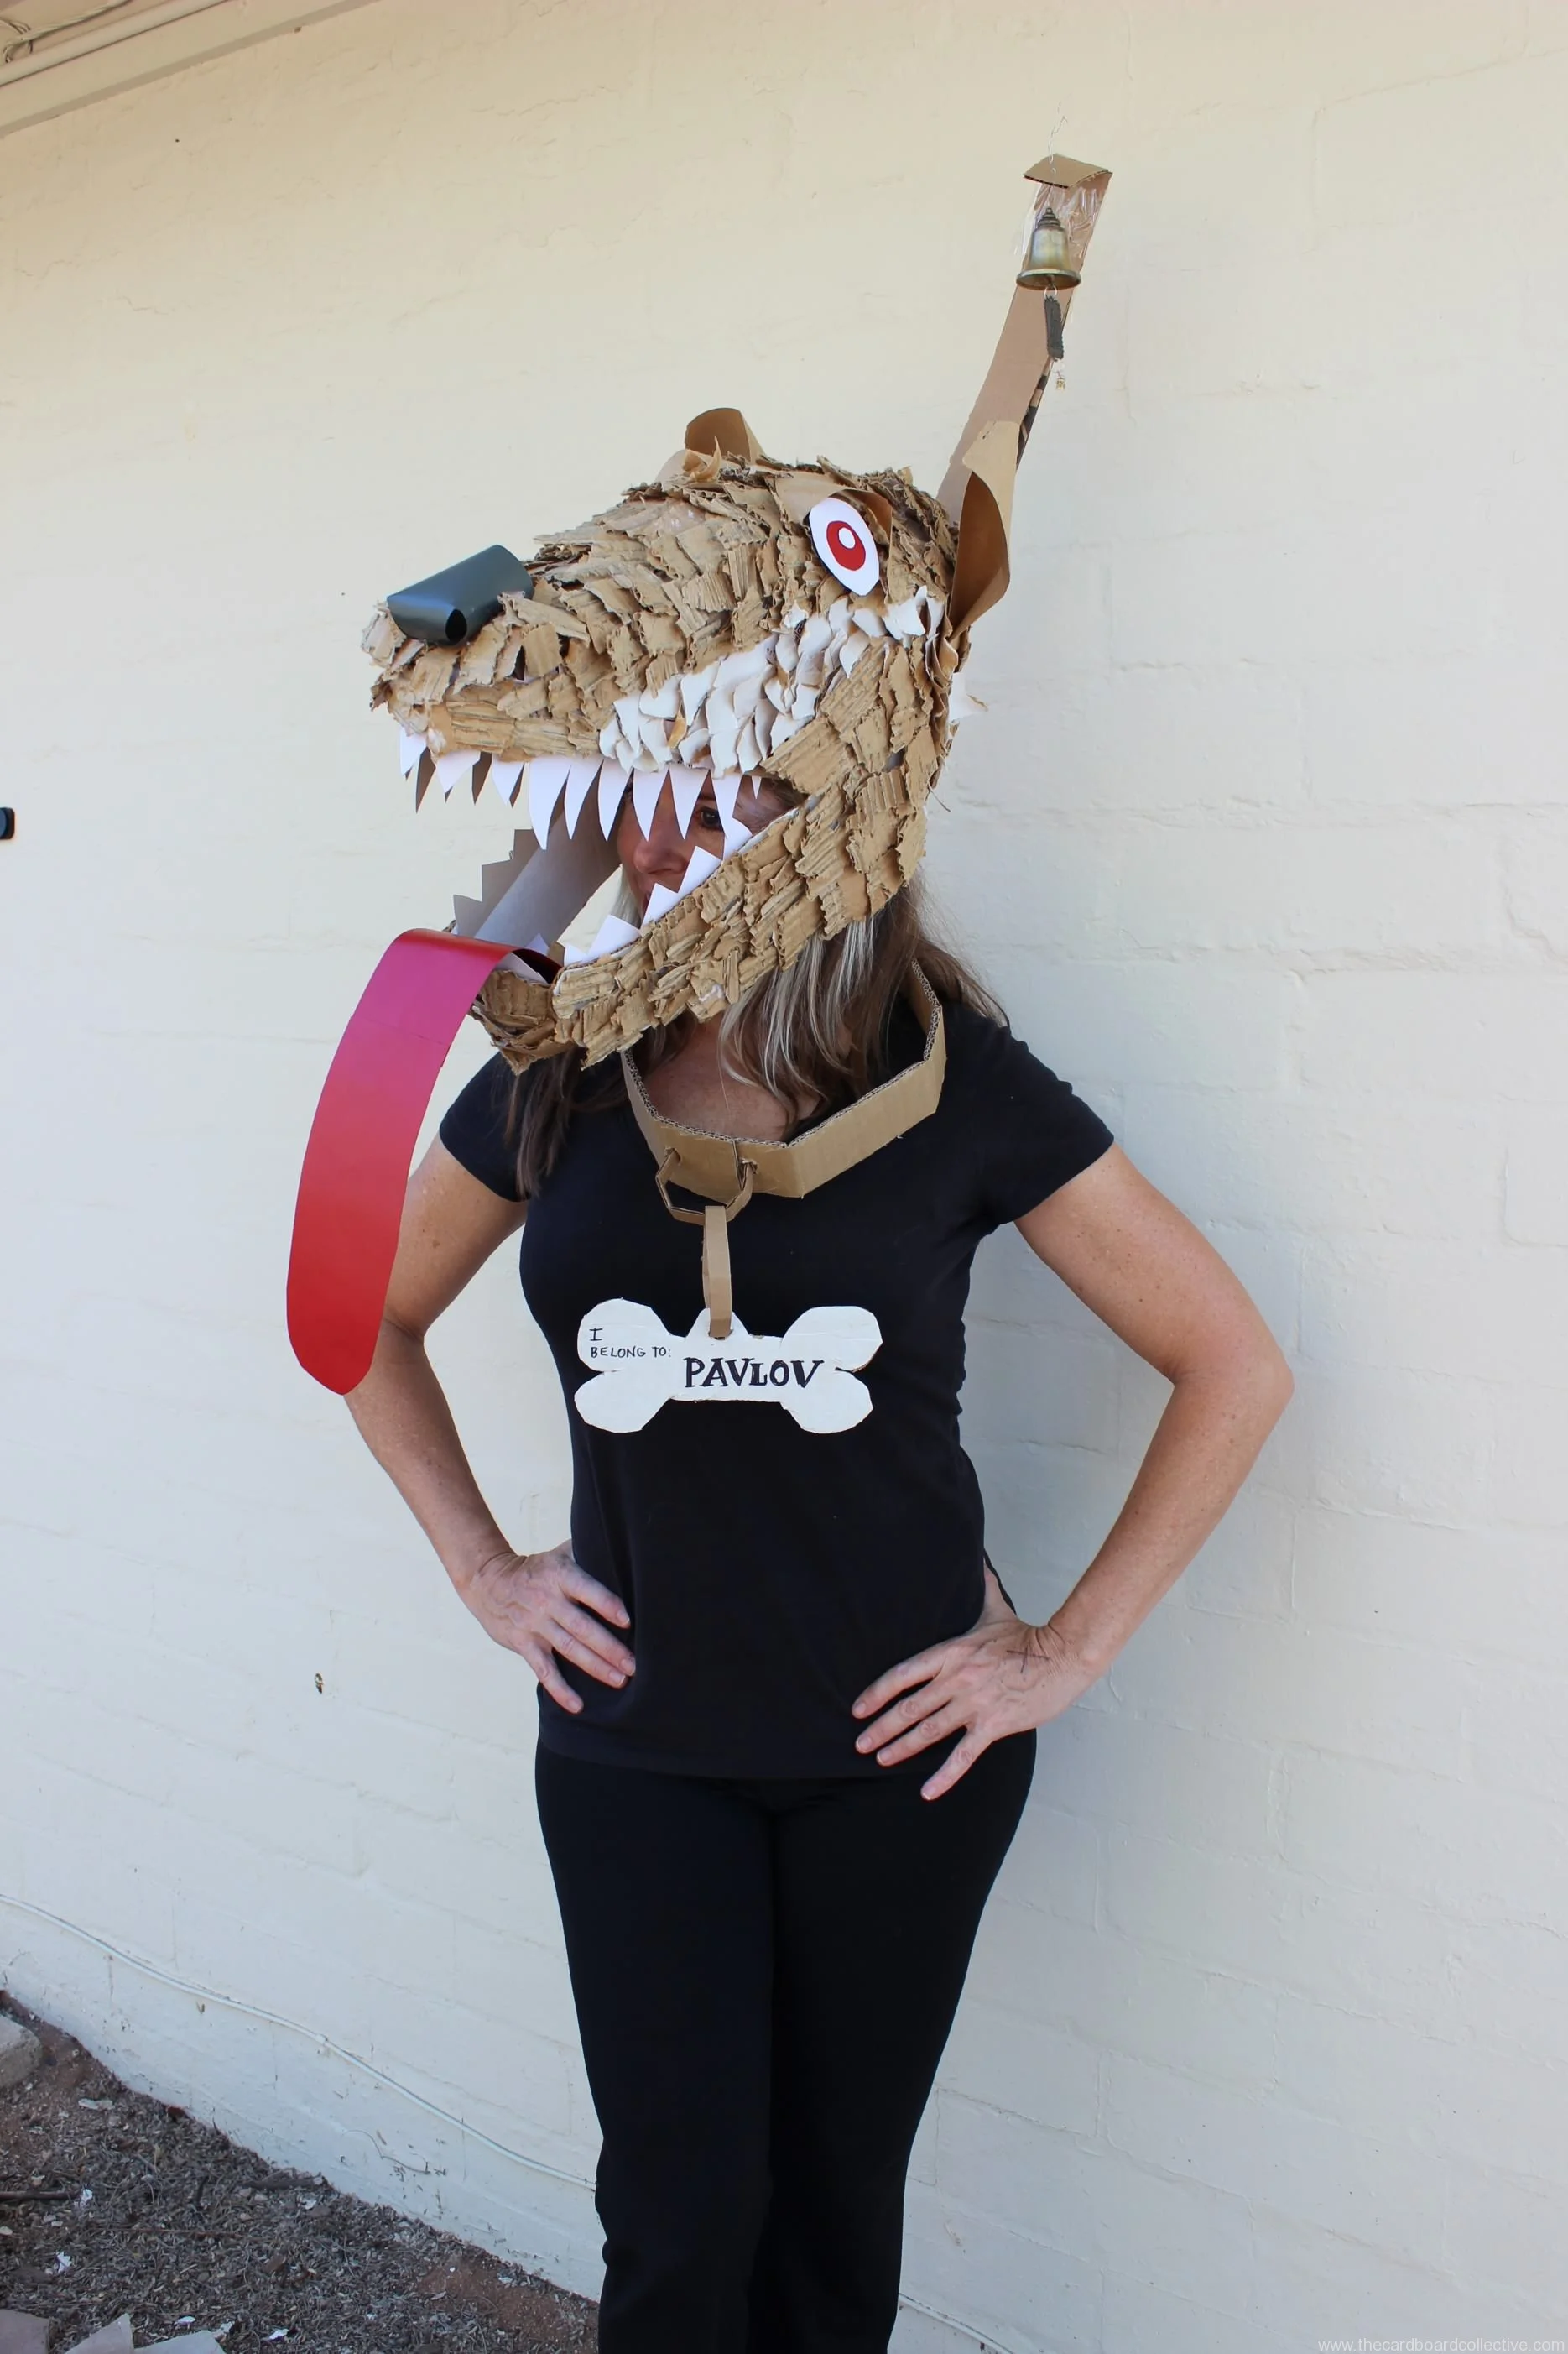
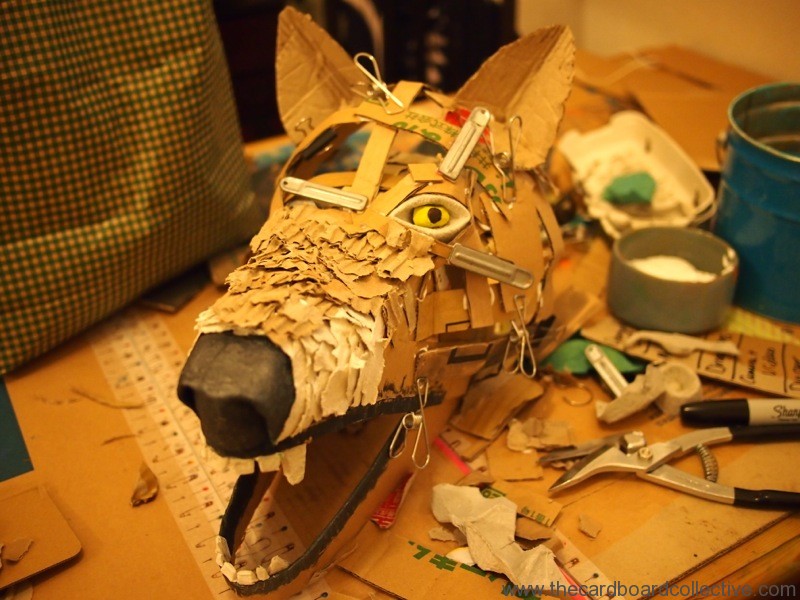
Christine Scheer made this incredible Pavlov's Dog head entirely from cardboard for a cardboard costume charity event she attended in late September.
You can see how Christine started her head by making the upper and lower cardboard jawbone pieces and then used strips to connect the pieces.
This a truly original costume idea! Thanks for sending your awesome pictures Christine!
Cardboard Heads
If you're thinking about making a cardboard headpiece for your Halloween costume, this weekend is the time to get started! Last Year we created 2 different kinds of cardboard heads, using two different methods.
The first head was for a chameleon costume, and utilized the hood pattern for sewing a kid's jacket. To read the post about adapting a sewing pattern for use with cardboard, click HERE
The second head was built by making a cardboard skeleton and then gluing down layers of ripped cardboard. You can see more pictures of the development HERE.
Because every cardboard head is a little different, I'll lay out the most basic steps so you can get started. Have fun and experiment, the point is to develop you're own style...
Make a cardboard band that fits snugly around your head.
Create cardboard side pieces that are similar in shape to the skull of the creature if you look at it sideways.
Glue or staple the pieces to the cardboard band.
Use cardboard strips to connect the side pieces and shape the front of the creature's face.
Cover your cardboard head with crumpled up and flattened out copy paper, fringed newspaper, Kraft paper, torn pieces of egg carton or ripped pieces of corrugated cardboard. You can take a look at the Cardboard Costume Pinterest Board for more inspiration.
Here's a great video by John Gleeson Connolly (via Apartment Therapy) talking about how he made a simple cardboard dragon head for his son's Halloween costume using a similar method. http://vimeo.com/51576209
Cardboard Costume Challenge 2013!
YYYYEEEEEESSSSSS!!!!! Today is the Kick-off for The 2nd Annual Cardboard Costume Challenge!
The Mission? to inspire the making of awesome handmade cardboard costumes.
My secret agenda? Help parents reconnect with their kids (and themselves) through making.... and my even more secret agenda, rid the earth of flimsy, flame-retardant Halloween costumes destined for the landfill.
I decided that this year I wanted to adopt a non-commercial, non-competitive approach (less contest, more spirit tunnel) AND I wanted to make the event more kid-centered (it's such a valuable design opportunity for kids.) I also wanted to encourage adults, who maybe don't own a sewing machine, or don't think of themselves as "creative" to branch out and try dabbling in cardboard.
My own creative mother found the costumes entered last year so amazing she said she was too intimidated to attempt a cardboard costume! This year there won't be any categories, sponsors, or prizes.....just an event for sharing cardboard enthusiasm and the love of making!
So what do you think? Sound interesting? You can follow posts and tutorials throughout the month of October centered around topics like cardboard hats, masks, accessories, and other costume extras plus info about tools, tips for working with cardboard, and moving from idea to finished costume.
Upload pictures of your costume in progress (as well as completed) HERE in the Flickr community and access past tutorials HERE.
P.S.
There are a few prize related contests and opportunities out there that you should know about if you would like to enter a competition (with some pretty substantial loot.) We'll definitely be rooting for you!
Inhabitat Green Halloween Costume Contest (adults)
Inhabitot Green Halloween Costume Contest (kids)
See you soon!
Cardboard for Stools & Tabletops
It was a pleasant discovery to find out that old album covers can be opened up to create a large, 4 paneled piece of cardboard for the Totem Box table and stool tops.
You may or may not have noticed from my previous pictures that Stevie Wonder is gracing the surface of our Totem Box table. If my daughter does in deed learn to read from constant exposure to "Master Blaster" lyrics, I'll be the first to let you know.
The album cover cardboard is pretty durable. It can recover from a spill as long as it isn't left standing too long, but if you're after something that you can truly pass a rag over, I suggest re-purposing shiny, plasticized paper shopping bags.
The plastic is not recyclable, but I'm pretty sure that these bags are processed without a problem at most paper recyclers. We are able to put them out here in Japan, and I pick them up from other people's recycling piles for the odd project here and there.
While cardboard still rules, it's nice to have options...
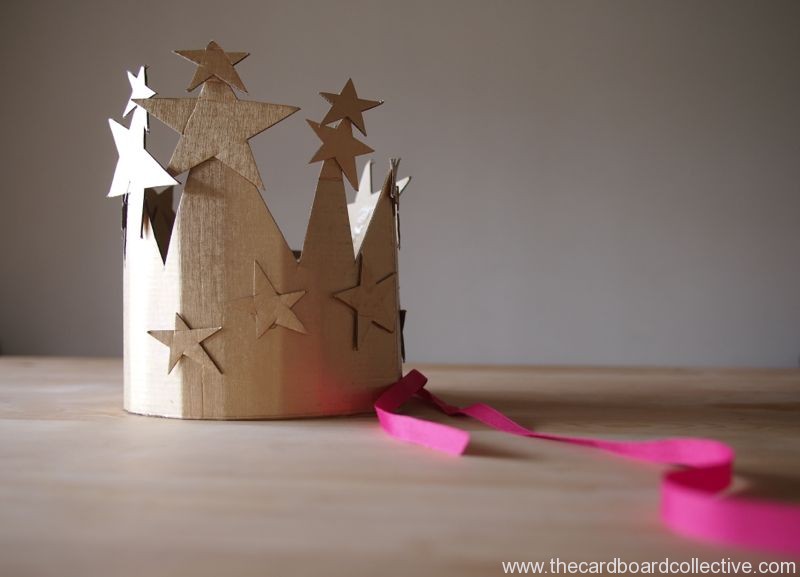
Starry Cardboard Birthday Crown
An easy beautiful birthday crown that my daughter put together on her big day. She wants to wear it again next year, and I agree it turned out beautifully. There is definitely a Glinda, Good Witch of the North quality there.
If you can't find gold cardboard, try jarred gold paint and pizza box lids........
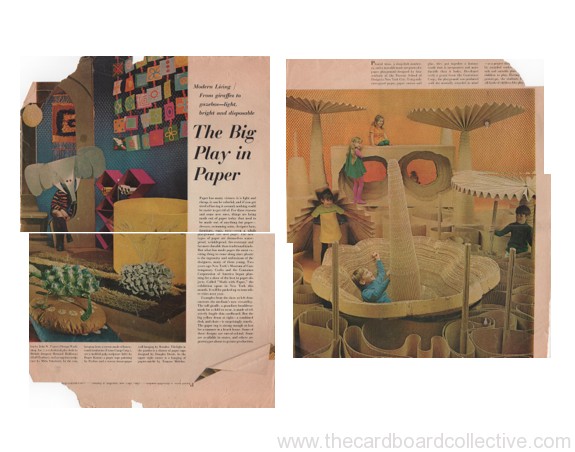
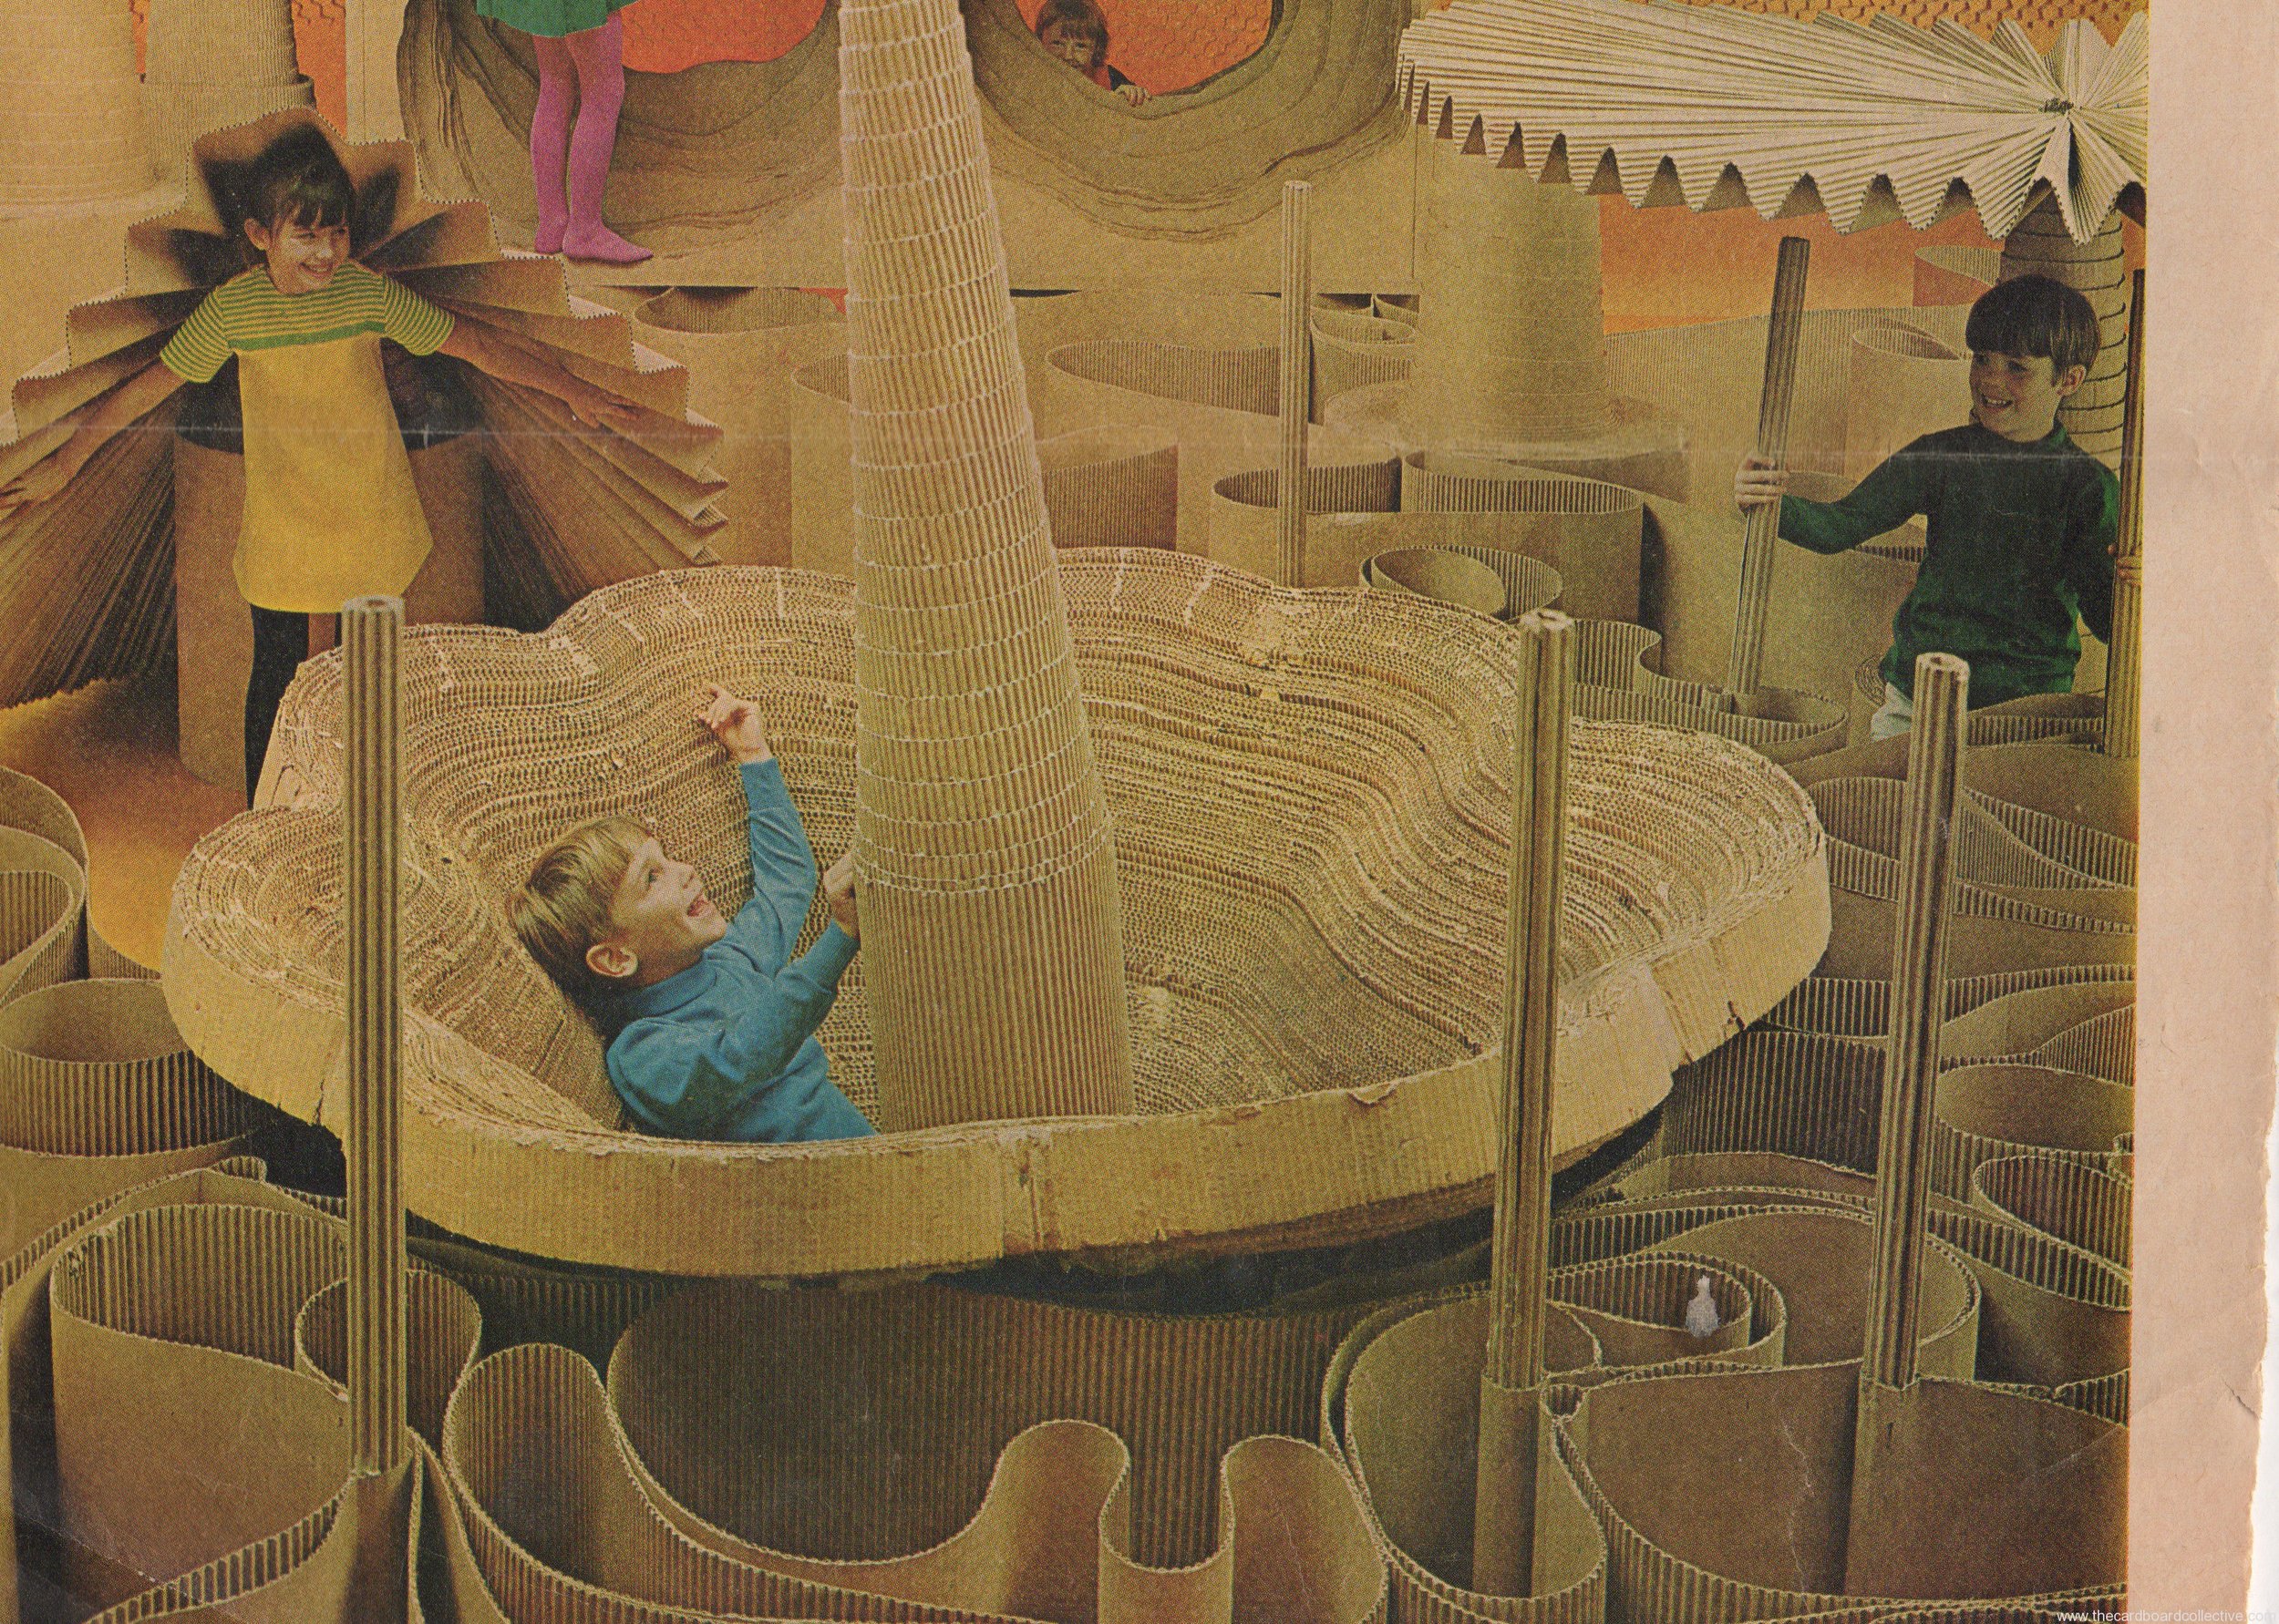
Cardboard Playground circa 1967
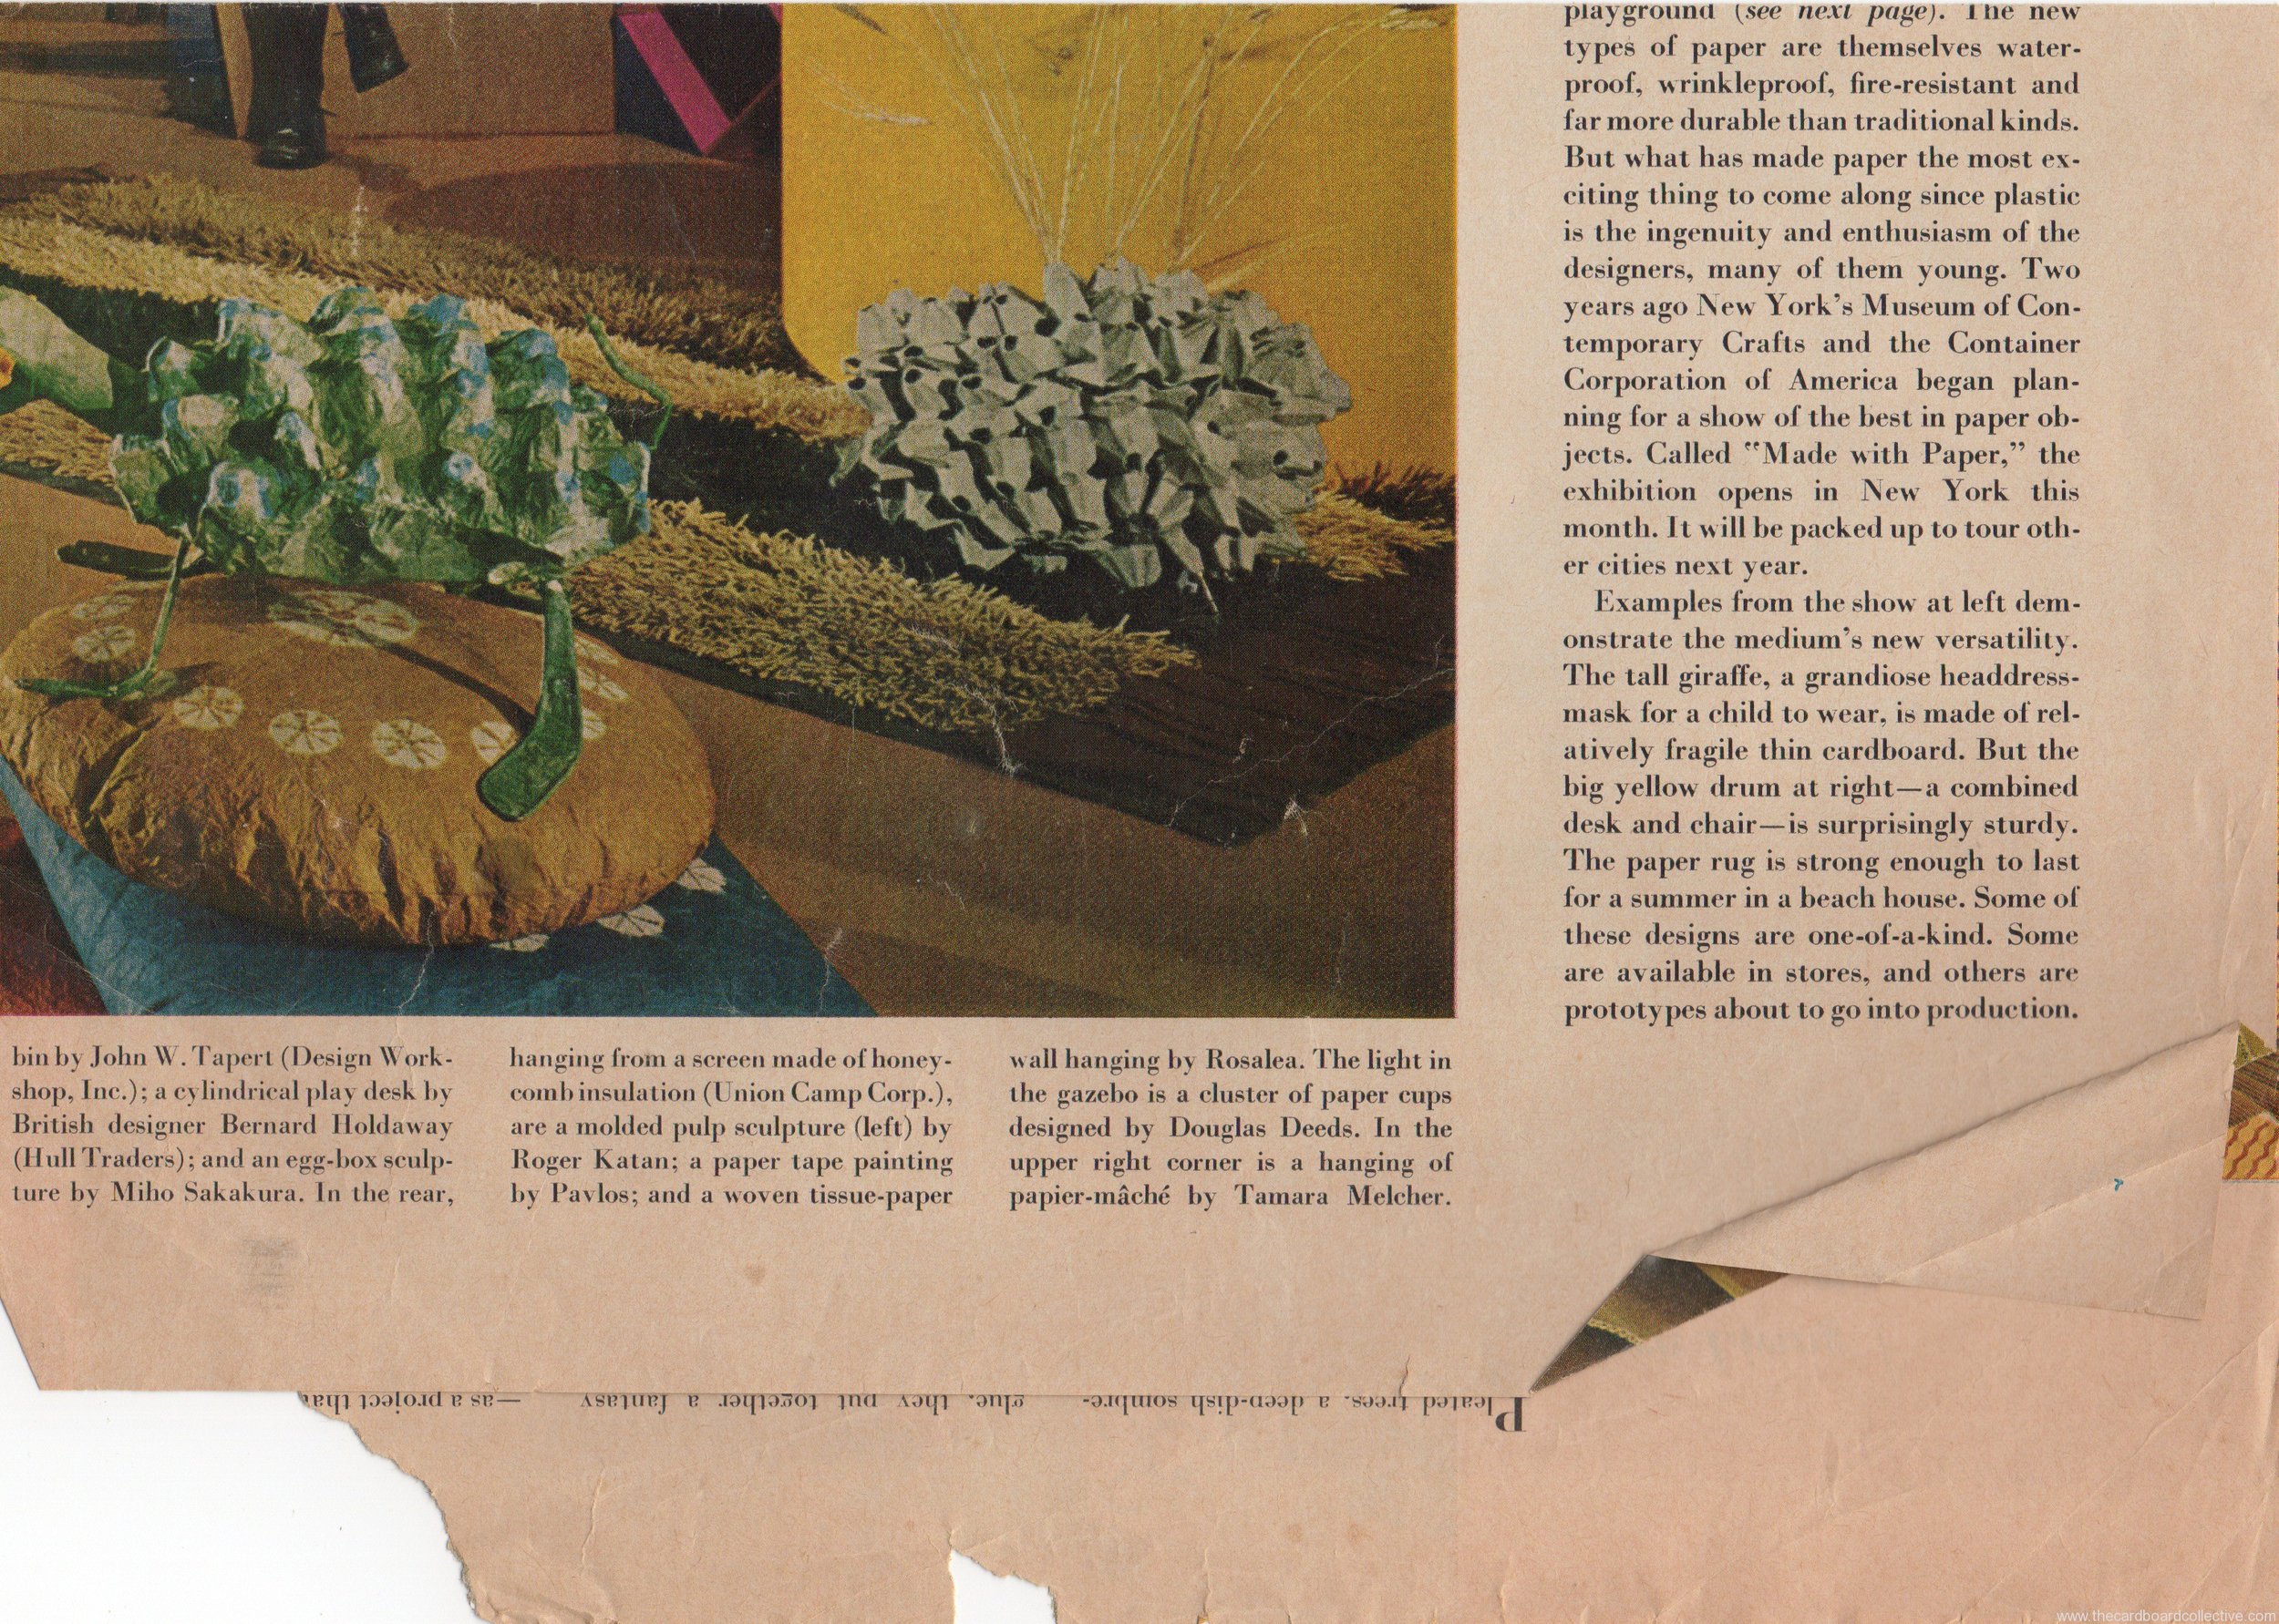
LIFE Magazine - November 3, 1967 (Volume 63, Number 18) Modern Living -- The Big Play in Paper, from Giraffes to Gazebos
Wow, check out this 1967 LIFE magazine article entitled, "The Big Play in Paper", that was lovingly rescued and scanned by my friend Miss Meryl Ann Butler during a recent Spring cleaning.
Meryl Ann and I met while taking online classes from Diane Gilleland at Crafty Pod, (I learned almost everything I know about blogging from those classes) and I got to know Meryl Ann by her spit-your-tea-out-hilarious sense of humor and from the really helpful stuff she posted in the forums (she has a long and distinguished career in the craft industry.) She is the author of the book 90 Minute Quilts among, many others and she has an intensely joyful, vibrant style with a personality to match.
Meryl Ann recently sent me an email message explaining that:
"This clipping was in my "morgue file" which was a file we had in the olden days before electronic files… with clippings of images that might inspire future artwork. My file had thousands of clippings, and I just threw most of it away a couple of days ago - a hard thing to do, since I had collected images for a long time - well, at least from 1967, lol! I only saved a couple of them, and of course the second I saw this I thought of you, Amber!"
How very thoughtful, and how entirely awesome. Enjoy a trip back to the glory days of cardboard......................we'll relive them again soon?
Cardboard Messages: Teapot
(mug by my college buddy Jeremy http://www.oguskyceramics.com/shop) We're planning a little adventure for Father's Day....something involving a bike ride and a picnic I think? I saw this idea in a book called, "Japanese-style Interior of Living" that I checked out from the library. I thought it was a sweet alternative to a card.
What's your plan for Father's Day? Are you going on an adventure?
Spring Planting in Cardboard
Last year I started experimenting with planting in cardboard even though nearlyeveryone around thought I was crazy. Well, not one of them was shy when the time came to harvest our cherry tomatoes...
This fall I made a simpler kind of planter utilizing the planter hangers that I have, and torn pieces of scrap corrugated cardboard tucked and layered inside. They over-wintered well, and to freshen the boxes up in the Spring, I just added new cardboard to the outside edges and removed some of the inner layers.
Spinach, salad greens, cilantro and nasturtiums...we can't wait for our little sprouts to start popping up! And we're curious to see how our experiment with the glass case (Used for displaying traditional Japanese dolls- there are always tons of these at the recycling shop) works for our tomato starts. We're hoping to transform it into a home for adopted caterpillars......
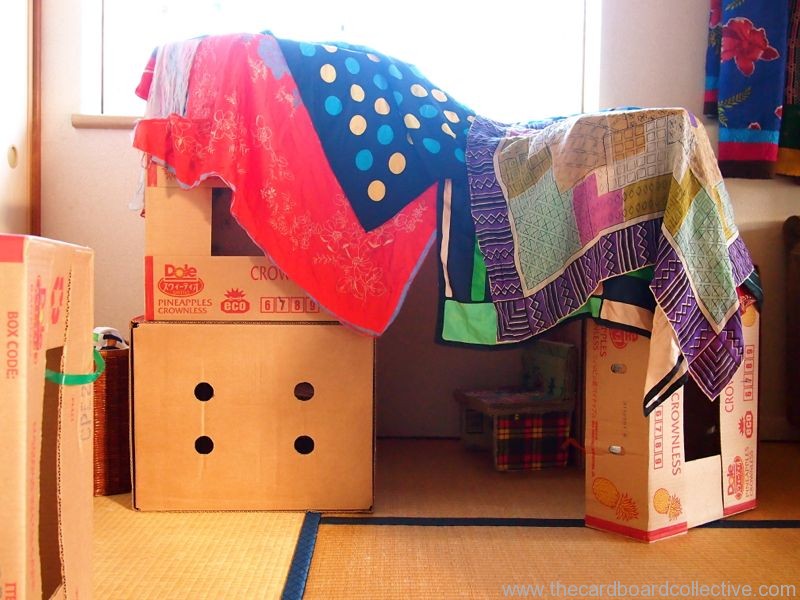
Fort Building with Banana Boxes
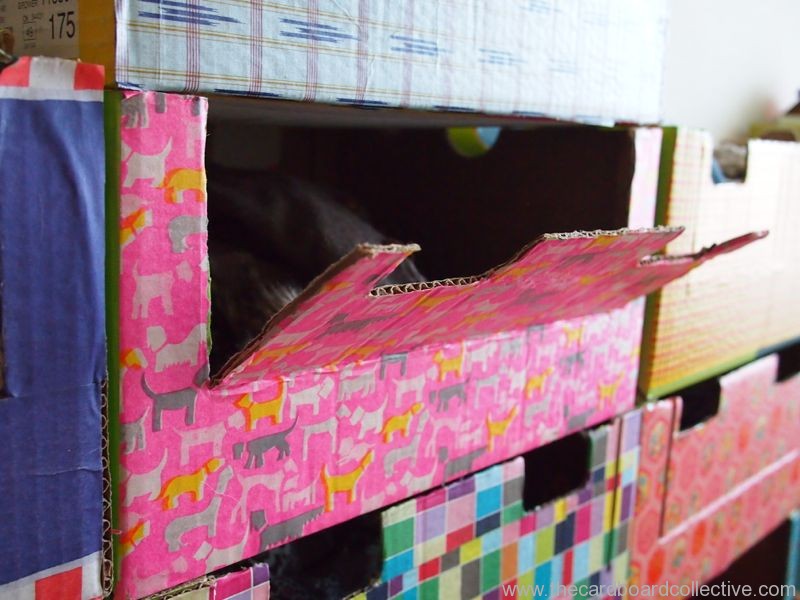
Stackable Cardboard Dressers for Kids
My daughters are young and their needs are always changing. They wear a pair of shoes for 6 months then need a new pair.
They use a little chair, or a booster seat for a year or a month or 2 and then we have to replace it and either throw out the old one, find a friend who happens to need the same thing at the same moment we want to get rid of it, or put it on Craig's List. (We have no charity shops here in Tokyo and limited recycling opportunities for large items.)
I find this kind of turnover exhausting. I wanted to create a dresser system for the girls that accomplished 3 things:
Recyclable so that we could recycle the whole thing, or just parts of it as the girls' needs changed. I didn't want the guilt of throwing away something that was perfectly good and I didn't want the extra work of finding someone to take on our old stuff.
Facilitates Independence. I wanted a piece of furniture that was easy to use and functional so the girls could easily pick out their own clothes and put them away starting from an early age (about 18 months-2 years ).
Beautiful. I believe that the things in our life should be beautiful and functional. I want my daughters to value beauty, design, the arts, and momma moxie, so we tried to accomplish all of those things when we made the dressers. If you like hot pink and pattern as much as I do I hope you agree on our definition of beautiful....
To make the dressers, we collected kiwi boxes over the course of a few weeks, as well as beautiful papers; a mix of washi papers, origami paper, paper bags and Gallery Opening flyers.
I then decoupaged the papers onto the fronts of the boxes with water and white glue. I made a door in each box by cutting two sides about a ruler's width from the edges of the box, and and then scored the bottom to create the door opening.
The doors of the dressers always stay shut and close easily. In a year and a half of using these boxes, the doors have never flopped open or gotten flimsy.
The girls can easily open and close the drawers. By decorating each box differently they quickly have memorized what kind of clothing each box holds. (Only Dad is still struggling with this.)
Another benefit of these dressers is that they are not a hazard if they fall over in the event of an earthquake - an important consideration living here in Japan.
If you're wondering where you can get kiwi boxes, check out your local produce department. This past summer I wrote a post about how to find free cardboard here. We also use these boxes for storing our toys, puzzles, and art supplies. Yes, kiwi boxes are a definite favorite here in our apartment.
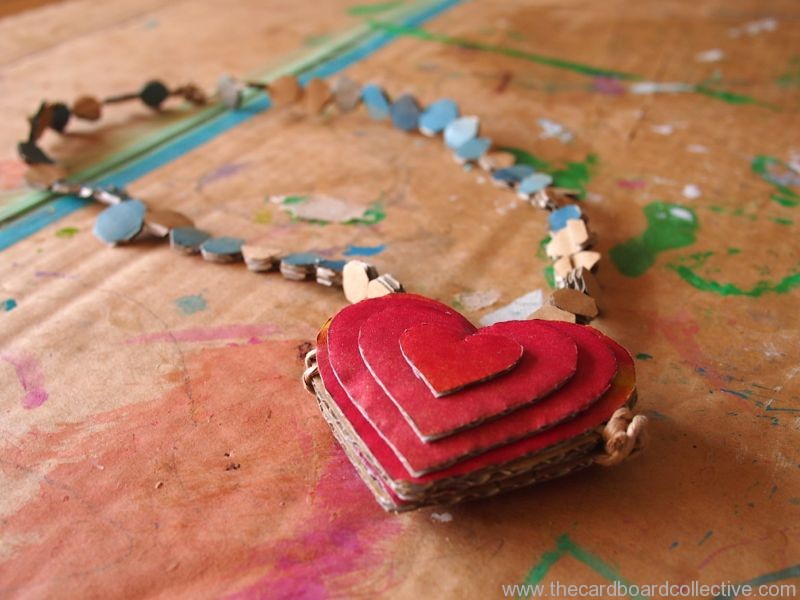
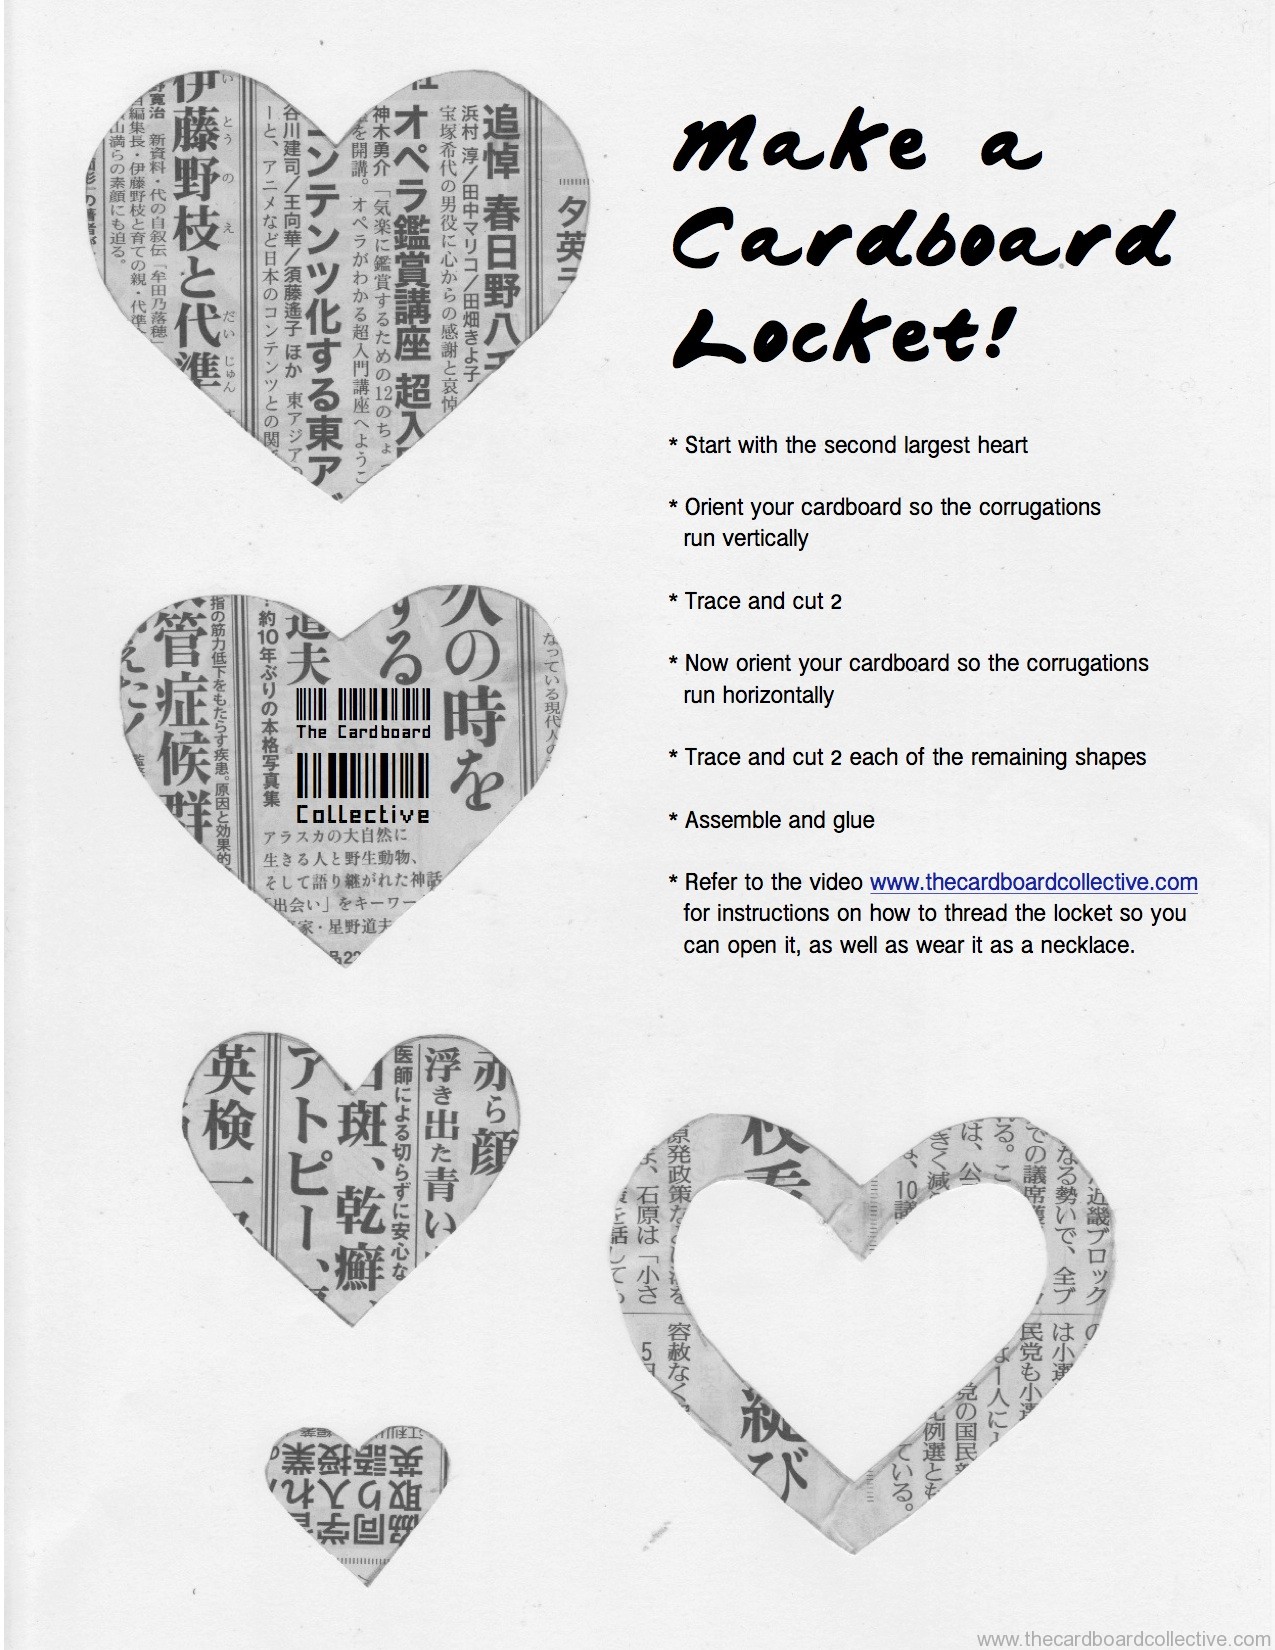
Cardboard Heart Locket
When my daughter was about 18 months old, we went on a trip to an island off of Tokyo's coast called Shikinejima. It was the off season, most restaurants were closed and we were sleeping in a tent.
We ended up doing a lot of shopping at convenience stores, eating meals of: apples, Oreos, cans of hot cocoa, and cans of tuna fish, and were even gifted a fresh bag of assorted seafood from a local fisherman, which we hesitantly attempted to cook over a fire... Maybe you've had a similarly strange almost-camping experience?
One of the shop keepers, a little old man who was so enamored with our daughter and her blond hair, kindly gave her a red plastic 3D heart pendant which had a light inside that would blink on and off.
It was one of those toys with sticking power, and became well-worn and well-loved over the next year and a half- that is until the battery died.
When I saw this cardboard heart ornament on Pinterest by A Little Learning for 2, it gave me the idea for making a low tech replacement for the blinking heart pendant.
My daughter approved. She loves being able to open and close the locket. We're now working together to make something similar as a Valentine's Day present for the grandparents. Definitely not afraid to share the cardboard love....
Info on adding cardboard beads to your locket here.
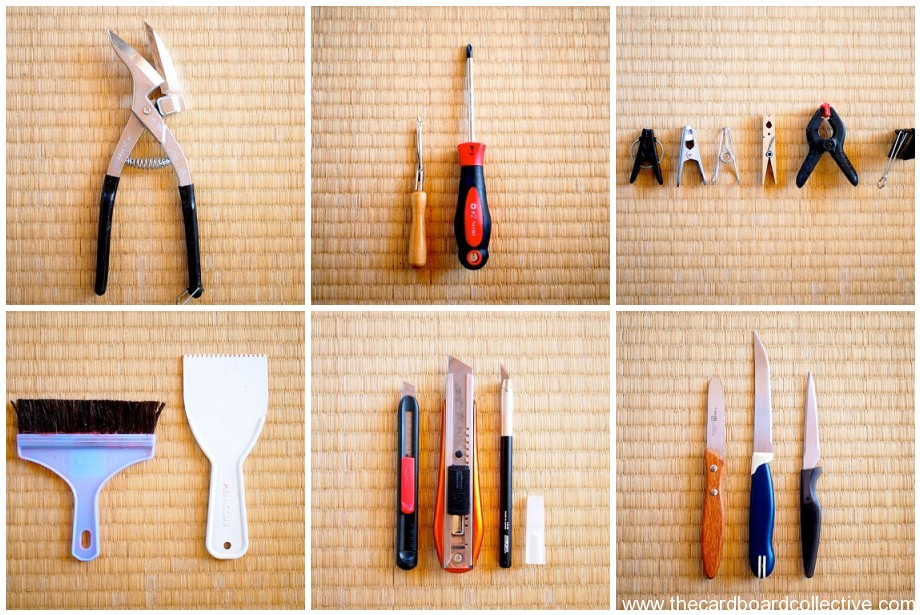
My Tools
One of the things that I love about working with cardboard is that you need very few tools to get started. This is my go-to, can't live without, get happy just looking at 'em, collection of tools that has evolved over the past two years.
The tree-pruning-looking shears are the most obscure in my kit. They're a type of Japanese scissor used for cutting corrugated roofing. I love them because I'm more comfortable cutting with scissors than a utility knife and these are tough enough to get through triple wall cardboard without too much effort.
Other notable tools are the screwdriver and leather punch that I use for poking holes in cardboard on play days. The glue brush and glue comb are nice to have; they save on glue and make for a better bonded cardboard project. Oh, and I forgot one! How could I live without a metal ruler?
Do you have an favorite cardboard tool?
I recently read in the fabulous "2012- Celebrating The Year of Cardboard" article at the Maker Education Initiative that there are some great electrical saws that even small children can use with adult supervision. I'd be interested to try them out someday! Have you got a secret tool in your cardboard making arsenal?
Please share!
Cardboard Play Day at Musashino Place
A few photos from our first ever, open-to-the-Tokyo-public, cardboard pop-up play day.
We ran the event with just recycled cardboard, a few tools, bike power, and creative spirit.
Neighboring Ito Yokado kindly helped us bring many beautiful boxes over from their store (including the fantastic red stuff which was left over from New Year's postcard displays) and MakeDo pieces were lent to us by the American School of Japan.
We assembled these incredible Wind-balls prior to the play day, with Tanaka Satoshi's design plans that you can get here. Just plain fun. We've now got the smaller one up as a lampshade in the girls' room and it's gorgeous.
[slideshow_deploy id='3382']
The highlight of the day was seeing parents and children building together. Once my Japanese teacher helped me to write a sign in Japanese inviting everyone to play freely, they all started getting to it. Little houses, castles, tunnels, trains and forts....it's all poetry to me.
The same box on wheels that I made about 8 months ago (and flew back and forth from the US with) withstood countless laps on the concrete around the grass patch. I'm thinking we could do a great pop-up based on these alone....where to reclaim some old wheels????
Thanks to my friends from MIA, my husband (who even made dinner after we got home) and Chris B of a small lab for coming out, bearing the cold, taking pictures (many of which you see here) and wrangling cardboard with us at the end. A true labor of cardboard love! I really appreciate your support.
I'm looking forward to hosting more pop-ups and play days in 2013 so stay tuned for more info on where we'll be next...
....of course I hope you'll consider having a few cardboard pop-ups in your own home in the meantime?
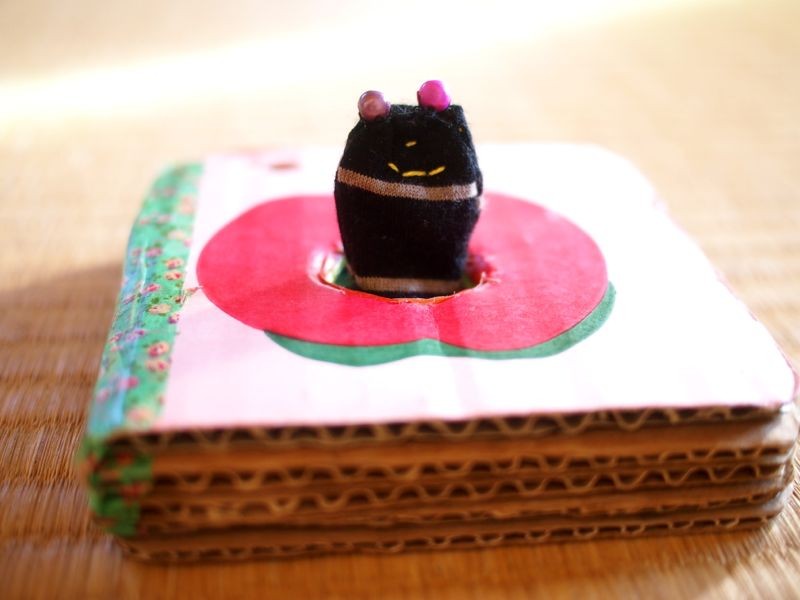
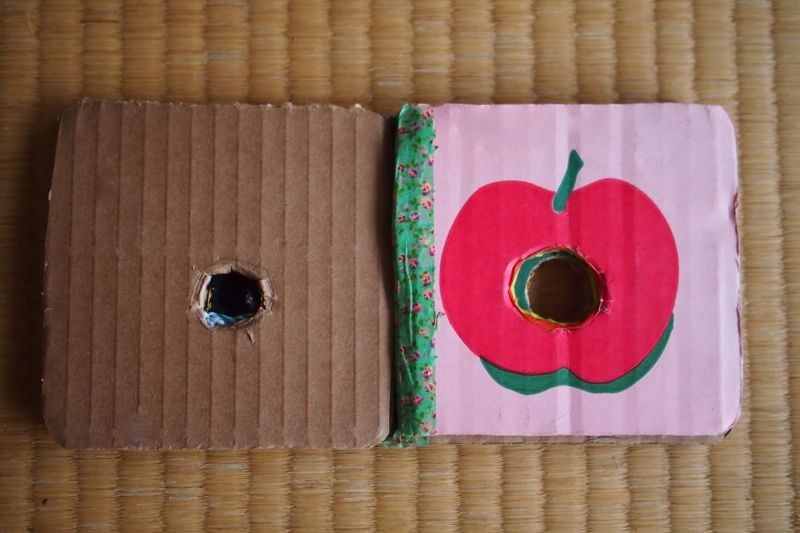
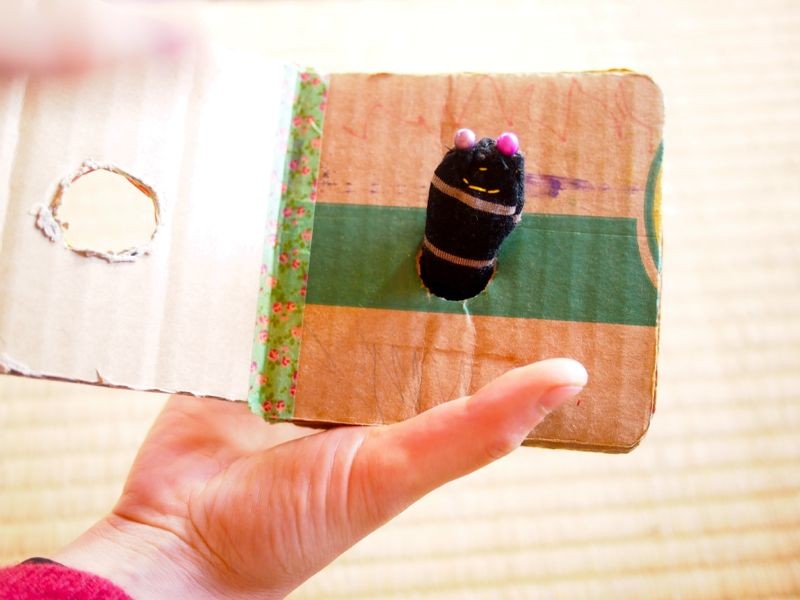
Cardboard Finger Puppet Book
This Christmas present was a team project. I got lots of guidance while I was sewing the facial features on "wiggle worm." My daughter also wrote the story for the book, which strangely enough changes every time you read it... you can catch the "text" below.
Stitch your wiggle worm together from a fabric scrap.
Cut holes in the middle of the pages of a cardboard book. Cardboard book how to here. Tape your worm in place.
Glue a cardboard page over top, to secure the "wiggle worm."
Looking a little smug after the photo shoot isn't he?


