craft

Cardboard Bookshelf Organizers

As Electra dives deeper into the world of (pre) reading and books, we're trying to get a handle on our bookshelf.  I made this Maisy cardboard bookshelf divider for Electra as an experiment to see if it would help her understand that we can group books, and also guide her in putting her books away more easily. So far the divider has helped on both accounts, and I'm hoping to make some more dividers that correspond with our seasonal books, like a Christmas tree for Christmas, a heart for Valentine's Day, and a jack-o-lantern for Halloween.

I traced the Maisy character onto computer paper, colored it, cut it out and glued it to the heavy duty wax treated cardboard I talked about in the Wheels on the Box post. I learned the hard way after hacking through a normal piece of corrugated cardboard that you really need the strength and rigidity of the waxy fruit box cardboard for this divider to hold up. (You can see my first and second tries below.)

I had to use quite a variety of tools to recreate Maisy's chiseled features, including scissors, craft knife and mini cardboard saw, so I'll have to get back to you on the quick and dirty way of getting through this tough cardboard. (If you have any suggestions I'd love to hear your ideas in the comment box.)

Maisy is a character from a series of books written and illustrated by Lucy Cousins. We especially love Maisy because we can get a bilingual version in English and Japanese that we check out from our local library. We have learned colors, shapes, textures and so much vocabulary from reading these books together. Maisy or Lucy, if you're reading this, thank you for all the adventures!

Cardboard Message Stamps

Print out your message using word processing software.

Flip it over and glue it down.

Paste cardboard strips about 1 cm thick over the lettering. I clipped the cardboard in between the fluting on the inside of the "o" to help ease it into a circle.

Let dry overnight. Away from curious hands!

I painted the stamp with regular acrylic paint. It took a few tries to get the cardboard to absorb enough paint to stamp relatively evenly, so don't give up if it doesn't come out perfectly the first time.

I think I'll go ahead and make name stamps for Isis and Electra using a different font, and then maybe we'll make an oversize set of the whole alphabet? Or maybe just imagine ourselves having the time to do that. Ha.

Cardboard Tray with Handles

As you can see from the pictures above this tray was born out of necessity. Now that Isis is fully mobile and on a rocket course towards walking, nothing in our home is safe from the jaws and terrible Chiclet teeth of this four legged little beast.

If you find the right box with the handle holes at the right height this tray is a one step process. I had to do a little gluing and combine the parts from two different boxes, but all in all not too bad.

The big plan is for Electra to use this tray for doing craft projects with little baby hazard pieces that require a large work surface to spread the materials out. I think it will also be good for doing puzzles, and already I love the whisk - away - ability it gives me when rascal number 2 is on the warpath. Maybe a splendid cupcake carrier as well?

Cardboard and Plastic Netting Stationary Envelope

I I don't like to post projects that require tools that people don't have access too, but I thought that combination of materials might at least inspire those of you without a sewing machine to create something similar. The important thing about this envelope is that the netting lets you see what's inside- very important for both moms and toddlers alike!

This stationary envelope is made from a piece of cardboard and the netting that produce comes in. I first measured out a square of the netting and then traced a pattern, which included a flap on the top, onto the cardboard and cut it out.

I zigzag stitched the netting to the cardboard with a regular sewing machine (not industrial) and then I embellished the envelope with a few stripes of wash tape and a little picture of a dog that I cut from a magazine. This "kit" of materials will be a gift for a two year old friend of Electra's. I've included some homemade envelopes made from old maps, adhesive labels, two mini paper photo albums, some plain white greeting cards for decorating, blue adhesive dots and a few rolls of washi tape.

I like the way the netting expands and hugs the materials differently than a paper envelope. It will be fun to try making some more of these in different shapes and sizes to organize our own stationary supplies.

Organize Yourself: Cardboard Library Pocket

I started gluing these library pockets in my sketch books and travel guides and quickly became addicted. They are a great addition to a Moleskin notebook too. I particularly like to use them on the front of the little cardboard covered notebooks I get from Muji. These notebooks are just the right size, inexpensive and great for sketching out ideas while the girls are playing on the playground every morning. My to do list stays front and center in the cozy little pocket and I can pull it out without having to delve into my sketchbook.

Cover them with interesting magazine pages, manga, paper bags, or other junk mail ephemera, and you've got a very classy place to keep your grocery list. No more forgetting the soy sauce!

For this project I recommend using the lightest weight cardboard you can get your hands on. Think "bone china" of cardboard. Re-purposed manilla folders would work great too.

To make the fabric covered pocket pictured at the top, I first traced the template onto cardboard and cut it out. Then I simply glued a scrap of kimono fabric to the pocket with watered down white glue and then painted over the top decoupage-style with the white glue  and water mixture so the fabric was entirely smooth and saturated. I let it dry overnight, cut off any remaining fabric, and then glued the pocket together and affixed it to the notebook. Easy.

Last minute stocking stuffer?

Click on the picture below for two sizes of free downloadable library pocket pdf templates.

Oh My Deer: Cardboard Antlers

If you are anywhere around Michigan (USA) this week, don't go out and about with a pair of these on your head.

Like it or not, aunts, uncles, cousins and grandpas are out in their  hunting blinds right now hoping to bring home some four-legged game of the white-tailed variety.

For those of use city dwellers who are not out hunting and are limited to interacting with wildlife like birds, dogs, cats, rats and the occasional tanuki, we'll be snug in our beds on a cold November morning.

If you'd like to make your own pair of cardboard antlers, it's ideal to use light weight cardboard that is plain brown on both sides. I first cut a paper pattern from newsprint, then traced onto my cardboard with pencil. Be sure to allow for enough length at the base of the antlers to fold up a small cardboard tripod. Adhered with a little masking tape at the back, the cardboard loop allows you to string a ribbon or head band through the antlers and easily secure them to your head to help them stay in place.

You can add more horns to your antlers by making a cut at the base of the horn piece and at the place where you will insert the horn on the antlers.

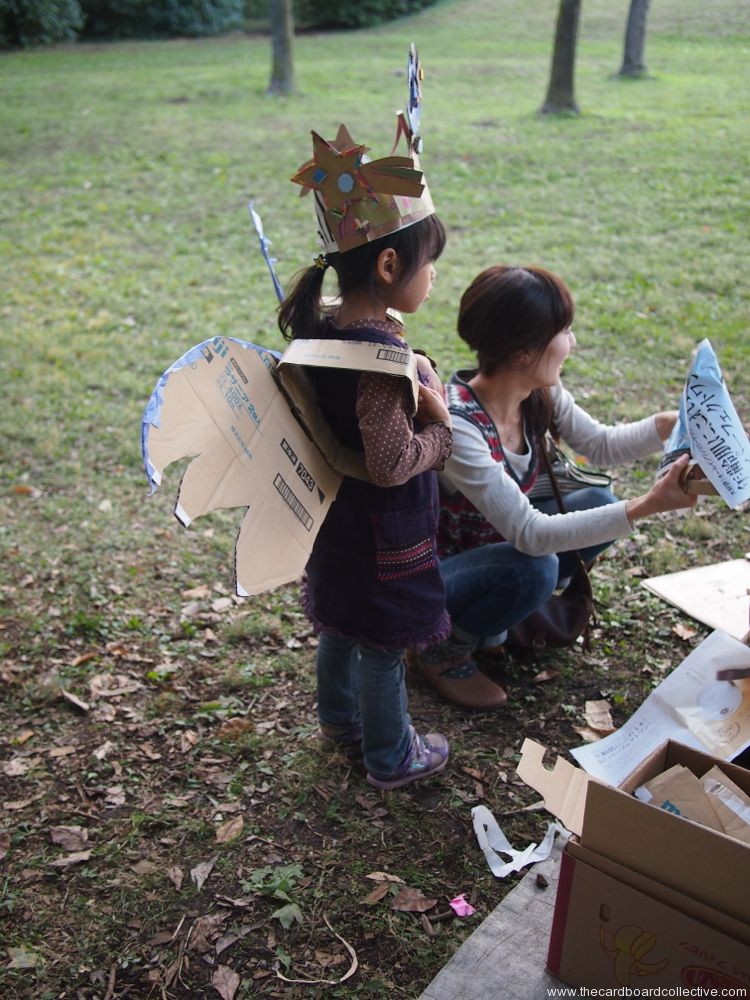
So whether you are celebrating a trophy buck, curling up with a copy of Imogene's Antlers, or dressing up as our favorite reindeer this Christmas, I hope you enjoy making these cardboard antlers. With the pattern, I'm sure you could assemble this project in 10 minutes or less; less time than it would take you to go to the store and buy something similar and no extra burden on the planet when you pop them into the recycling box at the end of the season.

Tool: Off-set Handled Scissors

These scissors are a great new tool for cutting through cardboard. The off-set handle makes it easier to maneuver around corners and curves, and the wide openings in the handles provide for a roomy grip. The English translations for the packaging here in Japan always makes me chuckle. These scissors are definitely either made of hard materials, or will help you go after a hard(difficult) task!

On a scissors space-time continuum, the off-set handled scissors definitely rate as the best for getting through cardboard, even outperforming the "chicken boning shears." At the other end of the spectrum we have my sewing scissors, which I would never, ever use to cut cardboard, our household paper scissors, the delicate, but still useful for poking small holes embroidery scissors, and last but not least, wooden scissors. They actually do cut paper.

Sandwiches are Beautiful ..... Sandwich Books are Fine!

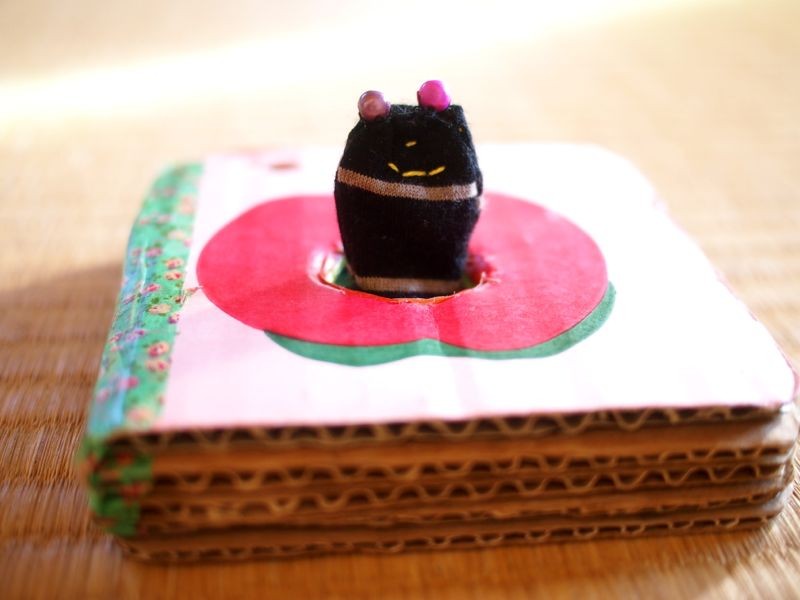
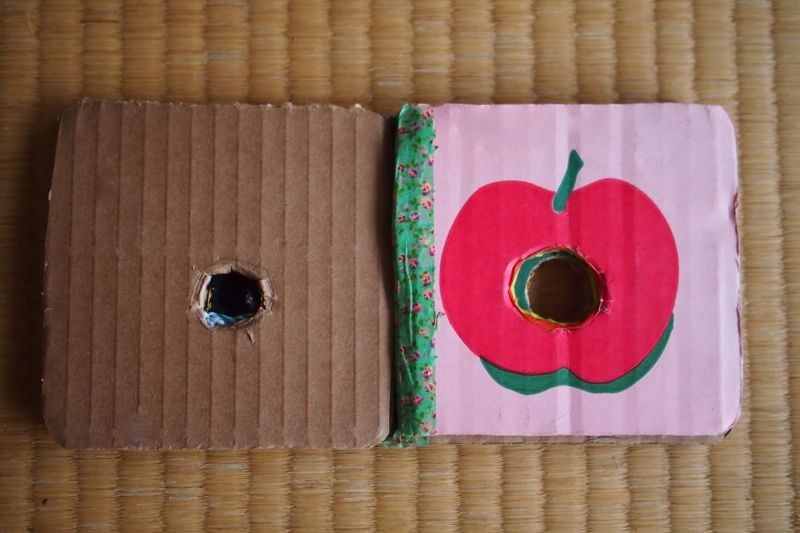
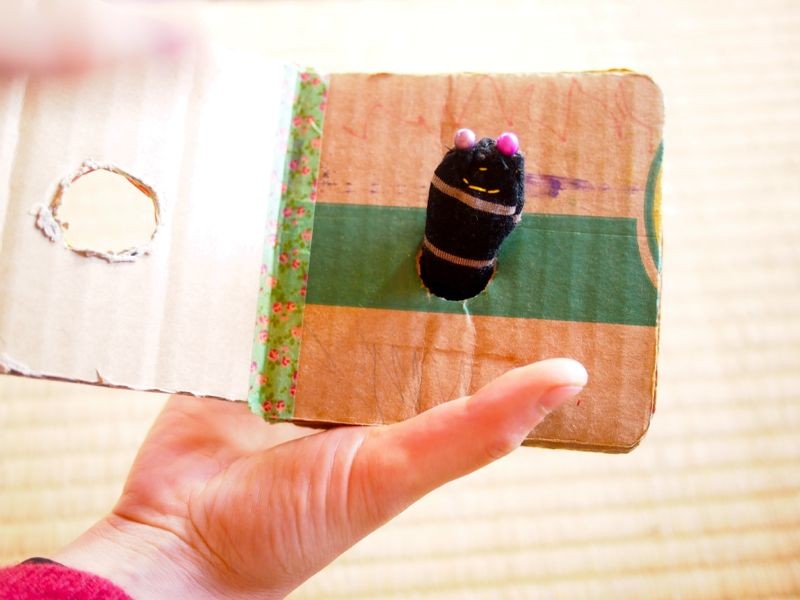
The latest addition to our cardboard book library; a very delicious book about how to make a B.L.T. (Bacon, lettuce and tomato) sandwich. This book was easy to make and I had help from Electra painting the pages. We used the same process that I wrote about earlier in the How to Make Cardboard Books post. I used a type of tape made from white paper that could be painted for the binding. I touched up the spots where the book was adjoined after the whole thing was assembled. The coolest part was finding white cardboard for the bread that gave the look of "brown crust" when you cut the pages out. This is literally a recipe book for getting your child or toddler cooking in the kitchen!

Mmmmmm cardboard!

Big Fat Cardboard Book Booster Seat

When Isis took over the highchair, Electra needed a booster seat so she could sit in one of the big chairs at the kitchen table. We put together a big fat cardboard book for her to sit on. We found a box with a Japanese castle on it, so you could even say this seat is throne-like.

I sewed an elastic band to keep the pages from opening up when she was getting into and out of the chair. The beauty of it? It doubles as a leaf press!