
Now that my daughters are almost 2 and almost 4 they've started borrowing my jewelery. I'm not quite sure what that means about my taste in jewelery, but they are scaling my 4 foot high bookshelf to get to it. As a compromise, I've decided to sacrifice access to some of my sturdier, more sought after necklaces in the hopes of safeguarding some of the more fragile and precious stuff.

Contraband jewelery stuffed into little boxes, purses and paper bags was popping up all over the house.... as if a colony of Leprechauns had taken up residence. In an effort to deter further looting, I bargained that some kind of necklace depot would distract them....
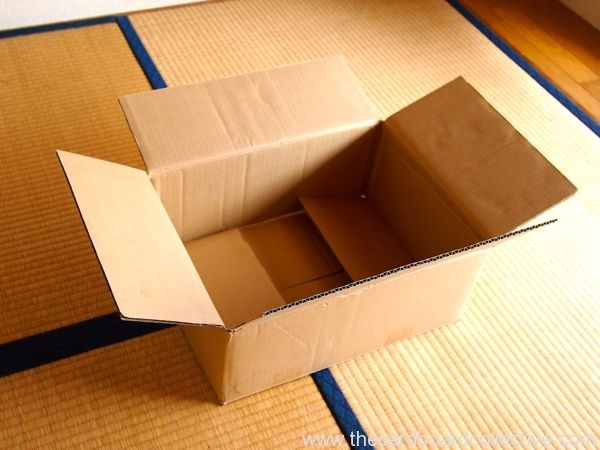
I started with just one box, which gave me 6 lengths of cardboard approximately the same length. I then assembled my caps.
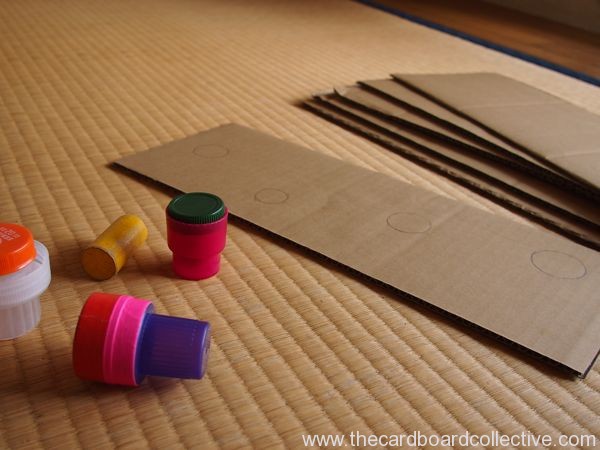

I had a variety of laundry soap and maple syrup caps and some of the caps magically fit together, but some did not. I ended up using Washi tape to secure them. I didn't have enough caps, so I borrowed a cylindrical block from the block bin. You can use whatever you have on hand for this project, it doesn't have to be plastic caps. Blocks, corks, tiny plastic or glass bottles; all can do the job.
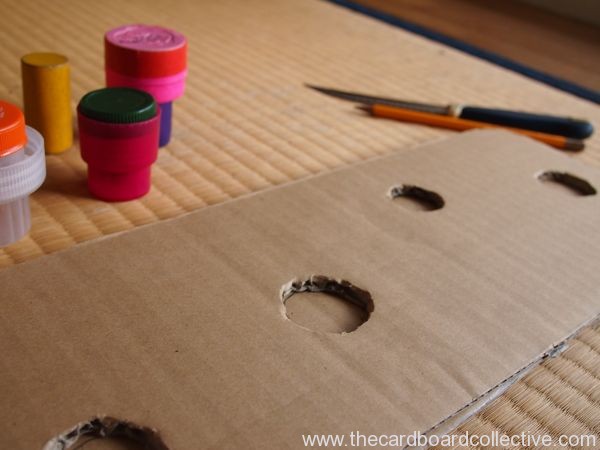
Next step was arranging the caps and tracing around them. I used a box cutter to carefully cut around the circles on the top layer, and then a serrated knife for the layers below. It's helpful to try and cut just inside the area that you traced for a snug fit.
Last step was gluing the layers together. I used one layer as a backing and didn't cut any holes in that layer. I also spread a thin layer of glue slightly diluted with water over the top piece of cardboard to preserve it and keep it from showing dirt and fingerprints. To hang the rack I threaded paper cord through the corrugated channels and tied it off.
